
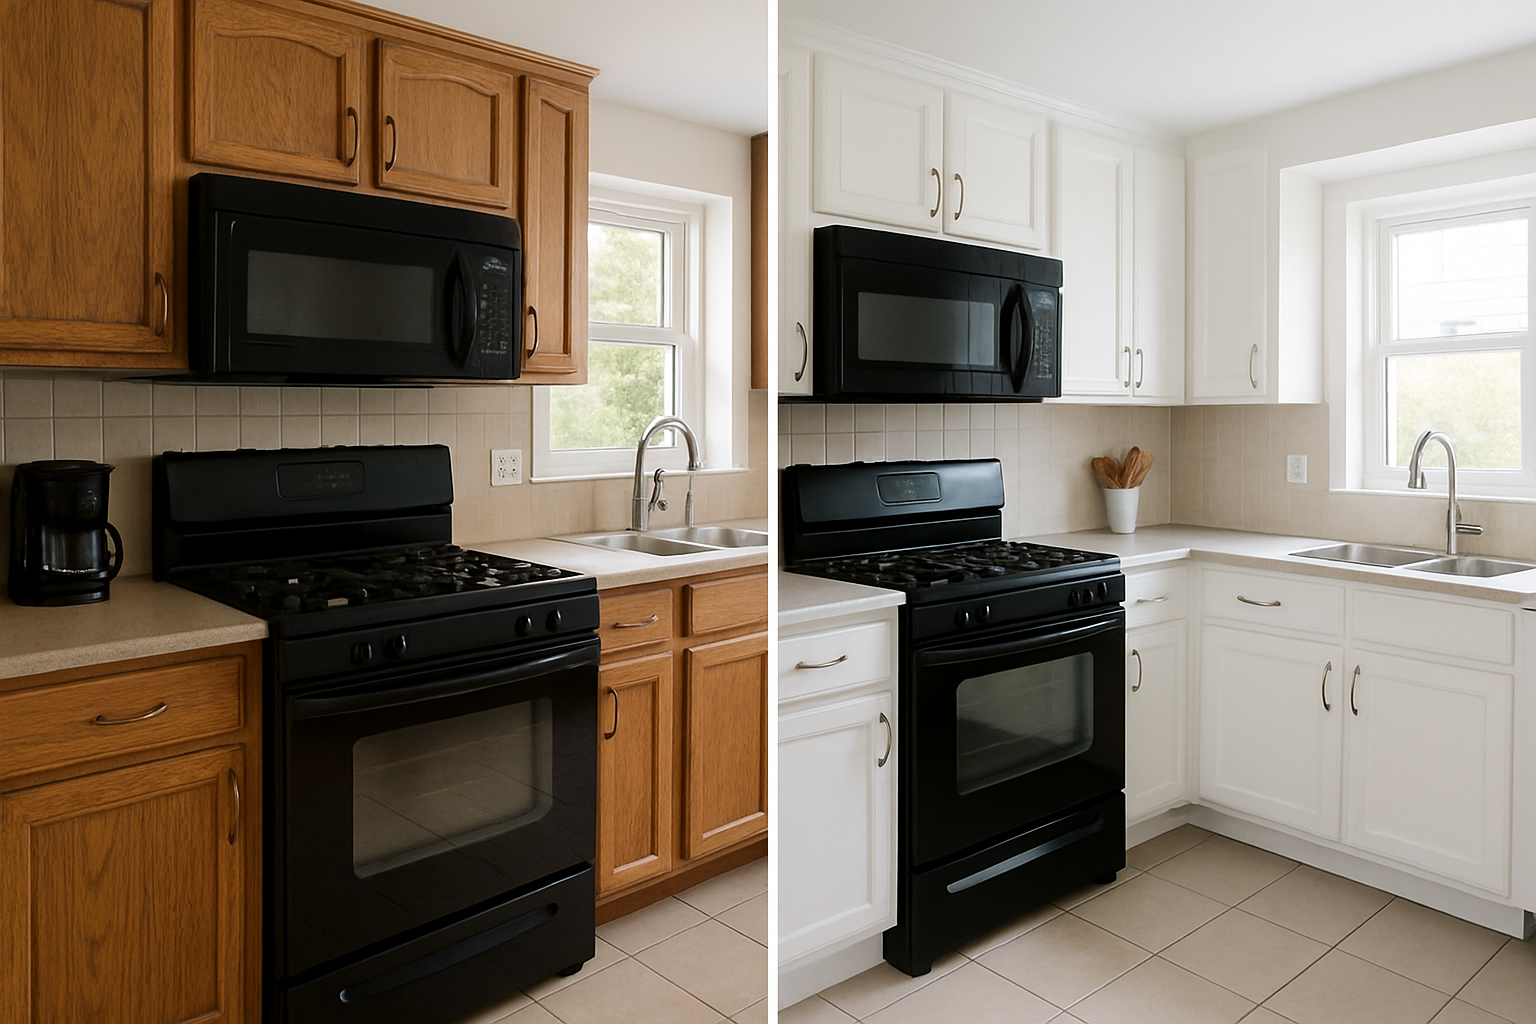
Painting your kitchen cabinets is one of the highest-ROI home updates you can make. In fact, learning how to paint kitchen cabinets often costs 40–70% less than buying and installing new cabinetry (industry averages, 2025). Done correctly, it produces a durable, professional finish. This finish holds up to daily cooking, humidity, and cleaning.
Table of Contents
- Why Cabinet Painting Is Worth It
- What You Need Before You Start
- Step-by-Step Painting Process for Kitchen Cabinets
- Choosing the Right Paint and Finish
- Things to Know When Painting Kitchen Cabinets
- When to Hire a Professional Instead
- Refresh Your Cabinets with Custom Colonial Painting
- Frequently Asked Questions
Why Cabinet Painting Is Worth It
More than 70% of homeowners prefer refinishing or repainting kitchen cabinets to full demolition and replacement when updating a kitchen’s look (industry reports, 2025). That preference makes financial sense. Moreover, according to Carolina Renew Painting & Finishes (2026), a minor kitchen remodel carries an ROI of 113.7%, based on JLC/Zonda 2025 data.
Consider the disruption, cost, and timeline of a full cabinet replacement. Painting becomes a compelling option by comparison.
The broader market reflects this trend. Furthermore, the U.S. cabinet painting and refinishing market was valued at $2.1 billion in 2024. It is projected to reach $3.2 billion by 2033, growing at a CAGR of approximately 4.8% (Verified Market Reports, 2026). Homeowners are clearly voting with their wallets.
If you want a color refresh, knowing how to choose interior paint colors before you commit to a shade will save you from costly repaints later.
What You Need Before You Start
Preparation is where most DIY cabinet paint jobs fail. Skipping or rushing this phase leads to peeling, bubbling, or uneven sheen within months.
Supplies checklist:
- TSP cleaner or a degreasing solution
- 120- and 220-grit sandpaper (or a random orbital sander)
- Wood filler or spackling compound for dings and gouges
- High-quality primer (shellac-based or bonding primer for glossy surfaces)
- Cabinet-specific paint or alkyd enamel
- A high-density foam roller and 2.5-inch angled brush
- Painter’s tape and plastic sheeting
- Screwdriver and labeled zip-lock bags for hardware
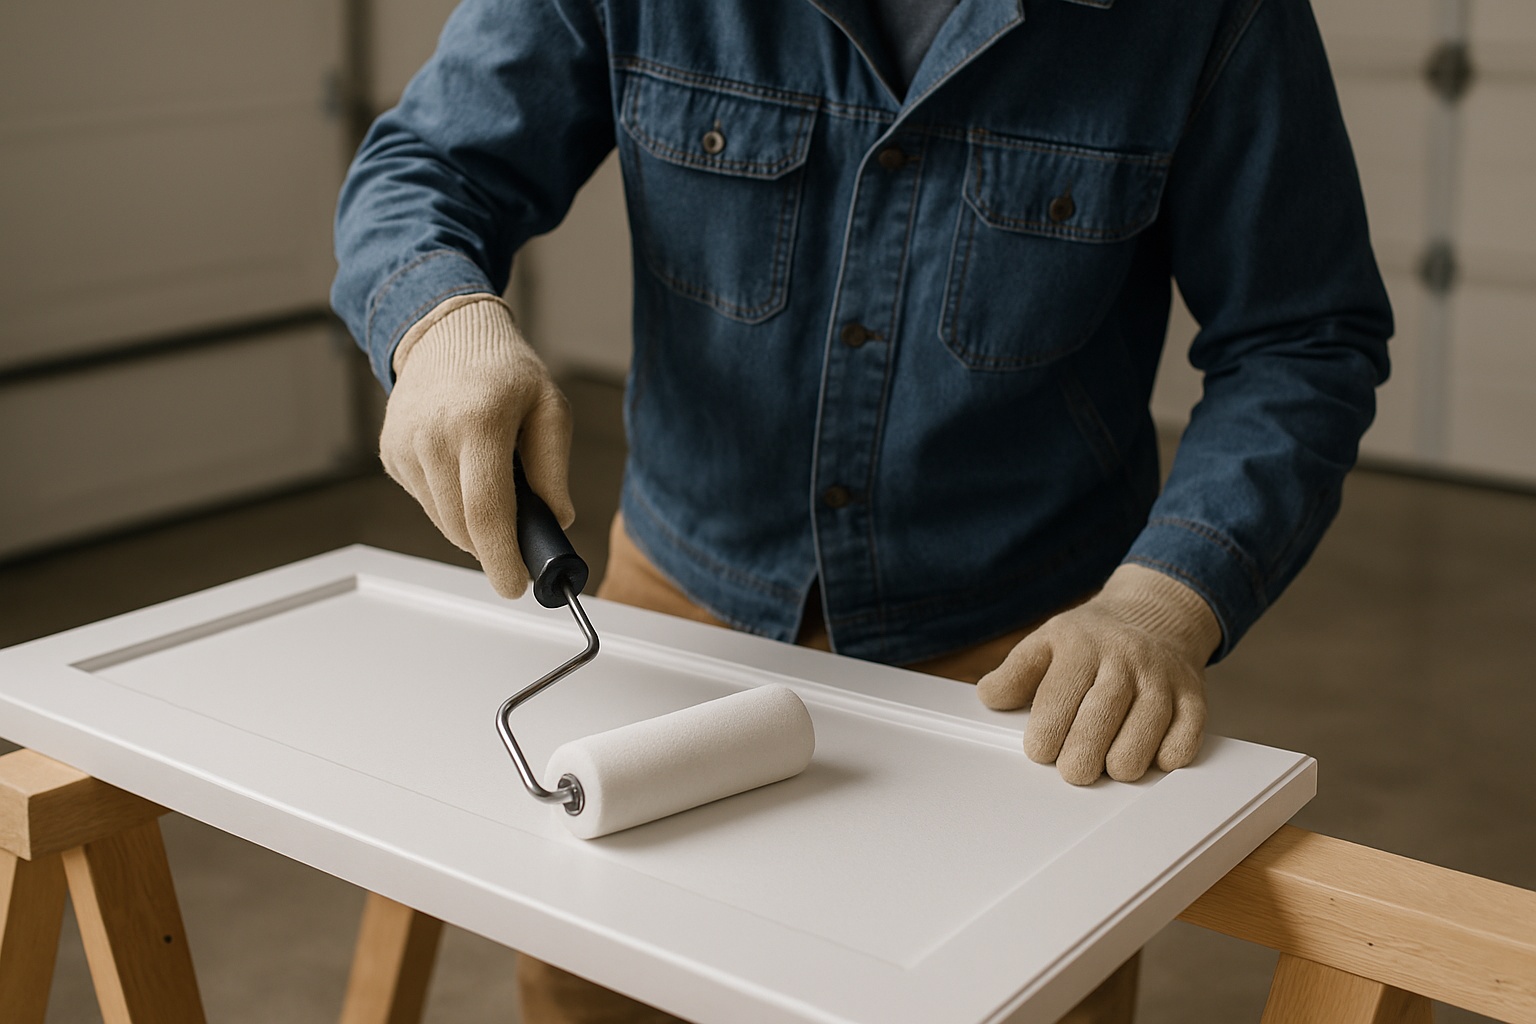
The workspace setup matters too. Remove all cabinet doors and drawer fronts. Place them flat on sawhorses or a clean work surface in a garage or well-ventilated area. Additionally, label every door with a piece of painter’s tape on the inside edge. This makes reinstallation straightforward. Lay plastic sheeting over countertops and appliances.
Step-by-Step Painting Process for Kitchen Cabinets
Learning how to paint kitchen cabinets correctly is mostly about patience at each stage. Rushing drying times between coats is the single most common mistake.
1. Clean thoroughly. Kitchen cabinets accumulate grease, food residue, and airborne oils. Wipe every surface with a TSP solution or a commercial degreaser. Let it dry completely before touching anything else.
2. Sand all surfaces. Use 120-grit sandpaper to scuff existing paint or finish. This gives the primer something to grip. Follow with 220-grit for a smoother base.
3. Fill and repair. Apply wood filler to any dents, scratches, or old hardware holes. Let it cure fully, then sand flush.
4. Prime. Apply a thin, even coat of bonding primer to all cabinet surfaces, including box frames. For previously glossy or stained wood, a shellac-based primer like Zinsser BIN prevents bleed-through and sticking issues. Allow full dry time per the manufacturer’s label.
5. Sand lightly again. After the primer dries, lightly scuff with 220-grit to knock down any brush marks or raised grain. Wipe with a tack cloth.
6. Apply paint in thin coats. Use a foam roller for flat surfaces and a brush for edges and detail areas. Two to three thin coats outperform one thick coat every time. Furthermore, allow full cure between coats, not just surface drying.
7. Reinstall hardware last. Once the final coat has cured for at least 24 hours (longer in humid Connecticut winters), reattach hinges, handles, and doors using your labeled bags.
Choosing the Right Paint and Finish
Not all paint is suited for cabinet surfaces. Standard interior wall paint is too soft. It will scuff and chip within weeks in a high-use kitchen environment.
| Paint Type | Best For | Durability | Notes |
|---|---|---|---|
| Alkyd/oil-based enamel | All cabinet types | Excellent | Longer dry time, very hard finish |
| Water-based alkyd hybrid | Most cabinets | Very good | Faster dry, low VOC |
| 100% acrylic latex (cabinet-grade) | Lighter use kitchens | Good | Easier cleanup |
| Chalk paint | Specialty/farmhouse look | Fair | Requires topcoat sealer |
For sheen, semi-gloss and satin are the industry standard for cabinets. They clean easily and resist moisture better than eggshell or flat finishes. Additionally, white remains the top color choice, selected by 46% of homeowners according to kitchen365 (Q2 2024).
That said, if you’re working on a broader interior refresh, exploring the best paint colors for living room can help you create a palette. This palette flows throughout your main living spaces.
Sherwin-Williams Emerald Urethane Trim Enamel and Benjamin Moore Advance are widely regarded by professional painters as top performers for cabinet work. These paints offer exceptional hardness and leveling.
Things to Know When Painting Kitchen Cabinets
- Cabinet boxes (the frames attached to the wall) are often overlooked. Paint them with the same care as the doors, or the contrast will be obvious.
- Humidity and temperature affect dry and cure times significantly. Ideal conditions are between 50°F and 85°F with low humidity.
- Cure time and dry time are different. Paint may feel dry to the touch within hours but takes up to 30 days to fully harden. Therefore, avoid aggressive cleaning during that window.
- If your cabinets are laminate or thermofoil, a standard primer will not bond well. You need a specialized bonding primer or adhesion promoter.
- Just as with exterior woodwork, surface prep is more important than the paint itself. This principle also applies when you learn how to stain a deck: the cleaner and smoother the surface, the longer the finish lasts.
When to Hire a Professional Instead
Some situations call for professional-grade equipment and experience. If your cabinets have significant lead paint (homes built before 1978), disturbing the surface without proper containment creates a health hazard. EPA Lead-Safe certification is required for contractors working in such environments.
Spray application produces the smoothest, most factory-like finish. It is difficult to replicate with brushes and rollers alone. Professionals using HVLP sprayers achieve a level of uniformity that most DIYers cannot match.
For how to paint kitchen cabinets projects that involve raised panels or intricate door profiles, professional spray application is particularly valuable. Additionally, you might find it useful to review how to paint a ceiling without streaks if you’re tackling a full kitchen refresh at the same time.
Only 16% of homeowners hired a kitchen or bath contractor for remodeling work in Q1 2026 (HIRI, 2026). However, for cabinet refinishing specifically, the complexity of prep, primer selection, and spray technique makes professional help a worthwhile consideration.
Refresh Your Cabinets with Custom Colonial Painting
Your cabinets take more daily abuse than almost any other surface in your home. Getting the finish right matters.
Custom Colonial Painting serves homeowners throughout Connecticut, including Greenwich, Darien, Fairfield, New Canaan, Trumbull, and Newtown. Our EPA Lead-Safe certified painters average 15+ years of experience. We use only Sherwin-Williams and Benjamin Moore products.
Request your free cabinet painting estimate today. Find out exactly what a professional finish will cost for your kitchen. Fill out the contact form and a member of the Custom Colonial team will reach out to schedule your on-site walkthrough.
Frequently Asked Questions
Q: How long does it take to paint kitchen cabinets yourself?
A typical DIY cabinet paint job takes 3 to 5 days from start to reinstallation. This accounts for degreasing, sanding, priming, two to three coats of paint, and cure time between coats. Rushing the process by skipping dry time is the leading cause of paint failure.
Q: Do I need to sand cabinets before painting?
Yes, sanding is required for the primer and paint to bond properly. Skipping this step, especially on glossy or previously varnished surfaces, will result in peeling within months. A light scuff with 120-grit sandpaper is the minimum. Anything previously painted with oil-based paint may need heavier sanding or chemical deglosser.
Q: What is the most durable paint for kitchen cabinets?
Alkyd enamel and water-based alkyd hybrid paints offer the highest durability for cabinet surfaces. Brands like Sherwin-Williams Emerald Urethane Trim Enamel and Benjamin Moore Advance are frequently cited by professional painters. These products excel due to their hardness and resistance to chipping, moisture, and cleaning agents.
Q: Can I paint over old paint without stripping the cabinets?
Yes, in most cases you can paint over existing paint as long as it is clean, sanded, and primed. If the existing finish is flaking, bubbling, or poorly bonded, those areas need to be stripped or sanded down to bare wood before repriming. Painting over a failing finish simply transfers the failure to the new coat.
Q: How much does it cost to hire a professional to paint kitchen cabinets?
Professional cabinet painting typically ranges from $1,200 to $7,000 depending on kitchen size, cabinet count, and finish method. Spray-applied finishes cost more than brush-and-roll applications but produce noticeably smoother results. Either option is significantly less expensive than full cabinet replacement, which can run $15,000 to $30,000 or more for an average kitchen.