
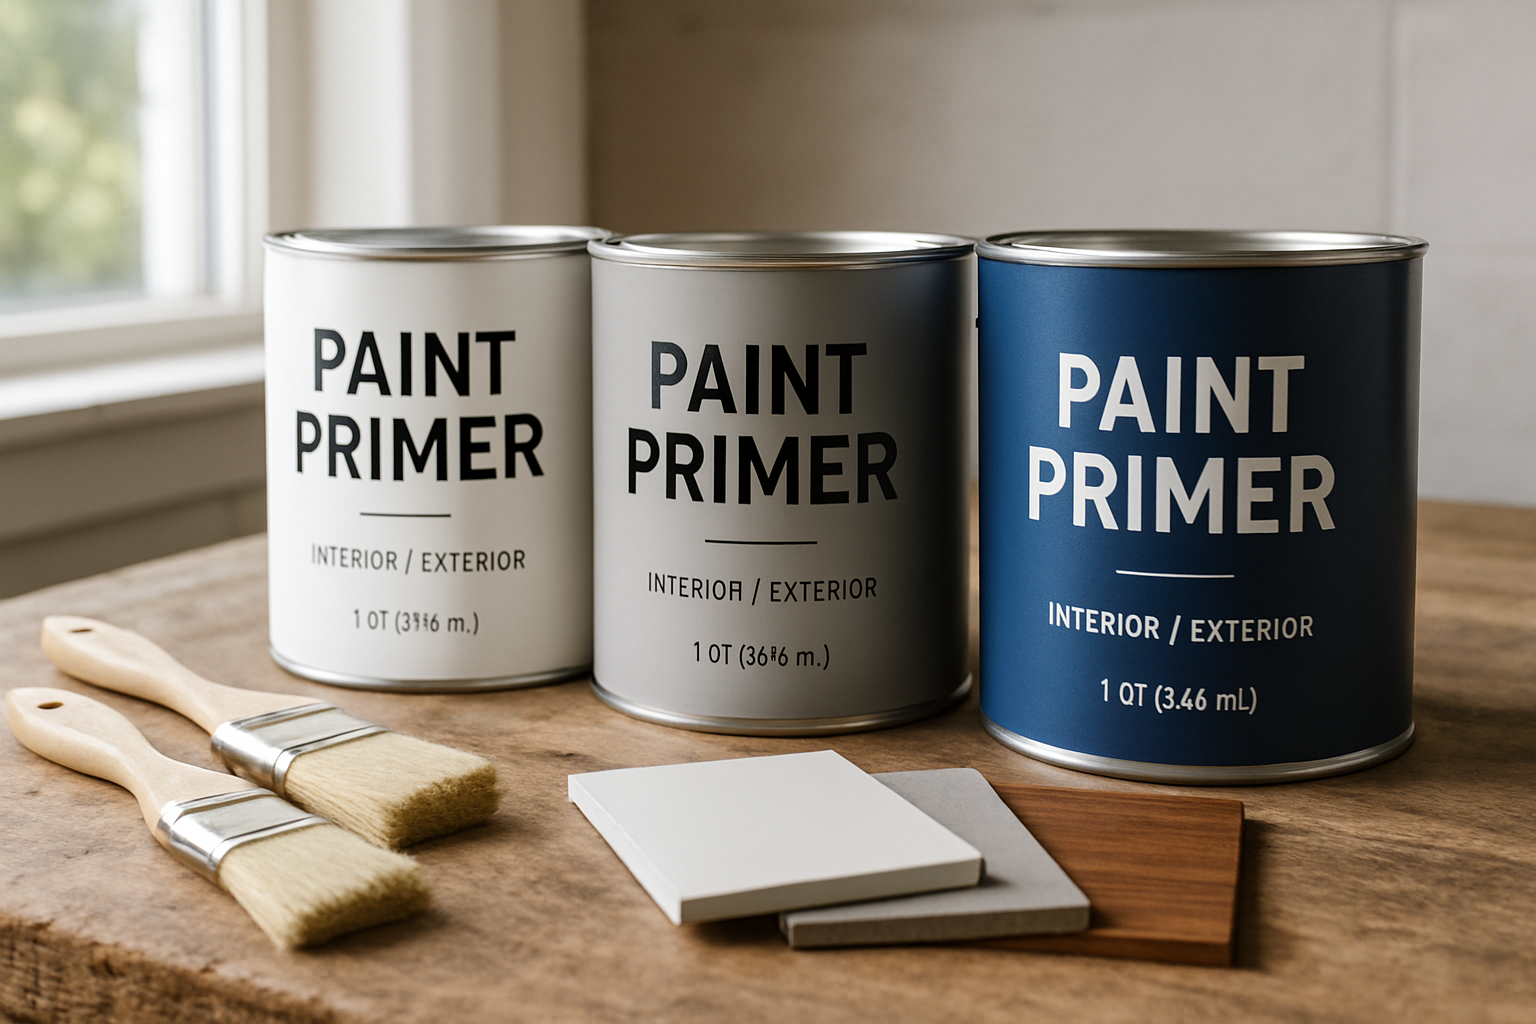
Choosing the right primer before painting is not a one-size-fits-all decision. Moreover, the correct primer depends on your surface material, the condition of that surface, and the topcoat you plan to apply. Understanding what primer to use before painting ensures professional results and prevents costly failures.
Table of Contents
- Why Primer Selection Actually Matters
- The Main Primer Types and What Primer to Use
- What Primer to Use by Surface Type
- When You Can Skip Primer and When You Absolutely Cannot
- Tinted Primer vs. White Primer
- What Primer to Use for Interior vs. Exterior
- Primer and Paint Compatibility at a Glance
The primer market reflects how seriously the professional coatings industry treats this step. According to Market Research Future (2024), the global primer market was estimated at $13.99 billion in 2024 and is projected to grow to $24.08 billion by 2035, at a compound annual growth rate of 5.06%. That level of investment signals that primer is far from a commodity afterthought.
Why Primer Selection Actually Matters
Many homeowners treat primer as optional or interchangeable. Neither assumption holds up in practice.
Primer serves three distinct jobs. First, it seals the surface. This prevents topcoat paint from soaking in unevenly. Second, it promotes adhesion. The paint bonds to the substrate rather than peeling away over time. Third, it blocks stains, tannins, and other contaminants from bleeding through finished coats.
Use the wrong primer, and even the most expensive topcoat can fail. Additionally, it may peel, streak, or absorb inconsistently. This matters especially if you are learning how to paint a ceiling without streaks and wondering why certain sections look patchy even after two finish coats.
Getting primer right is the single most cost-effective step in any paint project. Furthermore, a properly primed surface typically requires fewer finish coats. This saves both time and product.
The Main Primer Types and What Primer to Use
There are three core primer categories available to U.S. homeowners and contractors. Understanding what each one does helps you match the product to your specific situation.
Oil-Based Primer
Oil-based primers offer the strongest stain-blocking capability. They also provide the best adhesion to raw wood, metal, and previously painted oil surfaces. They penetrate deep into porous materials. Additionally, they seal tannins that would otherwise bleed through latex topcoats. However, the downsides are significant. You need strong ventilation, longer dry times (sometimes 24 hours or more), and cleanup requires mineral spirits.
Latex (Water-Based) Primer
Latex primers are the most widely used option for residential interior and exterior work. They dry faster than oil-based products and have lower VOC emissions. Furthermore, they clean up with water. They work well on new drywall, previously painted latex surfaces, and soft woods. However, they are not the best choice for heavy stain blocking or raw metal.
Shellac-Based Primer
Shellac primers are the most aggressive stain blockers available. They seal severe water stains, smoke damage, fire damage, and bleed-through from knots in knotty pine. They dry very fast, typically in under an hour. However, they require denatured alcohol for cleanup. Zinsser B-I-N is the most widely recognized shellac primer in the U.S. market.
What Primer to Use by Surface Type
This is where the decision gets practical. Each substrate has specific demands that should drive your product choice.
New Drywall
New drywall is one of the most common surfaces you will prime before painting. The paper facing is extremely absorbent. Without primer, paint will look flat and uneven, especially under raking light. Use a latex drywall primer, sometimes labeled as a PVA (polyvinyl acetate) primer. It seals the paper face evenly. This prevents the paint from flashing.
Do not use a paint-and-primer-in-one on bare drywall. The paper is too absorbent. Those products are not formulated to provide the sealing action a dedicated PVA primer delivers.
Raw or Bare Wood
Raw wood presents two challenges: porosity and tannins. For most bare wood projects, use an oil-based primer. This is the professional standard because it penetrates the grain, raises it slightly, and seals extractives that cause bleed-through.
If you prefer a water-based option, choose a high-quality latex primer. Look for products specifically rated for bare wood, such as those in the Sherwin-Williams Extreme Bond or Benjamin Moore Fresh Start product lines. Always sand lightly after the primer dries. This knocks down any raised grain before applying your topcoat.
Note that if your project includes wood deck surfaces, the primer question shifts significantly. Consider penetrating sealers and stains rather than film-forming primers. You can read more about wood preparation and finish choices in this overview of how to stain a deck.
Bare Metal
Metal requires a primer that prevents rust. It must also bond to a non-porous surface. Oil-based metal primers and rust-inhibiting formulas, such as Rust-Oleum Clean Metal Primer, are the standard for bare steel. For galvanized metal, look for a primer specifically labeled for galvanized surfaces. Standard oil-based primers do not bond well to the zinc coating.
Previously Painted Surfaces (Good Condition)
If the existing paint is in good condition, a full prime is often not strictly required. However, if you are switching from latex to latex, you typically need no additional primer. But if you are switching from oil-based paint to latex, you need to scuff-sand the surface. Additionally, apply a bonding primer or a shellac-based primer. This ensures the latex topcoat has something to grip.
Stained or Water-Damaged Walls
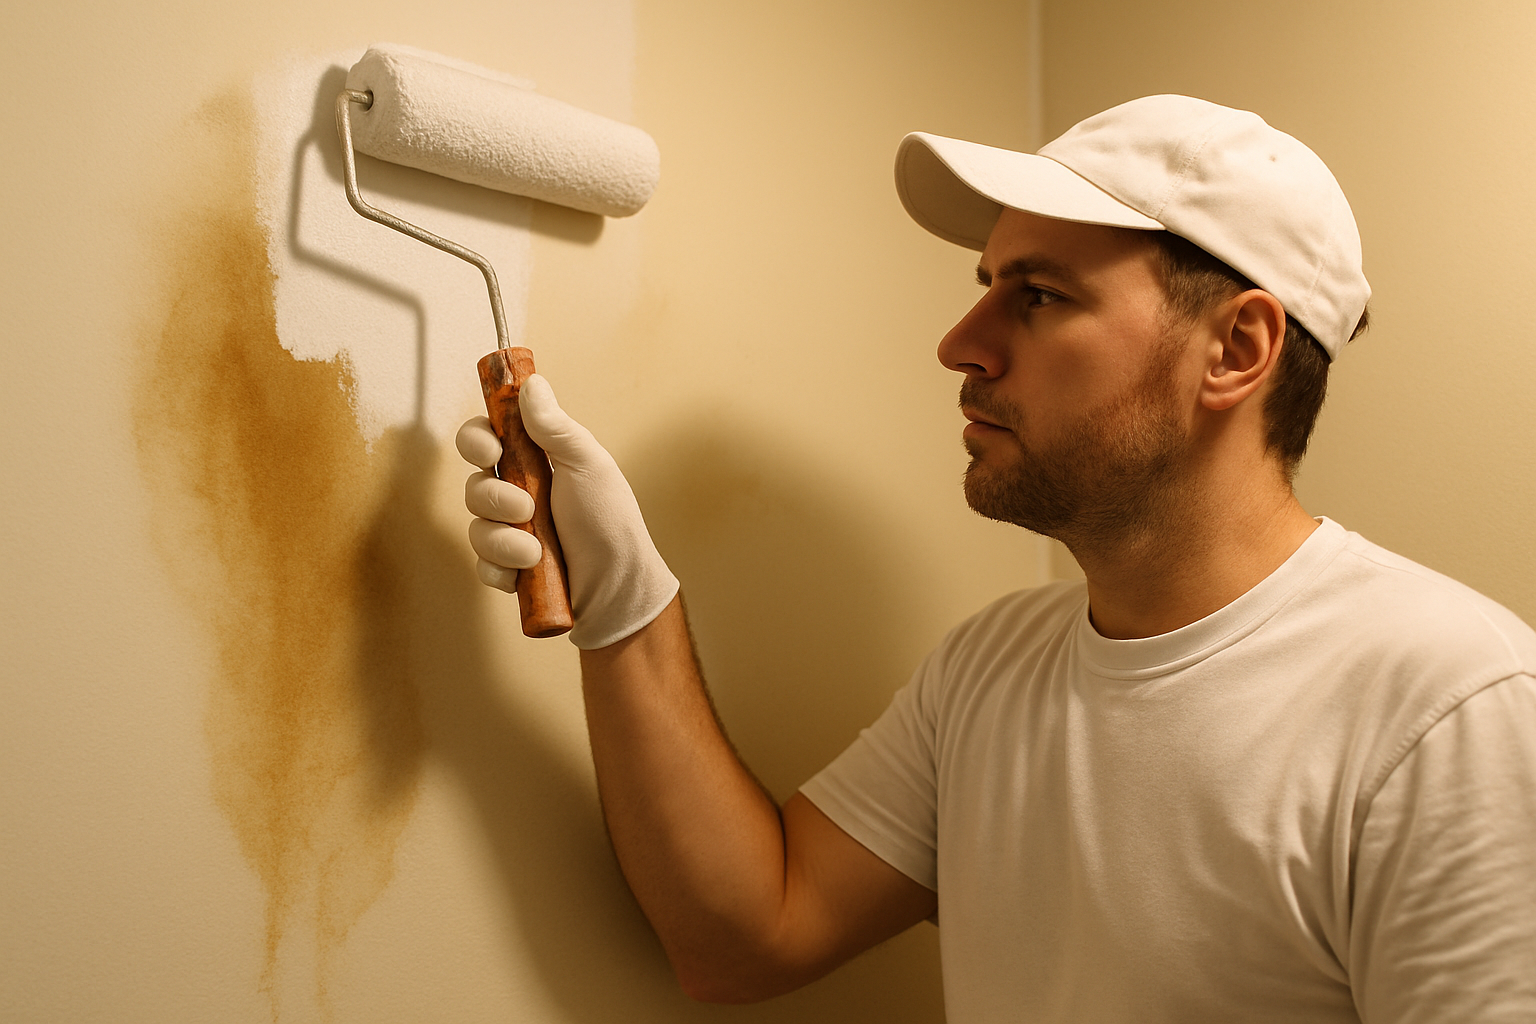
Water stains and smoke damage call for shellac-based primer before anything else. Standard latex primers cannot block these stains. They will bleed through even multiple finish coats. Apply one coat of shellac primer, let it cure, then proceed with your topcoat.
When You Can Skip Primer and When You Absolutely Cannot
There is a lot of conflicting advice about paint-and-primer-in-one products. These formulations have improved and work well for one specific use case. Use them when repainting a surface that is already in solid, clean condition with the same paint type. However, they are not substitutes for a dedicated primer on new surfaces, problem surfaces, or significant color changes.
You can reasonably skip a separate primer coat if:
- The surface has a sound, existing latex finish in good shape
- You are applying a similar color (not going from dark to light)
- The surface is clean, dry, and free of damage
You absolutely need primer if:
- You are painting new drywall or raw wood
- You are switching from oil-based to latex paint
- There are stains, tannins, or bleed-through risk
- The surface is bare metal
- You are making a dramatic color change, especially light over dark
Tinted Primer vs. White Primer
Tinting your primer to a shade close to your topcoat color is a straightforward way to reduce finish coats. This matters particularly when covering a very dark existing color or painting a saturated color like deep navy or forest green.
Most paint retailers, including Sherwin-Williams and Benjamin Moore locations, can tint primer in-store. A gray or mid-toned primer works well as a base for dark topcoats. Meanwhile, a warm tint suits saturated earth tones. If you are still deciding on your finish color, resources like this roundup of best paint colors for living room can help you lock in a direction before you purchase primer.
White primer remains the default for light or neutral topcoats. Additionally, it is ideal for new drywall, where it provides the most even sealing base.
What Primer to Use for Interior vs. Exterior
Interior and exterior primers are not interchangeable. Using the wrong one creates problems down the line.
Interior primers are formulated for controlled environments. They prioritize low odor, fast dry times, and compatibility with the range of interior topcoats. However, they do not contain the mildewcides, UV stabilizers, or flexibility agents that exterior coatings require.
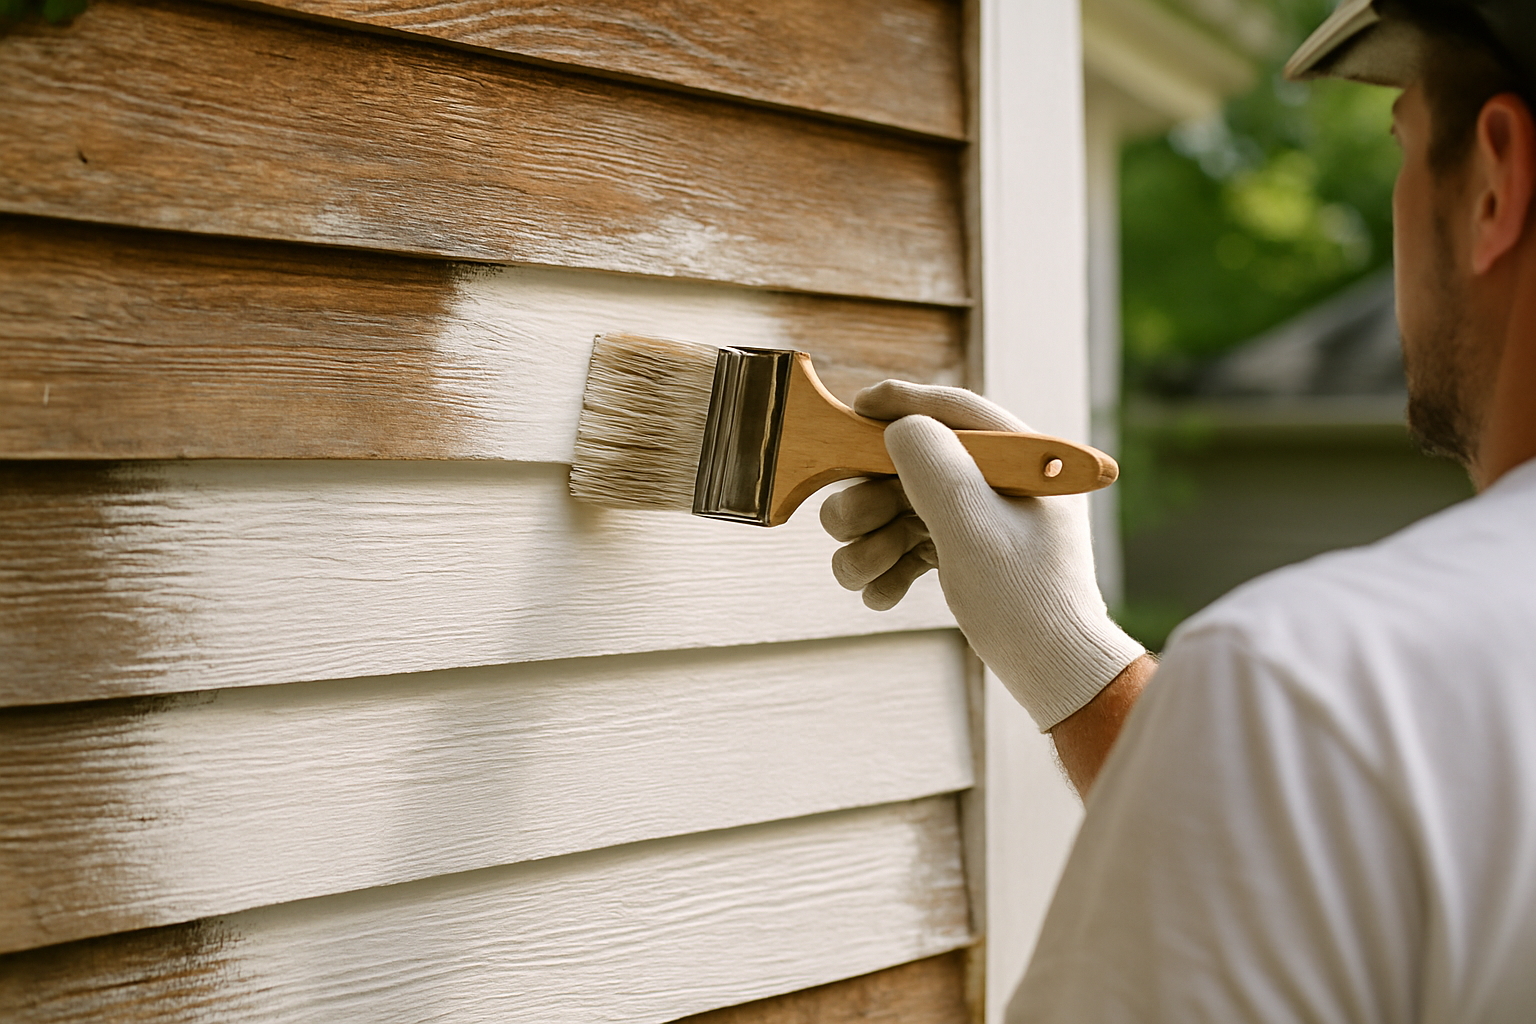
Exterior primers are built to withstand temperature swings, moisture, and UV exposure. They typically contain biocides to resist mildew. Furthermore, they are more flexible to accommodate the expansion and contraction of siding and trim. Applying an interior primer on exterior surfaces will result in premature peeling. Understanding what exterior primer does for long-term durability is closely tied to the broader question of how long does exterior paint last. The primer is one of the key variables in that equation.
Primer and Paint Compatibility at a Glance
The table below summarizes what primer to use for the most common surface and situation combinations you will encounter in residential painting.
| Surface / Situation | Recommended Primer Type | Notes |
|---|---|---|
| New drywall | Latex PVA primer | Do not use paint-and-primer-in-one |
| Raw wood (interior) | Oil-based or latex wood primer | Sand after primer dries |
| Raw wood (exterior) | Oil-based primer | Best tannin and moisture block |
| Bare metal | Rust-inhibiting oil-based | Match to metal type (steel vs. galvanized) |
| Water or smoke stains | Shellac-based (e.g., Zinsser B-I-N) | Only reliable stain blocker |
| Previously painted latex (good condition) | Latex bonding primer or none | Clean and scuff-sand first |
| Oil paint to latex switch | Shellac or bonding primer | Required for adhesion |
| Exterior siding repaints | Exterior latex primer | Must include mildewcide |
| Dramatic color change | Tinted primer (close to topcoat shade) | Reduces finish coat count |
Knowing what primer to use before painting is not just about following instructions on a can. It is about understanding what the surface needs. Additionally, it requires knowing what the topcoat expects. Each scenario above has a clear best-practice answer. Therefore, most primer failures trace directly back to a mismatch between product and surface.
If you are working through a larger project, keep in mind that application technique matters as much as product selection. Applying primer too thin leaves the surface under-sealed. Conversely, applying it too thick can create adhesion problems for the topcoat. Two thin coats, lightly sanded between applications where needed, almost always outperform one heavy coat.
The eco-friendly primer category is also worth noting for homeowners concerned about indoor air quality. According to Market Reports World, more than 730,000 metric tons of eco-friendly primers were manufactured globally in 2024. This represents a 22% increase from 2023. Low-VOC and zero-VOC latex primers are now widely available from Sherwin-Williams and Benjamin Moore. They perform comparably to traditional formulations for most residential applications.
Ready to Get Your Project Primed and Painted the Right Way?
If your project involves more complexity than a single-room refresh, working with experienced professionals removes the guesswork. Moreover, it protects your investment. Your situation may involve stains, raw wood, or a full exterior repaint. Contact Custom Colonial Painting for a free, personalized estimate from a team with 15 or more years of average experience. We hold EPA Lead-Safe certification and exclusively use Sherwin-Williams and Benjamin Moore products across Connecticut. Fill out the contact form today and get a clear plan before you buy a single can.
Frequently Asked Questions
Q: Can I use exterior primer for interior painting?
Exterior primer is not recommended for interior use. It contains biocides and chemical additives not rated for enclosed living spaces.
Exterior formulations include mildewcides and other compounds designed for outdoor exposure. Using them indoors can affect air quality and may not comply with indoor safety standards. Always use interior primer for interior projects.
Q: How many coats of primer do I need before painting?
Most surfaces only require one coat of primer. However, two coats are appropriate for highly porous surfaces, raw wood, or significant color changes.
New drywall and bare wood often benefit from a second primer coat after light sanding. For stain-blocking with shellac primer, one coat is typically sufficient. Shellac seals aggressively in a single application.
Q: Do I need to sand after priming before I paint?
Light sanding after primer is recommended for wood surfaces. Additionally, sand anywhere the primer raised the grain or left a rough texture.
Use 220-grit sandpaper and wipe away dust before applying your topcoat. For drywall primed with PVA, sanding is usually not necessary unless there are visible drips or texture inconsistencies.
Q: Is a paint-and-primer-in-one product sufficient?
Paint-and-primer-in-one products work best on previously painted surfaces in good condition. They are ideal when the color change is minimal.
Things to Know
- PVA primer is not a universal drywall primer. It is specifically designed for new, unpainted drywall. If you apply it over a previously painted surface, it will not bond properly. It can actually interfere with topcoat adhesion.
- Oil-based primer raises wood grain. After it dries, you need to sand lightly with 220-grit paper before applying your finish coat. Skipping this step leaves a rough texture that no amount of topcoat will hide.
- Shellac primer has a short working window once opened. Unlike latex primers, shellac can thicken and skin over quickly. Seal the can tightly after each use. Store it away from heat.
- Tinting primer is not just about coverage. It also improves color accuracy for saturated topcoats. A white primer base under a deep red or navy requires significantly more finish coats. This is needed to achieve true, even color.
- Bonding primer is not the same as stain-blocking primer. Bonding primers are formulated for adhesion on slick or glossy surfaces. Stain-blocking primers are formulated to seal contaminants. Using one in place of the other leaves you with a failure on one of those two fronts.
- Temperature and humidity affect primer cure time. Most latex primers require temperatures above 50°F and relative humidity below 85% to cure correctly. Applying primer outside these conditions, even on an interior project in an unheated space, can result in poor adhesion. You may also see a soft film.
Let the Right Team Handle It From the Start
Primer selection is just one variable in a paint project done correctly. If you want results that hold up for years without peeling, fading, or early failure, working with professionals makes all the difference. These professionals understand every step of the process. Contact Custom Colonial Painting today for a free, personalized estimate. Find out what a properly prepped and painted surface actually looks like. Tell us about your project through the contact form, and a member of our team will get back to you with a clear, no-pressure plan.
Frequently Asked Questions
Q: What primer should I use on previously painted walls that are in good condition?
For previously painted walls in good condition, a latex bonding primer is the most reliable choice. This is especially true if the existing finish is glossy or semi-gloss.
Lightly scuff-sand the surface first to give the primer something to grip. Then wipe away dust before applying. If the existing paint is flat or eggshell and the color change is minor, some high-quality paint-and-primer-in-one formulations may be sufficient. However, a dedicated bonding primer gives you more confidence in long-term adhesion.
Q: Can I use interior primer on exterior surfaces to save money?
No. Interior primer lacks the UV stabilizers, mildewcides, and flexibility additives that exterior primer contains. It will fail prematurely when exposed to outdoor conditions.
Using interior primer outside may look fine initially. However, within one or two seasons you will likely see peeling, bubbling, or mildew growth. The cost of repainting far exceeds any savings from using the wrong product at the start.
Q: How long should I wait after priming before applying paint?
Dry time varies by primer type: latex primers are typically recoatable in one to two hours. Oil-based primers require eight to twenty-four hours. Shellac primers dry in as little as forty-five minutes.
Always check the specific product label, since formulations vary between manufacturers and product lines. Humidity and temperature also extend dry times. Applying topcoat before the primer is fully cured can cause adhesion failure, wrinkling, or uneven sheen in the finished surface.
Q: Do I need primer if I am painting over a dark color with a lighter one?
Yes. Applying a tinted primer close to your topcoat color before painting over a dark surface significantly reduces the number of finish coats needed. It also prevents the dark color from affecting the final hue.
Without primer, light colors applied directly over dark ones often require four or more coats to fully cover. The underlying color can still influence the tone. A gray or mid-toned primer cuts that down to two finish coats in most cases. This saves time and product cost.
Q: Is shellac-based primer safe to use indoors?
Shellac-based primer can be used indoors. However, it requires strong ventilation during application and drying. It contains denatured alcohol and produces significant fumes.
Open windows, run exhaust fans, and wear a respirator rated for organic vapors when working with shellac primer in enclosed spaces. Once fully cured, shellac primer is inert and safe. Limit its use indoors to targeted spot-priming of stains. Rather than full-wall application, this minimizes fume exposure.