
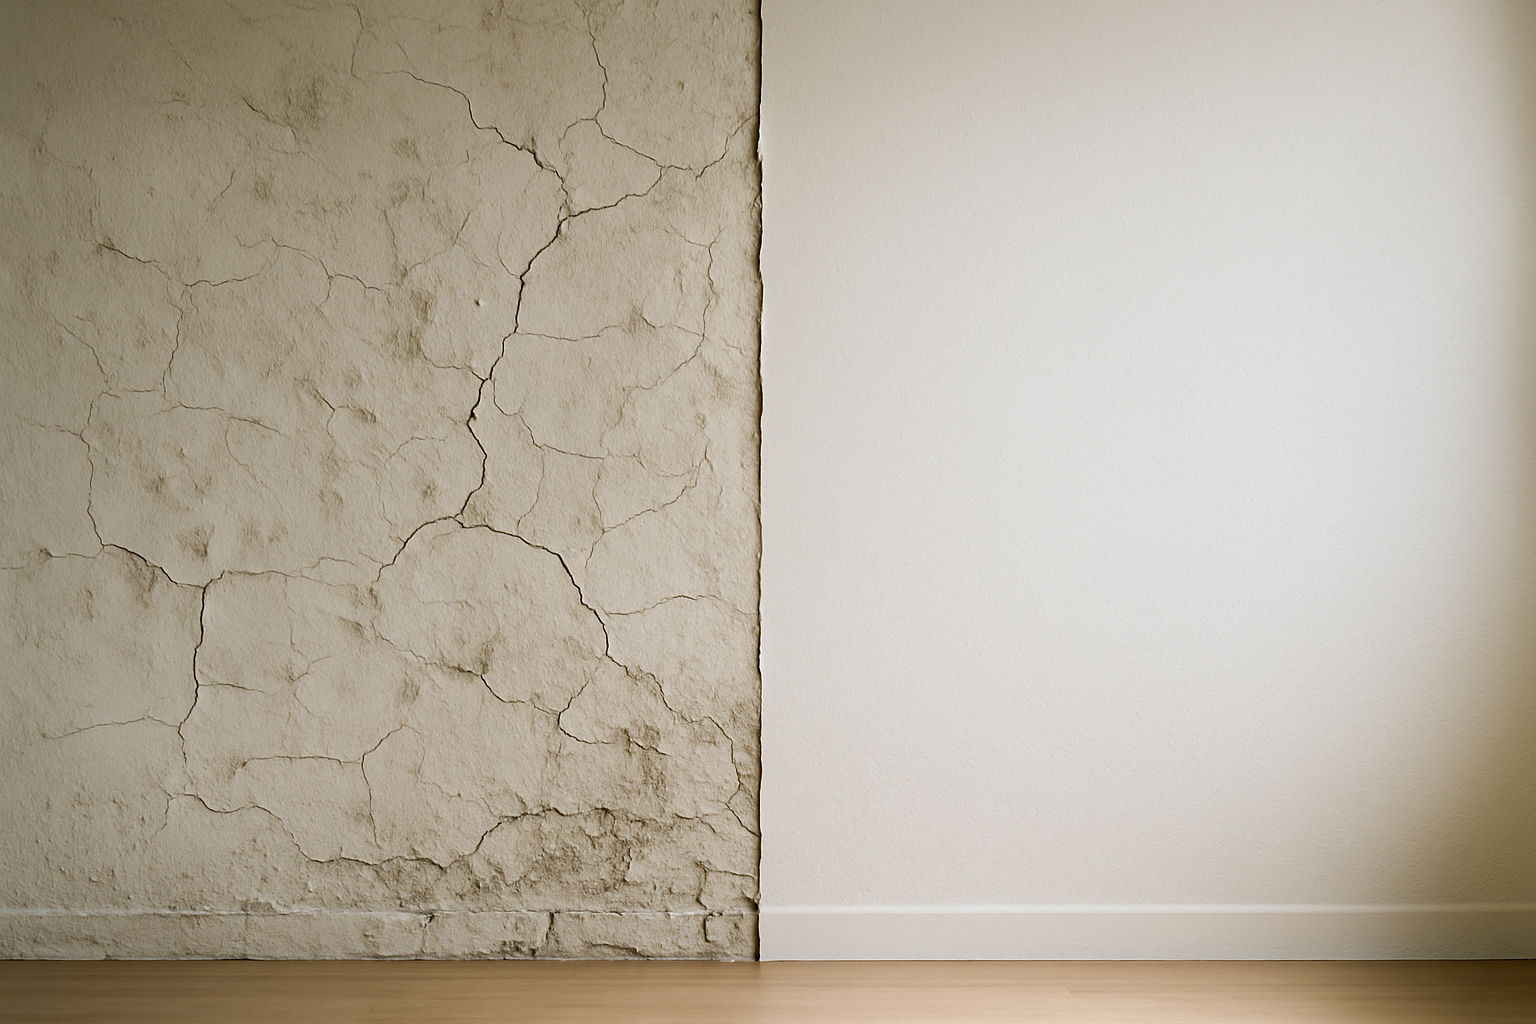
Knowing how to prep walls before painting is the single most important factor in whether your paint job looks professional or peels within months. Moreover, skipping or rushing preparation leads to visible defects, poor adhesion, and costly do-overs.
Table of Contents
- Why Wall Prep Matters More Than the Paint Itself
- Step-by-Step Wall Preparation Process
- Choosing the Right Primer for Your Surface
- Wall Prep for Special Situations
- Things to Know
Key Takeaways
- Proper wall preparation prevents peeling, bubbling, and uneven coverage — it forms the foundation of any lasting paint job.
- Cleaning, patching, sanding, and priming are non-negotiable steps, not optional upgrades.
- The right primer choice depends on your surface type, existing damage, and the paint finish you plan to use.
- Wallpaper must be fully removed and the wall stabilized before any paint is applied.
- Professional painters invest significant time in prep because it directly determines the quality and durability of the finished coat.
- According to the Painting And Wall Covering Contractors Global Market Report 2026, the global painting and wall covering contractors market is expected to reach $237.54 billion in 2026, reflecting strong demand for quality painting services.
Why Wall Prep Matters More Than the Paint Itself
Paint is only as good as the surface underneath it. Even a premium product from Sherwin-Williams or Benjamin Moore will fail prematurely if you apply it over a dirty, damaged, or unprimed wall. Professional painters with 15 or more years of experience consistently point to preparation as the stage where most DIY projects go wrong.
According to 21 Painting Industry Facts and Statistics (2026), 29% of homeowners hired professionals for painting in 2025, with 70% likely to hire professionals again within the next year. That repeat demand stems largely from the visible difference in results that proper wall prep before painting creates.
Additionally, considering the how much does house painting cost side of things matters here because cutting corners on prep can lead to repaints within a few years. This costs significantly more than doing it right the first time.
Step-by-Step Wall Preparation Process
1. Clear and Protect the Space Before Prepping Walls
Before touching the walls, remove furniture from the room or push it to the center. Cover furniture with drop cloths. Take down outlet covers, switch plates, and any wall fixtures. Tape plastic sheeting over anything that cannot be moved. This protects your belongings and gives you full access to every wall surface.
2. Clean the Walls Thoroughly to Prep Walls Before Painting
Dirt, grease, and dust prevent paint from bonding properly. Wash walls with a solution of mild detergent and warm water, working from the top down. In kitchens and bathrooms, use a degreaser to cut through built-up residue. Pay special attention to areas near light switches and door frames, which accumulate oils from repeated hand contact. Allow walls to dry completely before moving forward.
3. Repair All Damage on Your Walls
Inspect every surface carefully for defects. Fill small nail holes and hairline cracks with lightweight spackle, pressing it in firmly and smoothing it flush with a putty knife. For larger holes or gouges, use a joint compound and allow for multiple thin coats, each fully dried before the next is applied. Sand each repair smooth using 120- to 150-grit sandpaper once the compound has hardened.
4. Sand the Entire Surface to Prep Walls Before Painting
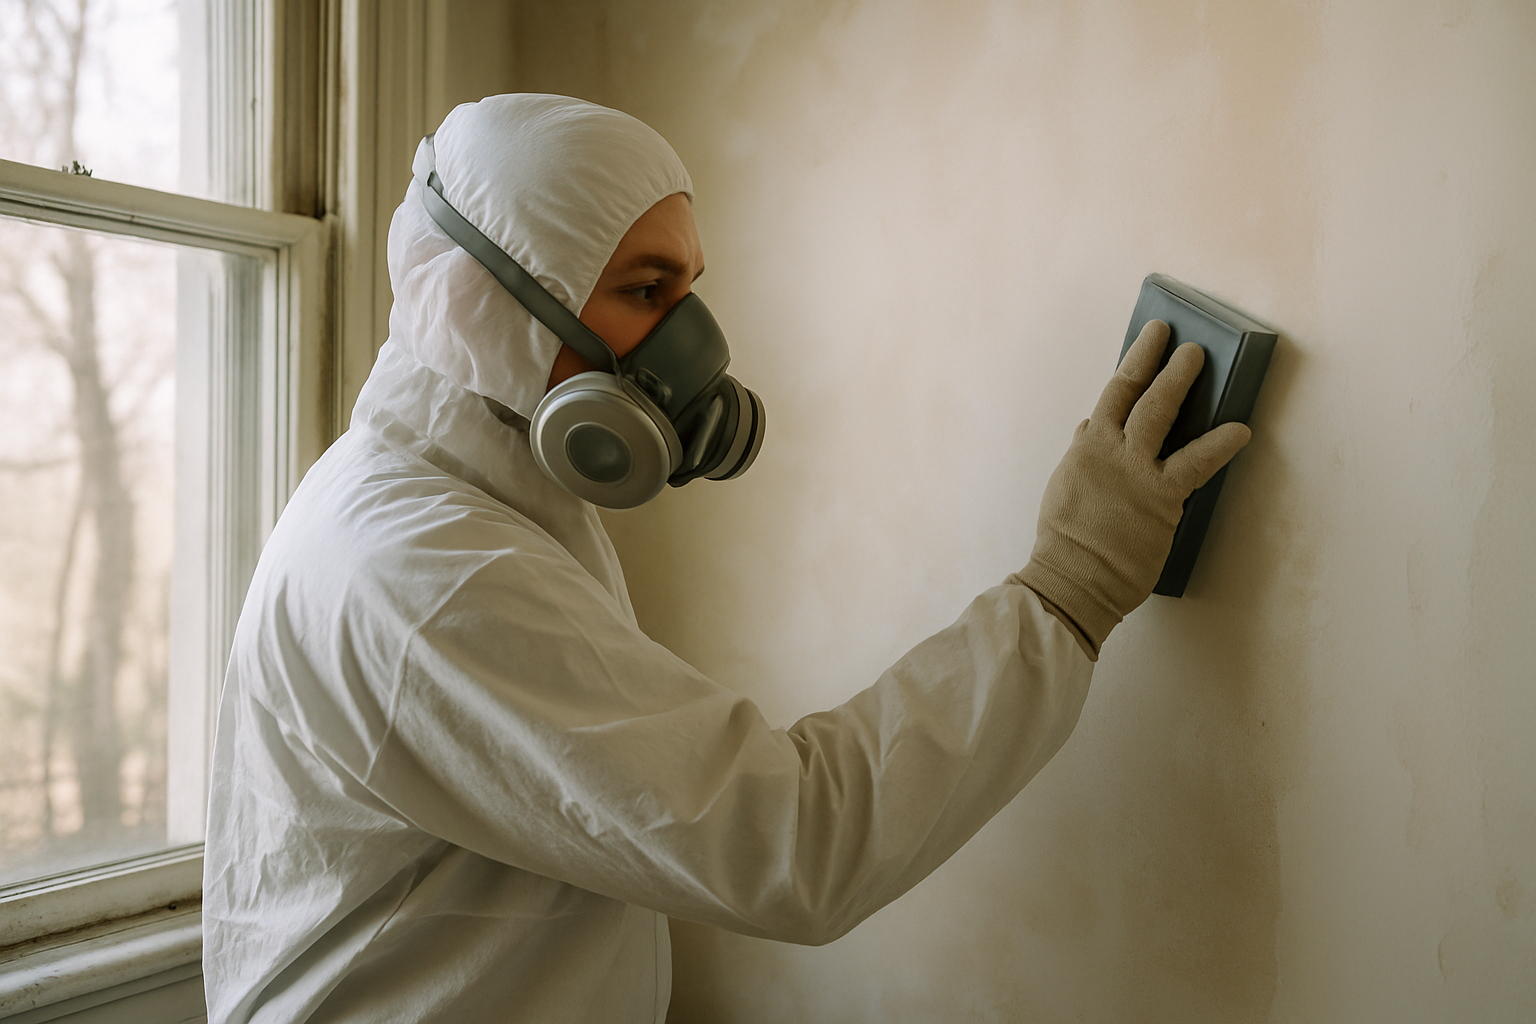
Even if your walls look smooth, a light sanding with 150-grit sandpaper helps paint adhere more reliably. This step matters especially over glossy or semi-gloss surfaces where new paint tends to slide or bead. After sanding, wipe down the walls with a damp tack cloth or microfiber cloth to remove all dust before priming.
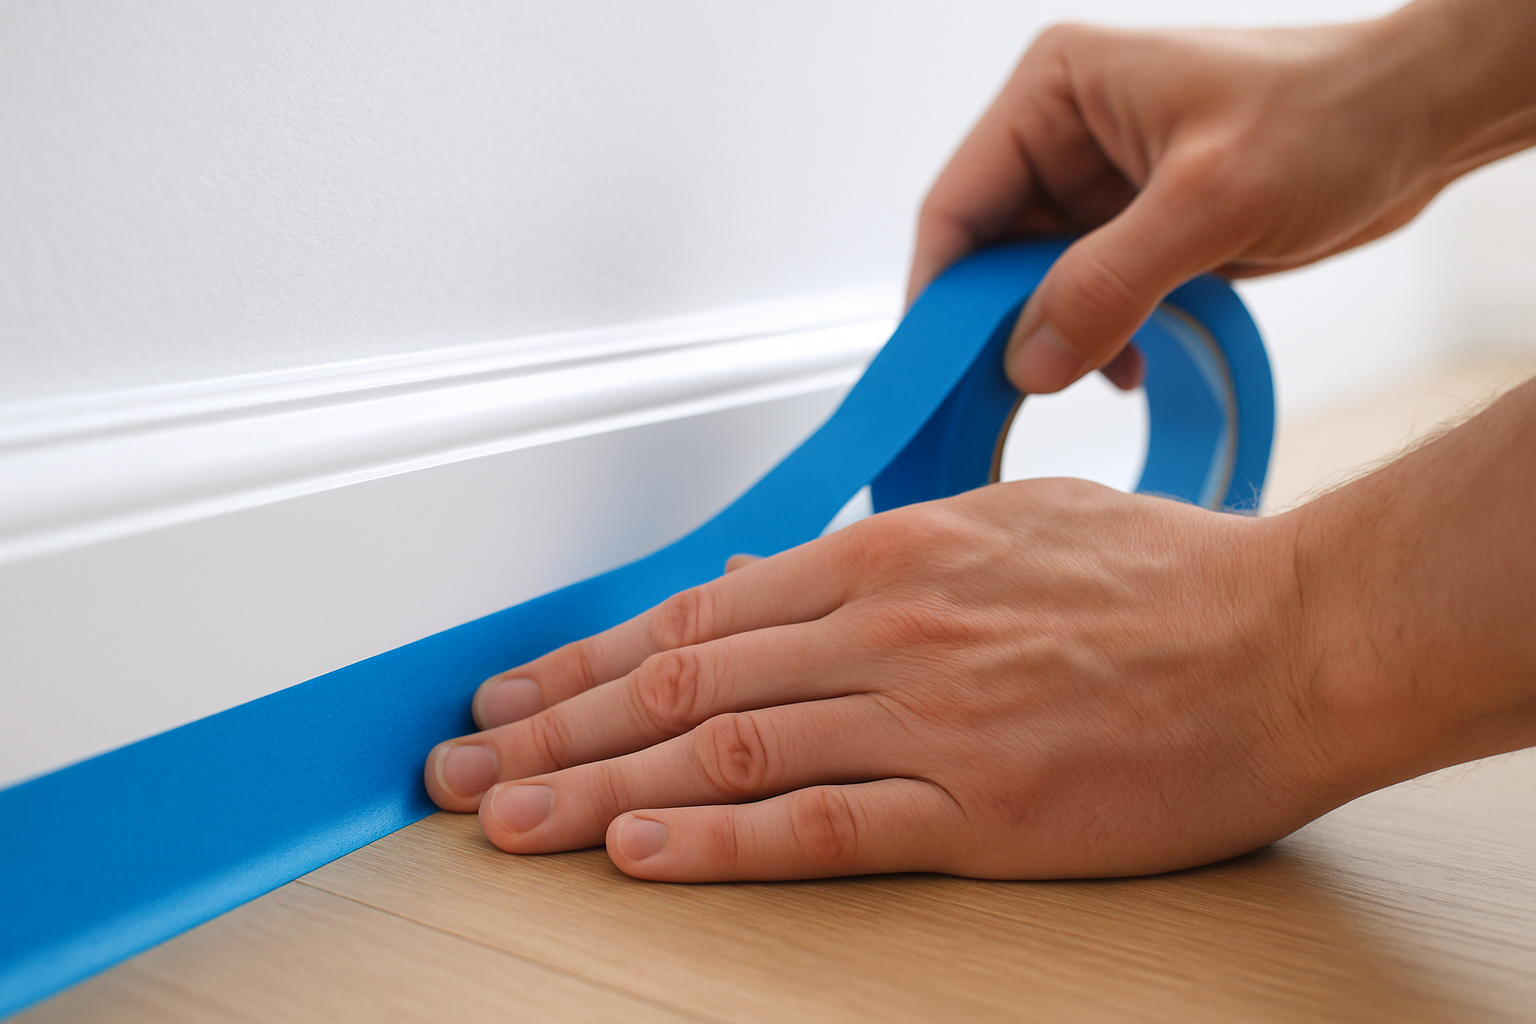
5. Tape and Mask Edges for Professional Wall Prep
Apply painter’s tape carefully along baseboards, crown molding, window frames, and door casings. Press the tape edge firmly to prevent bleed-through. This step requires patience, but it delivers the clean lines that separate a professional-looking finish from a rushed one.
Choosing the Right Primer for Your Surface
Primer is not one-size-fits-all. The type you select should match both your surface and your intended finish.
| Surface Type | Recommended Primer |
|---|---|
| New drywall | PVA drywall primer |
| Previously painted walls (flat finish) | Latex bonding primer |
| Stained or water-damaged areas | Stain-blocking shellac or oil-based primer |
| Glossy or semi-gloss surfaces | High-adhesion bonding primer |
| Bare wood trim | Oil-based or shellac primer |
Once you have primed, selecting the right topcoat finish becomes much easier. Understanding the differences between eggshell vs satin paint finish helps you match durability and sheen to the room’s function and traffic level if you are deciding between finishes for living spaces.
Allow primer to cure fully according to the manufacturer’s label before applying your first coat of paint. Rushing this step causes the topcoat to pull or wrinkle.
Wall Prep for Special Situations
Painting Over Wallpaper
If your walls are covered with wallpaper, the right move is almost always removal rather than painting over it. Understanding how to remove wallpaper properly before you prep walls before painting is essential for long-term results. Paint traps moisture against the paper, causing it to bubble, peel, and eventually fail.
Prepping Kitchen Walls and Cabinets
Kitchens require extra attention because of grease accumulation. If you are also refreshing cabinetry as part of a kitchen project, refer to how to paint kitchen cabinets for specific surface prep steps that differ from standard walls.
Older Homes and Lead Paint Concerns
Homes built before 1978 may contain lead-based paint. Sanding or scraping surfaces with lead paint releases hazardous dust. In Connecticut, contractors working in pre-1978 homes are required to follow EPA Lead-Safe practices. Custom Colonial Painting holds EPA Lead-Safe certification, which means they follow federally mandated containment and cleanup procedures to protect your family during any painting project.
Things to Know
- TSP (trisodium phosphate) cleaner effectively removes heavy grease but requires thorough rinsing, as residue can interfere with paint adhesion.
- Patching compound shrinks slightly as it dries. Therefore, slightly overfilling holes before sanding flush produces better results.
- Skipping primer on new drywall causes “flashing,” which is when the sheen appears uneven because raw drywall absorbs paint at different rates than taped joints.
- In high-humidity rooms like bathrooms, mold-resistant primer is a worthwhile upgrade that prevents future problems.
- Temperature and humidity affect drying times significantly; most products recommend application between 50°F and 85°F with humidity below 85%.
Start Your Project the Right Way With Custom Colonial Painting
Proper wall prep before painting takes time, and it is easy to underestimate how much work goes into it before a brush ever touches the wall. Custom Colonial Painting brings over 15 years of average painter experience to every project in Connecticut, serving communities across Greenwich, Darien, Fairfield, Trumbull, New Canaan, Newtown, and beyond. Request your free estimate today and get a detailed assessment of exactly what your walls need before the first coat goes on. Fill out the contact form and a specialist will follow up promptly to schedule your consultation.
Frequently Asked Questions
Q: Do you always need to prime before painting?
Priming is necessary in most situations, especially on new drywall, stained surfaces, or when making a dramatic color change. Skipping primer over bare drywall causes uneven sheen and poor coverage. Moreover, even over previously painted walls, a bonding primer improves adhesion when switching from a glossy finish or covering dark colors.
Q: How long should patching compound dry before painting?
Most lightweight spackle dries within one to two hours for small repairs, while joint compound requires at least 24 hours per coat. Always follow the product’s label guidance. Painting over wet compound causes cracking, bubbling, and adhesion failure that shows through the finished coat.
Q: Can you paint directly over a dirty wall?
No. Paint applied over grease, dust, or soap residue will not bond correctly and is likely to peel or chip prematurely. Washing walls before painting is not optional. In kitchens especially, a thorough degreasing step is one of the most impactful things you can do for long-term durability.
Q: What grit sandpaper should you use to prep walls?
For general wall prep, 120- to 150-grit sandpaper works well for smoothing patches and scuffing glossy surfaces. Use finer grits (180-220) for final smoothing passes on trim or highly visible areas. Always remove sanding dust completely before priming.
Q: How do you know if walls need primer or can skip straight to paint?
If the wall is clean, already primed, in good condition, and you are using a similar color, you may be able to skip a separate primer coat. However, paint-and-primer-in-one products are not always equivalent to a dedicated primer coat on problem surfaces. When in doubt, spot-priming repaired areas is always a sound practice.
The Bottom Line on How to Prep Walls Before Painting
Learning how to prep walls before painting properly separates results that last a decade from paint jobs that start failing within a year or two. Every step, from cleaning and patching to sanding and priming, serves a specific purpose. These actions protect your investment and improve the final appearance.
If the project involves complex repairs, older materials, or simply more square footage than you want to handle, bringing in a professional is a straightforward way to guarantee the outcome. Reach out to Custom Colonial Painting to get started with a free, no-obligation estimate.