
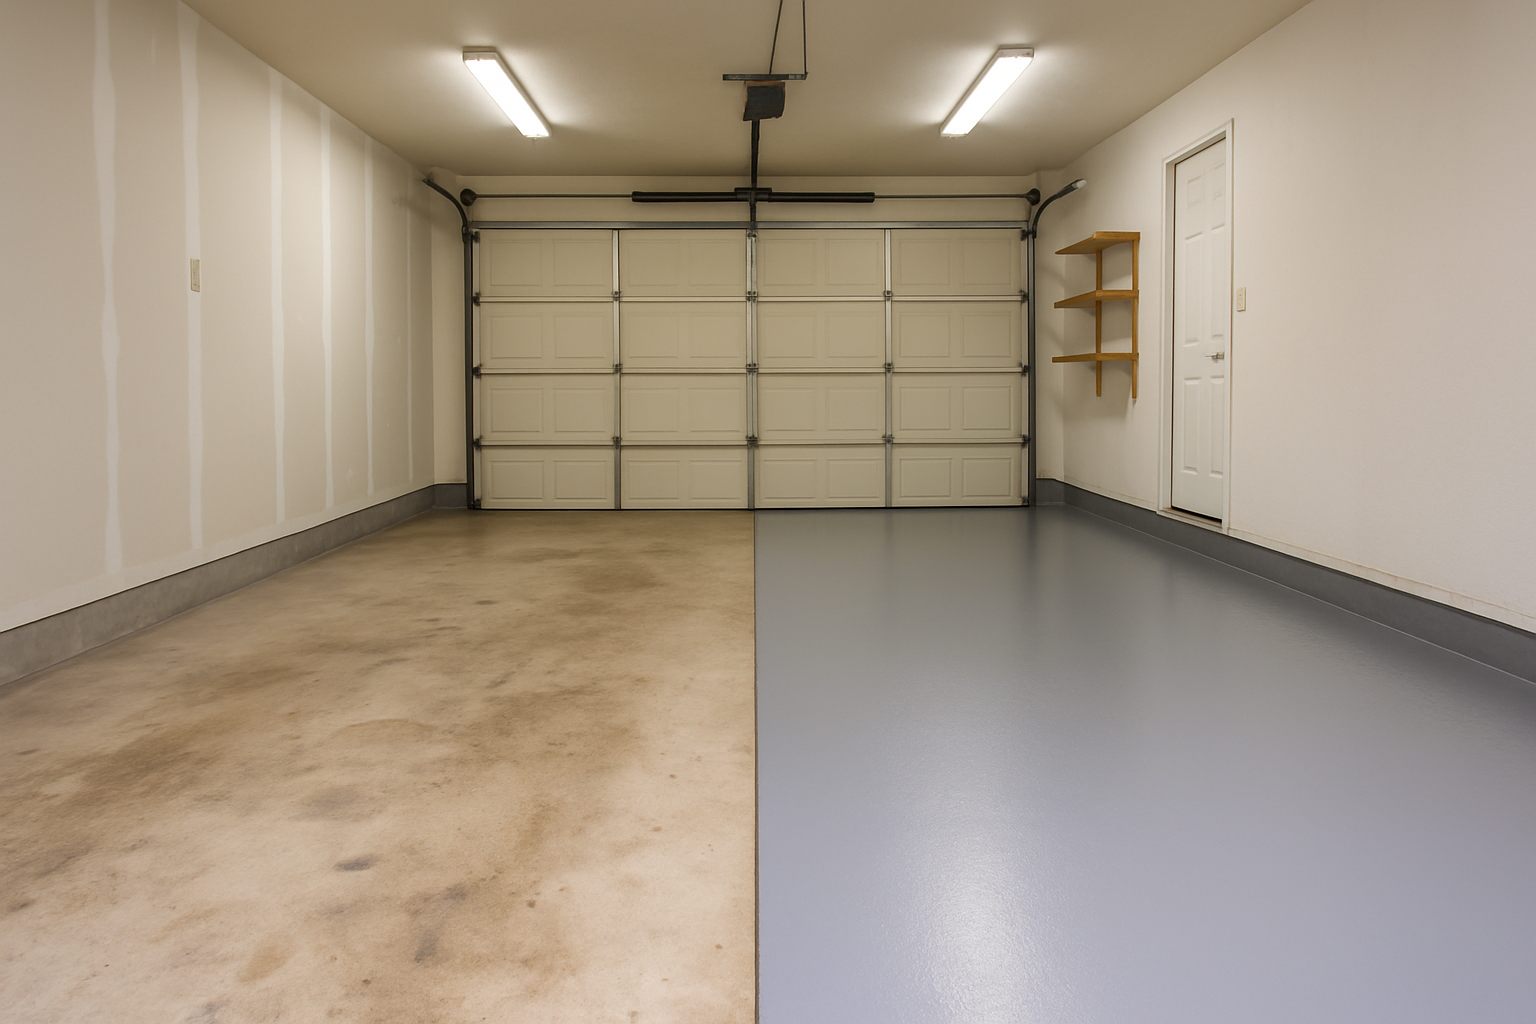
Painting your garage floor concrete is one of the most effective ways to protect the slab from oil stains, moisture, and surface wear. Moreover, it gives the space a clean, finished look. When done correctly, the process involves thorough surface preparation, the right product selection, and proper application technique. Skipping any of these steps is the most common reason coatings fail early.
Table of Contents
- Why Garage Floor Coating Is Worth Doing Right
- Choosing the Right Paint or Coating for Your Garage Floor
- Surface Preparation: The Step That Determines Everything
- How to Paint Garage Floor Concrete Step by Step
- Common Mistakes That Cause Peeling and Failure
- How Long the Coating Will Last and When to Recoat
Why Garage Floor Coating Is Worth Doing Right
The garage floor is one of the hardest-working surfaces in your home. It absorbs vehicle weight, chemical spills, and temperature swings from Connecticut winters to summer heat. Additionally, it handles constant foot traffic. Without a protective coating, bare concrete is porous and absorbs oil, road salt, and moisture, which accelerates surface degradation over time.
The market reflects just how widely homeowners have recognized this need. According to Verified Market Research (July 2025), the garage floor paint market was valued at USD 1.48 billion in 2024. Furthermore, it is projected to reach USD 2.87 billion by 2032, growing at a compound annual growth rate of 8.6% from 2026 to 2032. That growth is driven largely by the residential segment, which Research Nester (September 2025) estimates will hold approximately 60% of the concrete floor coatings market share by 2035.
A properly coated garage floor also resists hot tire pickup. This is the bubbling and peeling caused when warm tires bond to insufficiently cured or improperly primed coatings. Understanding why this happens is just as important as knowing the application steps.
Choosing the Right Paint or Coating for Your Garage Floor
Not all garage floor coatings are created equal. The main categories available to homeowners are latex (water-based) floor paint, one-part epoxy paint, two-part epoxy coatings, and polyurea or polyaspartic coatings. Each has distinct trade-offs in cost, durability, and application complexity.
Latex Floor Paint
Latex is the most accessible option. Additionally, it accounts for a significant share of the residential market. According to 360 Research Reports (2024), over 62% of residential garages and basements use latex-based coatings because of their low odor and relatively easy application. They are the most forgiving for DIYers and dry quickly. However, they are the least durable under heavy vehicle traffic or chemical exposure.
One-Part Epoxy Paint
One-part epoxy is a step up from basic latex. It is still water-based or solvent-based but contains some epoxy resin for added adhesion and durability. It is commonly sold at big-box stores and is suitable for lightly used garage spaces. The limitation is its bonding strength compared to true two-part systems.
Two-Part Epoxy Coatings
Two-part epoxy systems require mixing a resin with a hardener before application. Once cured, they form a chemical bond with the concrete that is significantly harder and more resistant to abrasion, chemicals, and moisture than either latex or one-part options. The trade-off is a narrower application window. The pot life after mixing is limited, and a longer cure time before vehicle traffic is allowed. Additionally, these systems are sensitive to temperature and humidity during application.
Polyurea and Polyaspartic Coatings
These represent the professional-grade tier. They cure faster and perform better in temperature extremes. Furthermore, they are more UV stable than standard epoxy. They are typically applied by contractors rather than DIYers because application speed and material handling require experience.
| Product Type | Durability | DIY-Friendly | Typical Cost (per sq. ft.) | Best For |
|---|---|---|---|---|
| Latex Floor Paint | Low | Yes | $0.15 – $0.40 | Light foot traffic only |
| One-Part Epoxy | Moderate | Yes | $0.30 – $0.60 | Light vehicle use |
| Two-Part Epoxy | High | Moderate | $0.60 – $1.50 | Most garages |
| Polyurea/Polyaspartic | Very High | No | $3.00 – $7.00+ | Heavy-use, professional only |
Pricing ranges above are general estimates based on publicly available retail and contractor pricing; your actual cost will vary by region, product brand, and floor square footage.
Just as you would research best paint colors for living room before picking a finish for your interior walls, taking time to match the product type to your specific use case will save you from an early failure.
Surface Preparation: The Step That Determines Everything
Surface preparation is where most DIY garage floor projects fail. A coating applied to a poorly prepared slab will peel within months. This happens regardless of product quality. Therefore, this step is not optional and cannot be rushed.
Step 1: Clear and Clean the Floor
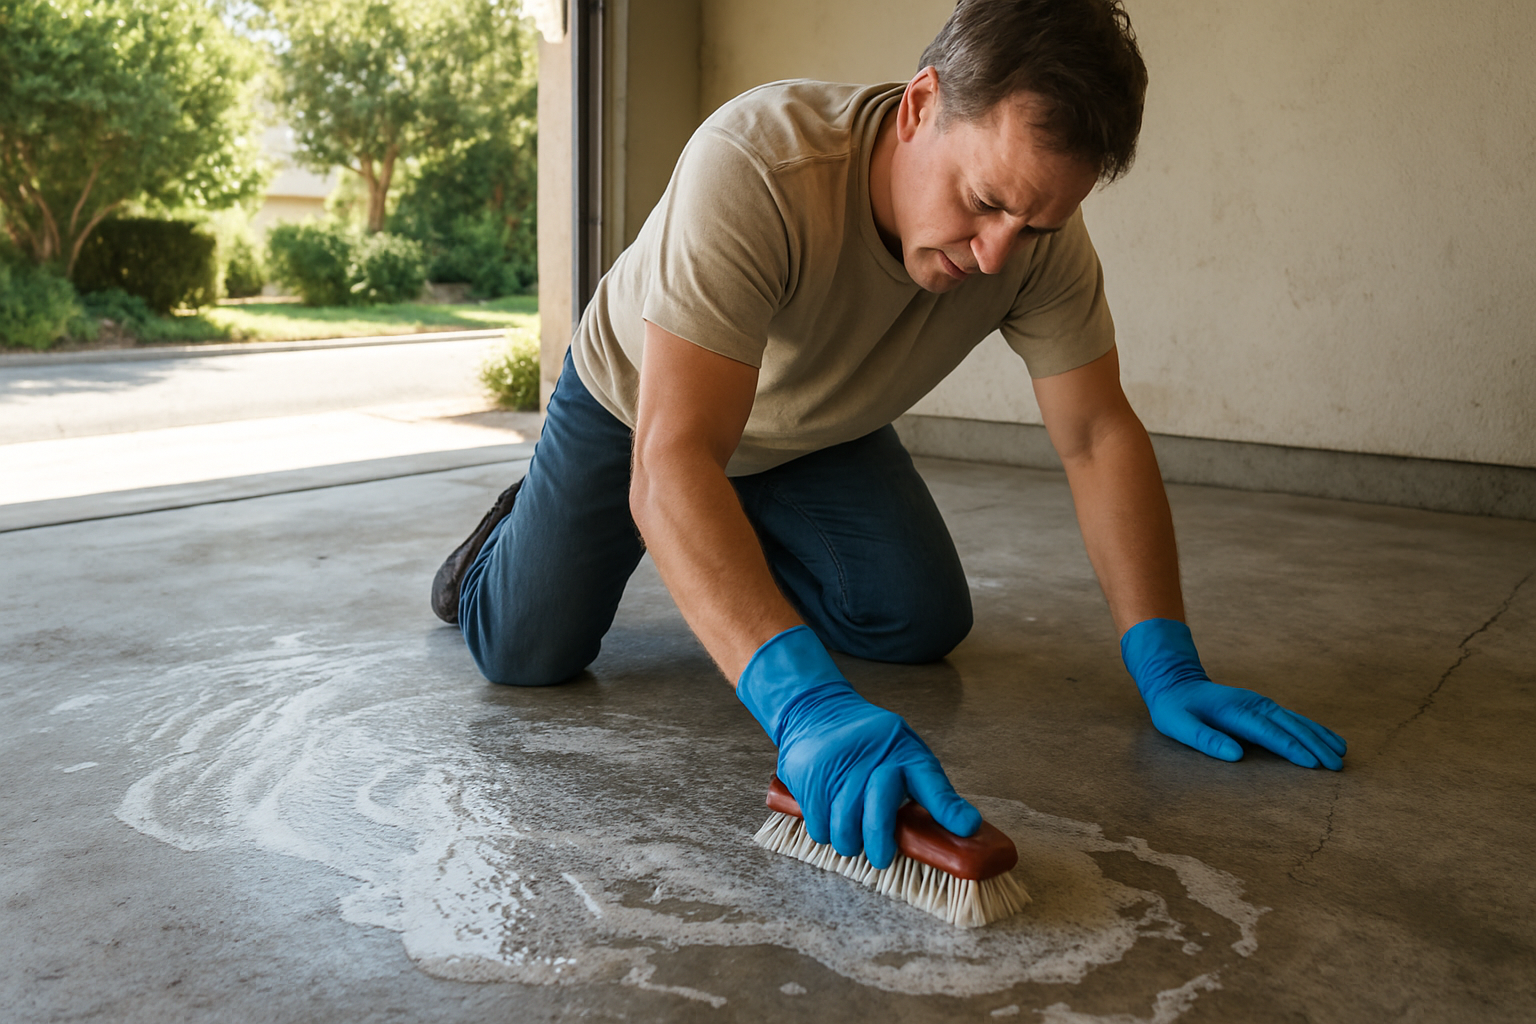
Remove everything from the garage. Sweep up all debris, then degrease the floor using a commercial degreaser or trisodium phosphate (TSP) solution. Pay particular attention to any oil stains, as epoxy will not bond over petroleum residue. You may need to apply degreaser to heavy stains multiple times.
Step 2: Check for Moisture
Tape a 16-by-16-inch sheet of plastic to the floor and leave it for 24 hours. If moisture condenses under the plastic, you have a vapor transmission problem that must be addressed before coating. Applying paint over a slab with active moisture migration will cause bubbling and delamination.
Step 3: Test for Previous Sealers
Pour a small amount of water on the floor. If it beads up, a sealer or previous coating is present. You must mechanically remove it through grinding or shot blasting before applying a new coating. Simply painting over an existing sealer is a recipe for adhesion failure.
Step 4: Acid Etching or Mechanical Profiling
Concrete must be opened up to accept a coating. The two main methods are acid etching and mechanical profiling. Acid etching uses a diluted muriatic or phosphoric acid solution, which reacts with the concrete surface to create a profile. Mechanical profiling uses a floor grinder or shot blaster to physically abrade the surface.
Mechanical profiling is more effective and preferred by professionals. After etching, rinse the floor thoroughly and allow it to dry completely. This typically takes 24 hours under normal conditions.
Step 5: Fill Cracks and Spalls
Use a concrete crack filler or polyurea patch compound to fill any cracks, divots, or spalled areas. Allow the repair to cure fully before proceeding.
How to Paint Garage Floor Concrete Step by Step
Once the surface is fully prepared and dry, you are ready to coat. For two-part epoxy, mix the resin and hardener according to the manufacturer’s instructions. Allow the mixture to “induct” (rest) for the specified time before applying. This step is critical to proper chemical activation.
Application Steps:
- Cut in the edges first. Use a brush to apply the coating along the perimeter of the floor. Also apply it around floor drains and in any tight corners a roller cannot reach.
- Roll the field area. Use a 3/8-inch nap roller for two-part epoxy or a 3/4-inch nap for thicker products. Work in 4-by-4-foot sections and maintain a wet edge to avoid lap marks. This technique is similar to what professionals use when working on how to paint a ceiling without streaks — maintaining a consistent wet edge prevents banding.
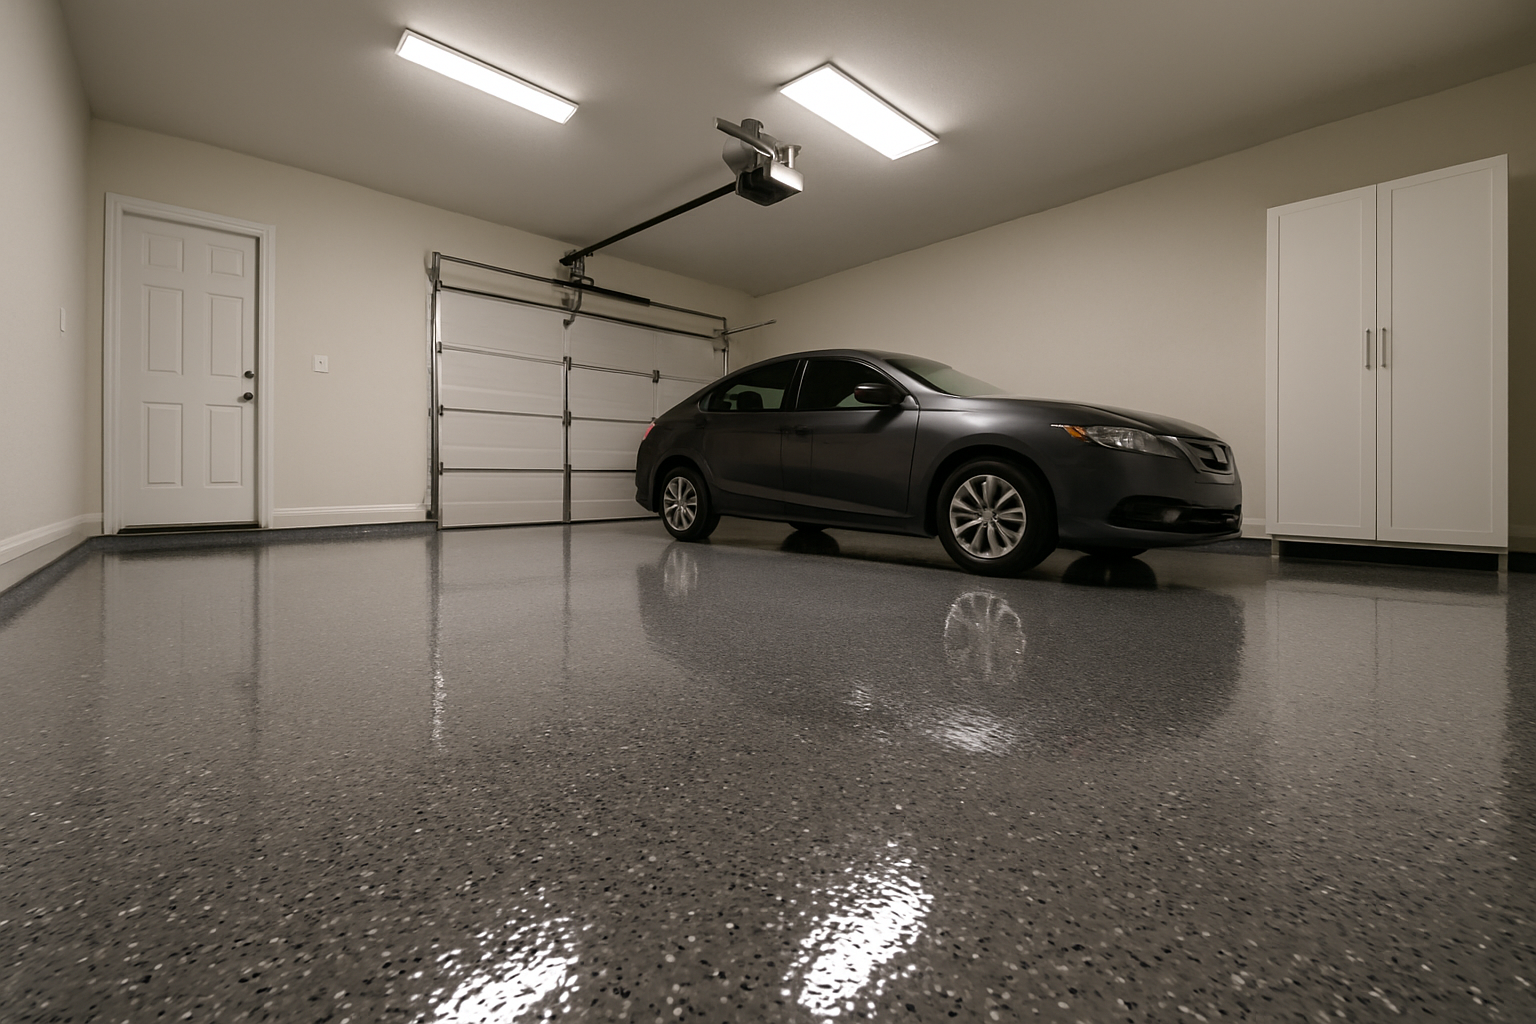
- Add decorative flakes if desired. Colored vinyl flakes can be broadcast into the wet coating to add grip and a decorative finish. Apply them immediately after rolling each section before the coating begins to skin over.
- Apply a second coat or topcoat. Most two-part epoxy systems benefit from a second coat or a clear polyurethane topcoat for added durability and gloss. Check the manufacturer’s recoat window and do not exceed it. Otherwise, you will need to scuff-sand the surface for adhesion.
- Allow full cure before use. Light foot traffic is typically permitted after 24 hours. However, vehicle traffic generally requires 72 hours or more. Full chemical cure for two-part systems can take 5 to 7 days. Introducing vehicle traffic too early is one of the top causes of hot tire pickup.
Temperature and humidity are significant factors during application. Most coatings require the concrete and air temperature to be above 50°F and relative humidity below 85%. Applying outside of these windows, especially in a cold Connecticut garage in the fall, can prevent proper film formation.
Common Mistakes That Cause Peeling and Failure
Understanding these errors in advance is the best way to avoid a costly redo.
- Skipping the moisture test. Applying any coating over a slab with active vapor drive will result in bubbling and delamination within weeks.
- Insufficient degreasing. Even small amounts of oil contamination will prevent adhesion. If in doubt, degrease twice.
- Not profiling the surface. Smooth concrete has very low surface area for a coating to grip. Without etching or grinding, even premium products will fail.
- Applying in cold or humid conditions. Many coatings have strict temperature and humidity application windows. Ignoring them disrupts the curing chemistry.
- Driving on the floor too soon. This is the number one reason for hot tire pickup, particularly with one-part epoxy systems.
- Applying too thin or too thick. Follow the manufacturer’s specified coverage rate. Over-applying can trap solvents and cause bubbling; under-applying leads to insufficient film build and early wear.
The same attention to surface condition that matters for how to stain a deck applies here — no coating performs well over a contaminated or unprepared substrate.
How Long the Coating Will Last and When to Recoat
How long you can expect garage floor paint to last depends heavily on the product type. In addition, it depends on surface preparation quality and the level of traffic and chemical exposure the floor sees.
Latex floor paint under vehicle traffic may need recoating every 1 to 2 years. A well-applied two-part epoxy system, properly prepared and topcoated, can last anywhere from 5 to 10 years in a typical residential garage. This is before showing significant wear. Professional polyurea systems often carry 10-year or longer warranties when applied by certified installers.
Signs that it is time to recoat include visible surface abrasion down to the concrete, flaking or peeling at edges, or a loss of the non-porous finish. When the non-porous finish is compromised, stains penetrate again. Just as it is useful to understand how long does exterior paint last for planning your home maintenance schedule, tracking the age and condition of your garage floor coating helps you plan maintenance. This prevents the floor from degrading to a point that requires more intensive prep work.
When recoating over an existing intact epoxy, lightly scuff-sand the surface with 60 to 80-grit sandpaper. This gives the new coat mechanical bite. Degrease thoroughly and apply the new topcoat within the compatibility guidelines of the product you are using.
Knowing how to paint garage floor concrete correctly is the difference between a coating that holds up for nearly a decade and one that begins peeling before the next winter. The investment in preparation time upfront pays dividends every time you look at a clean, durable floor beneath your vehicle.
Things to Know
- Concrete must be at least 28 days old before coating. Freshly poured slabs still off-gas moisture and have not fully cured, which prevents proper adhesion regardless of product type.
- Muriatic acid etching requires serious safety precautions. Always work with proper ventilation, chemical-resistant gloves, eye protection, and rubber boots. Neutralize the floor with a baking soda and water solution after etching and before rinsing.
- Not all epoxy products sold at big-box stores are true two-part systems. Many are marketed as “epoxy paint” but contain only a small percentage of epoxy resin. Read the label carefully and look for a separate resin and hardener component if durability is your priority.
- Color choice affects heat absorption. Darker floor coatings absorb more heat in direct sunlight. As a result, this can accelerate softening and wear in garages that see significant sun exposure through open doors or windows.
- Humidity inside the garage matters as much as outdoor weather. Even on a warm day, a garage with poor ventilation can have relative humidity that exceeds most coatings’ application thresholds. Use a hygrometer to verify conditions before you start.
- Anti-slip additives are worth considering. According to 360 Research Reports (2024), anti-slip floor paint innovations enhanced surface friction performance by nearly 29% in recent product developments. Adding a non-slip aggregate to your topcoat reduces fall risk, especially in a garage that gets wet from rain or snow tracked in by vehicles.
Start Your Garage Floor Project With Professional Guidance Behind You
A coating that fails in year one costs you more time and money than getting it right the first time. If you are weighing whether to take on this project yourself or bring in an experienced crew, reach out to Custom Colonial Painting for a free, personalized estimate on your garage floor or any other painting and coating project in Connecticut. Tell us your floor dimensions, your current surface condition, and your timeline, and we will give you a straight answer on what the job requires.
Frequently Asked Questions
Q: Do I need to prime concrete before painting the garage floor?
A: Yes, priming is strongly recommended for most garage floor coating systems, and required for two-part epoxy applications.
A primer penetrates the concrete pores and creates a bonding layer that the topcoat adheres to. Skipping primer, particularly on porous or previously uncoated concrete, increases the risk of delamination under traffic and chemical exposure. Some two-part epoxy kits include a dedicated primer as part of the system — use it as directed rather than substituting a general-purpose masonry primer.
Q: Can I paint a garage floor that already has an existing coating on it?
A: Yes, but only if the existing coating is fully intact, well-bonded, and compatible with the new product you plan to apply.
If the old coating is peeling, bubbling, or flaking in any area, you must remove it entirely before recoating. Over areas that remain solid, scuff-sand with 60 to 80-grit sandpaper, degrease thoroughly, and confirm product compatibility. Applying a new coating over a failing old one simply transfers the adhesion failure to the new layer.
Q: How long does garage floor paint take to dry before I can park on it?
A: Light foot traffic is typically safe after 24 hours, but most coatings require at least 72 hours before vehicle traffic is permitted.
Full chemical cure for two-part epoxy systems generally takes 5 to 7 days. Driving or parking on the floor before it reaches sufficient hardness is the leading cause of hot tire pickup. This leaves permanent marks and compromises the coating surface. Check the specific cure schedule on your product’s technical data sheet, as timelines vary by formulation and ambient temperature.
Q: What temperature does the garage need to be for painting concrete floors?
A: Most garage floor coatings require both the air and concrete surface temperature to be between 50°F and 90°F during application and for the initial curing period.
Applying below 50°F slows or halts the chemical curing reaction, which prevents the coating from hardening properly. In Connecticut, this is a real concern in early spring and late fall when garage temperatures can drop significantly overnight. Always check the concrete surface temperature with an infrared thermometer, not just the air temperature, since slabs can remain colder than the surrounding air for hours after the garage warms up.
Q: Is it better to hire a professional or do a garage floor coating myself?
A: It depends on your floor’s condition, the product tier you want, and your tolerance for prep work — but professional application consistently outperforms DIY for anything beyond basic latex or one-part epoxy.
Two-part epoxy and professional-grade polyurea systems have narrow application windows. Additionally, they have specific mixing ratios and surface preparation requirements that demand experience to execute correctly. Errors in any of these steps are difficult to correct after the fact. Custom Colonial Painting serves homeowners across Connecticut, including Greenwich, Fairfield, Darien, Trumbull, and Newtown, and brings painters averaging 15 or more years of experience to every project. For homeowners who want a durable, professionally finished result without the risk of a costly redo, professional application is the more reliable path.