Most paint failures are not caused by bad paint. They are caused by poor preparation. When paint peels, bubbles, or fades prematurely, the root cause is often moisture, surface contamination, or inadequate priming.
Preparing your home for painting involves clearing spaces, cleaning surfaces, and repairing damage to ensure a durable finish. For interiors, keep décor clear, shift furniture to the center, and protect floors. For exteriors, wash surfaces, trim back landscaping, and scrape loose paint.
Here’s a step-by-step breakdown for Connecticut homeowners planning a painting project.
What’s In This Guide
Quick Facts
- Preparation is what makes paint last.
- Interior prep means clear, clean, patch, sand, prime, and tape.
- Exterior prep means wash, scrape, repair, caulk, prime, and paint in good weather.
- Skipping prep often leads to peeling, bubbling, and early repainting.
- Hire pros for lead-risk homes, tall exteriors, damage, or tight timelines.
When homeowners invest in painting their home, they usually focus on appearance, durability, and overall value. But one common question also comes up: what happens if the paint does not hold up as expected?
Professional house painters often do offer warranties, though coverage and terms can vary by contractor and project type. Understanding how these warranties work can help homeowners make more informed decisions before getting started.
Here’s a closer look at whether house painters offer warranties and what homeowners should know.
Why Proper Preparation Matters Before Painting
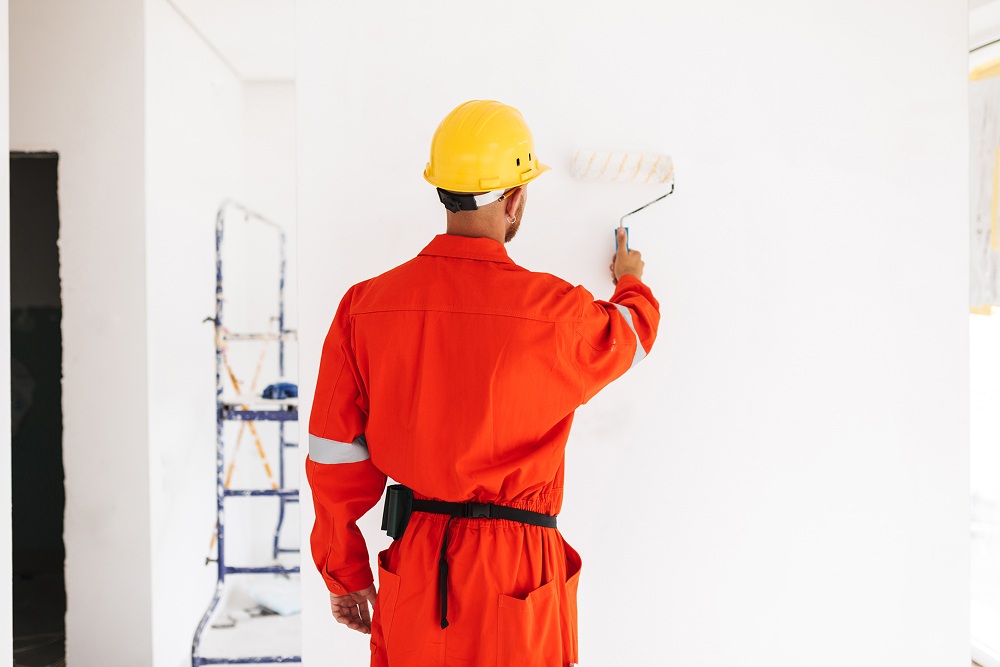
How To Prepare Your Home for Interior Painting
These preparation steps align with our interior painting process, which includes protecting the room, repairing imperfections, priming, painting, cleanup, and a final walkthrough.
1. Clear and Protect the Room
Start by removing as much as possible from the space.
- Take down wall art, mirrors, curtains, and blinds.
- Remove outlet and switch plate covers.
- Move small furniture out of the room if possible.
For larger pieces, move them to the center of the room and cover them with plastic sheeting. Cover floors with canvas drop cloths, which are safer and more absorbent than plastic. Tape plastic over built-ins or fixtures that cannot be moved.
If you are painting multiple rooms, prepare and complete one room at a time to reduce disruption.
2. Clean All Surfaces
Paint adheres best to clean surfaces. Even walls that look clean can hold dust, oils, or residue.
- Wipe down walls with a damp microfiber cloth for light dust.
- Use a mild detergent solution or a trisodium phosphate substitute in kitchens, bathrooms, and high-touch areas.
- Pay attention to areas around light switches, door frames, and baseboards where oils accumulate.
If mildew is present, clean it completely before painting. Surfaces must be dry before moving to the next step.
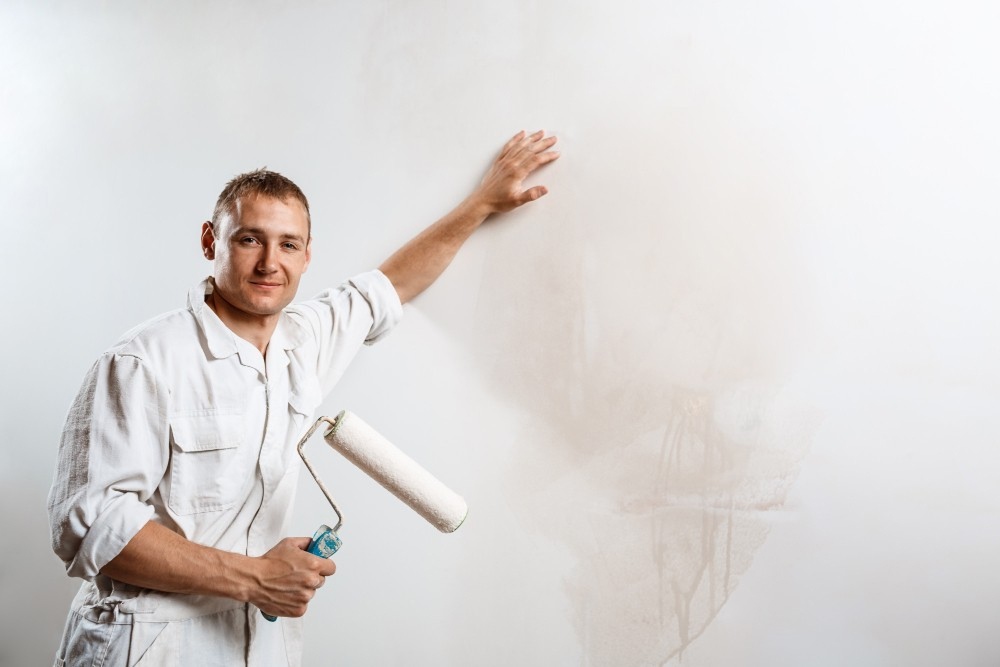
3. Repair Imperfections
Examine walls and ceilings under good lighting.
Common repairs include:
- Filling nail holes and small dents with spackle
- Repairing drywall cracks with joint compound
- Addressing minor dings in trim
Allow patching compounds to dry fully, then sand smooth so the repair blends with the surrounding wall. Run your hand over repaired areas to confirm they are flush and even.
If you notice stains from water damage, resolve the source of the moisture first. Painting over active leaks will only mask the issue temporarily.
4. Sand and Dull Glossy Surfaces
Light sanding improves adhesion, especially if you are painting over a semi-gloss or gloss finish.
- Use fine-grit sandpaper to scuff glossy trim, doors, and previously painted walls.
- Wipe away sanding dust with a tack cloth or a damp rag.
- This step helps the new paint bond securely instead of sliding over a slick surface.
5. Caulk Gaps and Seal Cracks
Inspect trim, crown molding, and baseboards for gaps.
Apply paintable caulk where trim meets walls or where small cracks appear. Smooth the bead with a damp finger or caulk tool. Proper sealing creates clean lines and prevents shadowing after painting.
6. Prime Where Needed
Primer is not always required for every wall, but it is essential in certain situations:
- Over-patched areas
- Over dark or bold colors
- Over stains
- On new drywall
Primer creates a uniform base, improves coverage, and reduces the number of finish coats needed.
7. Tape and Final Masking
Apply painter’s tape along trim, ceiling edges, window frames, and door casings. Press tape firmly to prevent paint from bleeding underneath.
Mask hardware, light fixtures, and any surfaces that should remain paint-free.
Before painting begins, double-check that floors, furniture, and adjacent rooms are protected from splatter and dust.
Improves Paint Adhesion and Extends Lifespan
Paint sticks best to clean, dry, properly prepped surfaces. Dirt, grease, peeling areas, and glossy finishes weaken adhesion and can cause early failure. Good prep helps paint cure evenly and last longer.
Prevents Moisture Damage and Structural Issues
Exterior paint helps block moisture, but only if the surface is sound and sealed first. Gaps, failed caulk, and rot let water in, leading to mold and material damage. Prep repairs and priming help keep moisture out.
Reduces Long-Term Maintenance and Repainting Costs
Rushed prep often means repainting sooner and fixing preventable problems later. Proper cleaning, patching, sanding, and priming improve durability and coverage. That usually lowers long-term maintenance costs.
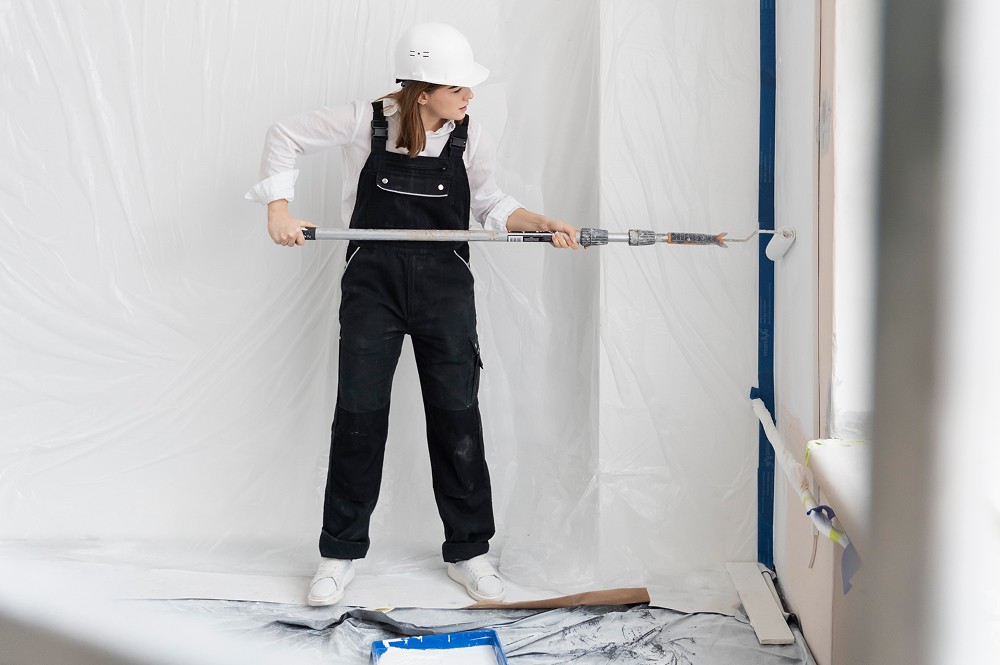
How To Prepare Your Home for Exterior Painting
These steps also support our exterior painting process, which focuses on washing, surface repairs, caulking, priming, sanding, and careful paint application.
1. Inspect the Entire Exterior
Begin with a detailed visual inspection of all painted surfaces.
Walk around the home and check:
- Siding and trim
- Fascia and soffits
- Window and door casings
- Porch railings and columns
- Garage doors
Look for peeling or bubbling paint, cracked caulk, soft or rotted wood, gaps in joints, and signs of mildew. Press gently on suspect wood with a screwdriver. If it feels soft or spongy, it may need replacement rather than just paint.
If your home was built before 1978, consider testing for lead-based paint before scraping or sanding. Federal regulations require specific safety practices when disturbing old coatings.
2. Protect Landscaping and Surrounding Areas
Before washing or scraping, protect nearby areas.
- Trim shrubs and tree branches at least several inches away from siding.
- Cover plants, flower beds, and outdoor furniture with breathable fabric drop cloths.
- Move grills, décor, and vehicles away from the work zone.
This creates space for ladders and equipment while preventing damage from debris or cleaning solutions.
3. Wash All Surfaces Thoroughly
Paint will not adhere to dirt, chalking, or mildew.
Use a pressure washer or hose with a scrub brush to remove:
- Dirt and dust buildup
- Mold and mildew
- Peeling paint residue
- Cobwebs and debris
For mildew, use a cleaning solution recommended for exterior siding and rinse thoroughly. Surfaces must dry completely before further prep begins. Depending on temperature and humidity, drying may take 24 to 48 hours.
Painting over damp siding traps moisture and can lead to premature peeling.
4. Scrape and Sand Loose Paint
All failing paint must be removed before applying new coatings.
- Use a paint scraper to remove loose or flaking sections.
- Sand the edges of the remaining paint to create a smooth, feathered transition.
- Pay close attention to trim and horizontal surfaces where water collects.
The objective is not to strip the entire house unless necessary. Instead, remove unstable areas so the new paint adheres to a solid base.
Collect paint chips and debris as you work, particularly if lead-based paint is suspected.
5. Repair and Replace Damaged Materials
Painting should never be used to hide structural problems.
Common exterior repairs include:
- Replacing rotted wood trim
- Repairing cracked siding boards
- Securing loose nails or fasteners
- Re-caulking joints around windows and doors
Apply high-quality exterior caulk to seal gaps where water could enter. Proper sealing not only improves paint performance but also helps reduce drafts and moisture intrusion.
Allow repairs and caulk to cure fully before priming.
6. Prime Bare or Repaired Areas
Any exposed wood, patched sections, or sanded areas should be primed.
Primer seals porous surfaces and improves adhesion. It also prevents uneven sheen and color variations in the final coat.
Choose a primer compatible with your siding material, whether wood, fiber cement, or previously painted surfaces.
7. Monitor Weather Conditions
Exterior painting success depends heavily on the weather.
Most exterior paints perform best between 50 and 85 degrees Fahrenheit. Avoid painting when rain is forecast within 24 hours or when humidity is high. Early morning dew and late afternoon temperature drops can also affect drying times.
Common Preparation Mistakes To Avoid
Even small oversights can shorten the life of a paint job.
Common errors include:
- Skipping wall washing
- Painting over damp surfaces
- Ignoring cracked caulk
- Failing to sand glossy finishes
- Using the wrong primer
- Underestimating drying time
Each of these mistakes reduces adhesion and increases the risk of peeling or bubbling.
When Should You Hire Professional Painters Instead of DIY?
DIY can work for a small room with clean, sound surfaces, but hire professional painters when the job involves higher risk, specialized prep, or conditions that can shorten paint life. Consider bringing in pros if any of these apply:
- Your home was built before 1978: Lead-based paint may be present, and federal rules require specific safety, containment, and cleanup procedures when disturbing old coatings.
- The exterior is two stories or higher: Ladder work increases fall risk, and professionals have the equipment and training to work safely and efficiently.
- There is widespread peeling, bubbling, or bare wood: These failures usually point to adhesion or moisture issues that need proper scraping, sanding, priming, and sealing.
- You see rot, soft trim, or water damage: Painting is not a fix for damaged materials, and repairs need to be handled correctly before coating.
- You want a high-end finish on detailed trim, doors, or cabinetry: These surfaces require careful prep, sanding, and the right products to avoid brush marks and sticking.
- The scope is large, or the timeline is tight: Multiple rooms or a full exterior often require a crew to keep the project moving without cutting corners on prep.
Frequently Asked Questions (FAQs)
Do I need to remove old paint before repainting?
You only need to remove loose paint, peeling, blistering, or chalking. Sound, well-adhered paint can usually stay, but it should be cleaned and lightly sanded so the new coat bonds evenly.
How long should the primer dry before painting?
Follow the primer label, but as a practical rule, many primers are ready for topcoat in a few hours, while cooler temps and higher humidity can extend that window. If the surface feels cool or tacky, wait longer to avoid trapping moisture and causing adhesion issues.
Should I wash exterior siding even if it looks clean?
Yes. Siding can hold invisible film like dust, pollen, and chalking that prevents adhesion. A thorough wash helps paint bond and reduces premature peeling.
What should I do with pets and kids during prep and painting?
Plan to keep them out of active work areas and away from drying surfaces. Use closed doors, temporary gates, and a designated “clean zone” to reduce exposure to dust and wet paint, especially during sanding and cutting-in.
How can I tell if my exterior paint is failing because of moisture?
Warning signs include bubbling, peeling in shaded areas, soft wood, recurring mildew, and peeling near gutters/downspouts. These often point to moisture sources that should be addressed before repainting to prevent repeat failure.
Protect Your Home With Expert Painting Preparation
If you want confidence that every step is handled thoroughly, working with an experienced local team makes a measurable difference
Custom Colonial Painting has built its reputation in Westport, CT, by providing exterior painting services built on detailed prep work, careful surface repair, and consistent craftsmanship.