
Painting a room yourself is one of the most cost-effective ways to refresh your home. However, the difference between an amateur result and a polished finish comes down to preparation and technique. If you want to know how to paint a room like a professional, the answer starts long before you open a single can of paint.
According to IBISWorld (2025), the U.S. house painting industry reached $28.2 billion in 2025, growing at a five-year CAGR of 3.7%. Meanwhile, according to 26 Painting (2026), 73% of home improvement projects are at least partially DIY efforts, with painting topping the list. Clearly, millions of homeowners attempt this every year. The ones who get truly professional results follow a disciplined process from start to finish.
Table of Contents
- Why Preparation Makes or Breaks the Final Result
- The Right Tools for How to Paint a Room Like a Professional
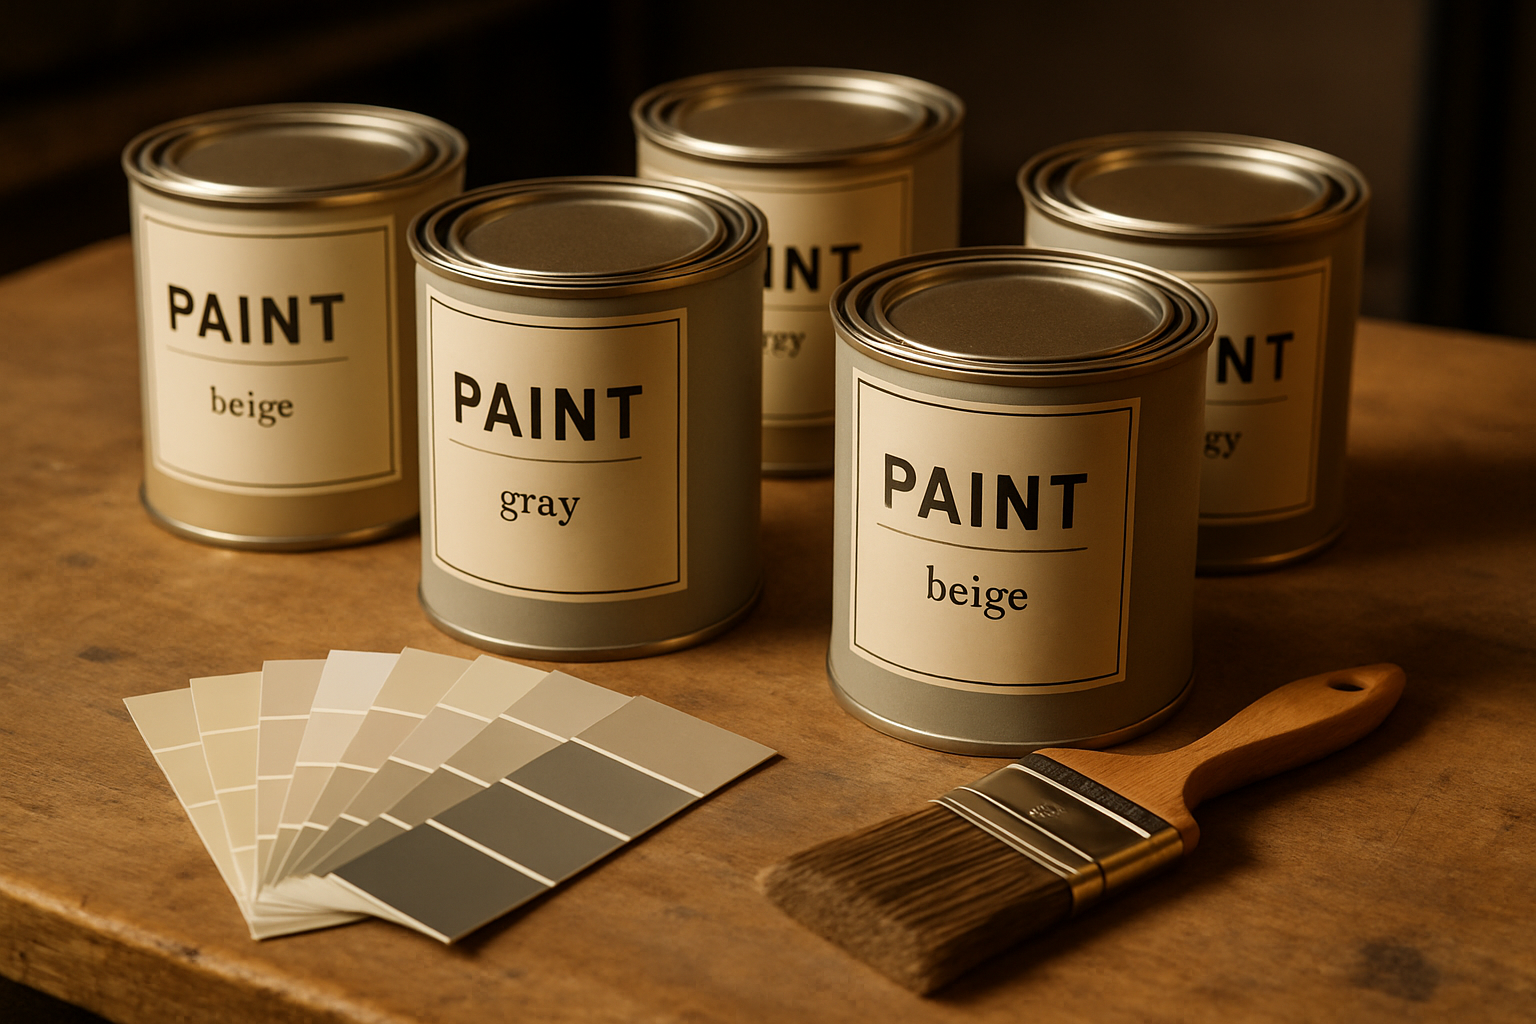
- Choosing the Right Paint for Your Room
- How Professionals Apply Paint When Painting
- Trim, Edges, and the Finishing Details
- Common Mistakes That Give Away Amateur Work
- When It Makes Sense to Call a Professional
Why Preparation Makes or Breaks the Final Result
Ask any experienced painter, and they will tell you the same thing: the bulk of professional-quality work happens before the roller ever touches the wall. Shortcuts in prep create problems that no amount of good technique can fix later.
Clean the surfaces first. Walls accumulate grease, dust, and residue over time, especially in kitchens and bathrooms. Paint applied to a dirty surface will not bond properly and may peel within months. Therefore, wipe walls down with a damp sponge or a mild TSP-substitute solution. Then let them dry fully.
Repair all imperfections. Fill nail holes, cracks, and dents with lightweight spackle or joint compound. For larger gaps or damaged sections, consider whether drywall repair is needed before painting. Additionally, once filler is dry, sand it smooth with 120-grit sandpaper. Then feather the edges so the patch blends into the surrounding wall.
Sand existing surfaces. Even if walls look smooth, lightly scuffing them with 150-grit sandpaper improves adhesion significantly. This is particularly important when painting over glossy or semi-gloss finishes.
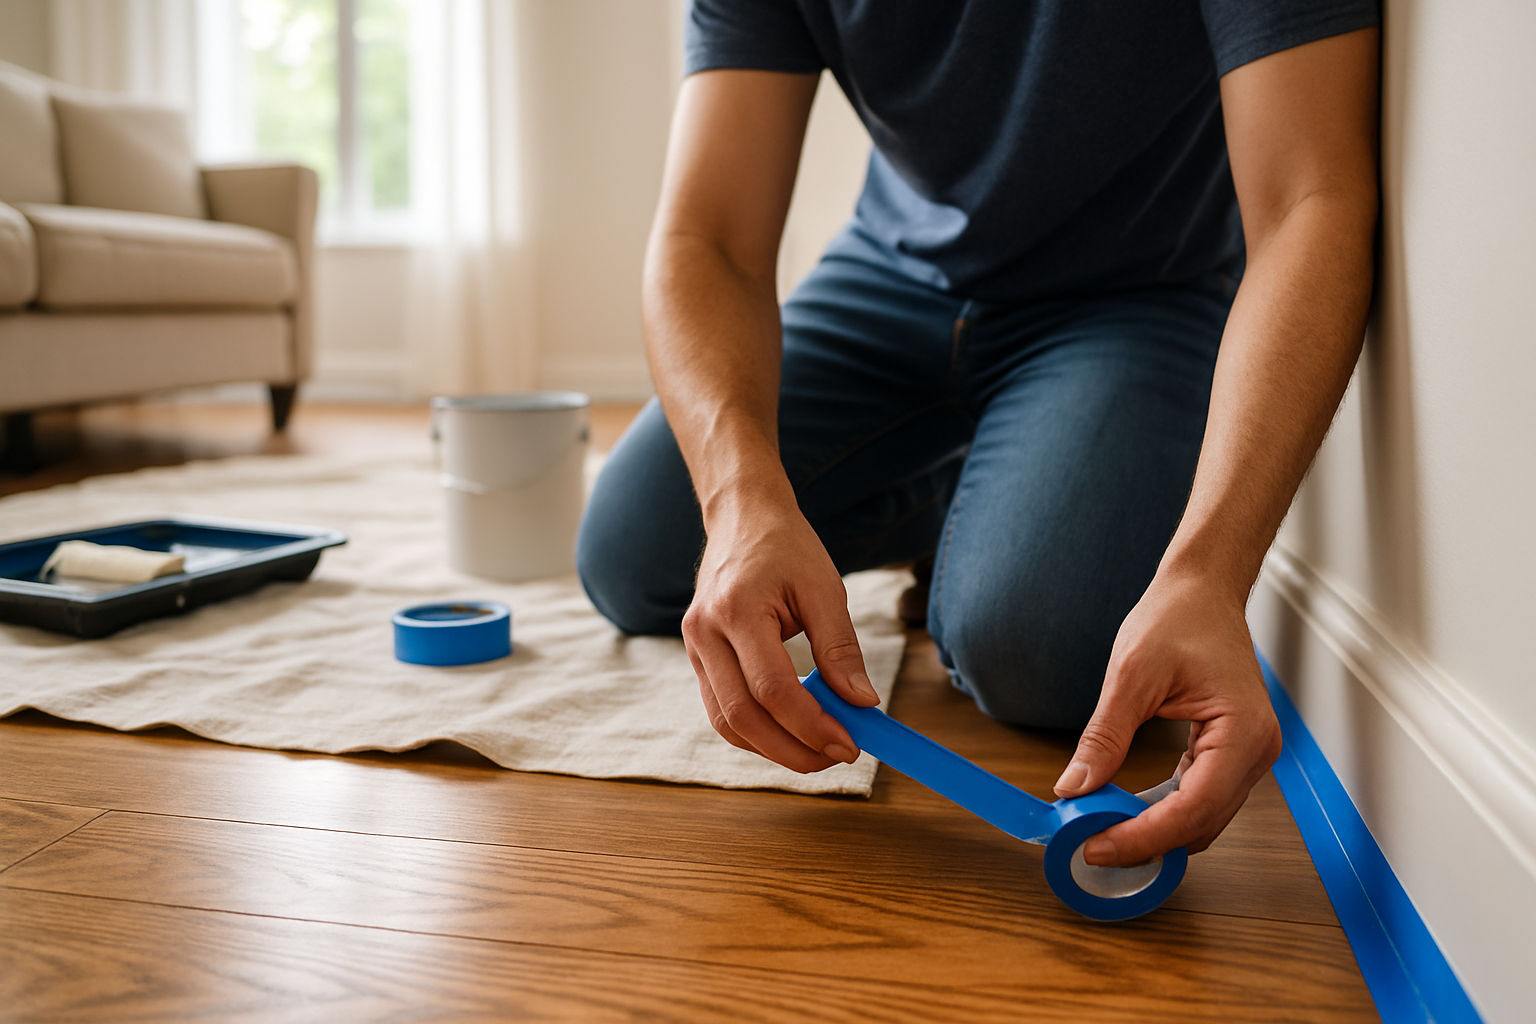
Protect everything you are not painting. Use painter’s tape along baseboards, window frames, door casings, and ceiling lines. Lay drop cloths on the floor, and remove or cover furniture. Take off outlet and switch plate covers before taping. These steps prevent the most common source of messy results. Furthermore, understanding how to choose a painter in new canaan ct can help you identify contractors who excel at this foundational work.
Prime when necessary. Primer is not always required, but it is essential when you are making a dramatic color change. Similarly, primer matters when covering stains or water damage, painting new drywall, or switching from a dark to a light color. Skipping primer in these situations means more coats of paint and a less consistent finish.
The Right Tools for How to Paint a Room Like a Professional
Professionals do not produce superior results by accident. They invest in quality tools and know exactly which tool to use for each surface.
Rollers: Use a 3/8-inch nap roller for smooth walls and a 1/2-inch nap for textured surfaces. A 9-inch roller covers large, flat surfaces efficiently. In addition, for ceilings and very large walls, an extension pole eliminates the need for a ladder on most surfaces and reduces fatigue.
Brushes: A 2.5-inch angled sash brush is the go-to tool for cutting in along edges, trim, and corners. Synthetic brushes work best with latex paint, while natural bristle brushes suit oil-based paints. Never use a cheap brush if you want clean, straight lines.
Roller trays and liners: Use liners inside your roller tray for fast cleanup. For larger projects, a 5-gallon bucket with a roller grid speeds up loading and reduces dripping.
Additional tools worth having:
- A flexible putty knife for patching
- A sanding sponge for tight corners
- A paint edger for consistent results along ceilings if you struggle with freehand cutting in
- A sturdy 6-foot ladder for high walls and corners
Choosing the Right Paint for Your Room
The paint you select has a direct impact on durability, coverage, and final appearance. Professionals tend to stick with proven brands. At Custom Colonial Painting, for example, painters work exclusively with Sherwin-Williams and Benjamin Moore products. Both offer consistent pigment loads and superior coverage compared to budget alternatives.
Finish matters as much as color. Flat finishes hide imperfections well but are harder to clean. Therefore, they are best suited to low-traffic areas like bedrooms and dining rooms. Eggshell and satin finishes balance washability and subtle sheen, making them ideal for living rooms, hallways, and kids’ rooms. Semi-gloss and gloss finishes are durable and moisture-resistant, best reserved for trim, doors, kitchens, and bathrooms.
Consider low-VOC formulas. Indoor air quality is a real concern during and after painting. According to Van der Kolk Painting (2025), the global market for low- and zero-VOC paints is projected to reach $11.17 billion by 2025. Moreover, 80% of consumers are willing to pay more for eco-friendly products. If you are painting a nursery or a poorly ventilated space, low-VOC options reduce off-gassing substantially.
If you are in Connecticut and unsure which product holds up best given local climate conditions, this resource on best paint new canaan ct weather breaks down how humidity and temperature swings affect paint performance.
Buy enough paint upfront. Running out mid-job and buying a second batch can result in slight color variation between batches, even with the same color code. For a standard 12×12 room with 8-foot ceilings, one gallon typically covers around 350 to 400 square feet per coat. Calculate your square footage and add 10% for waste and touch-ups.
How Professionals Apply Paint When Painting
Once prep is complete and materials are ready, technique takes over. The professional approach follows a specific sequence that prevents lap marks, roller lines, and uneven coverage.
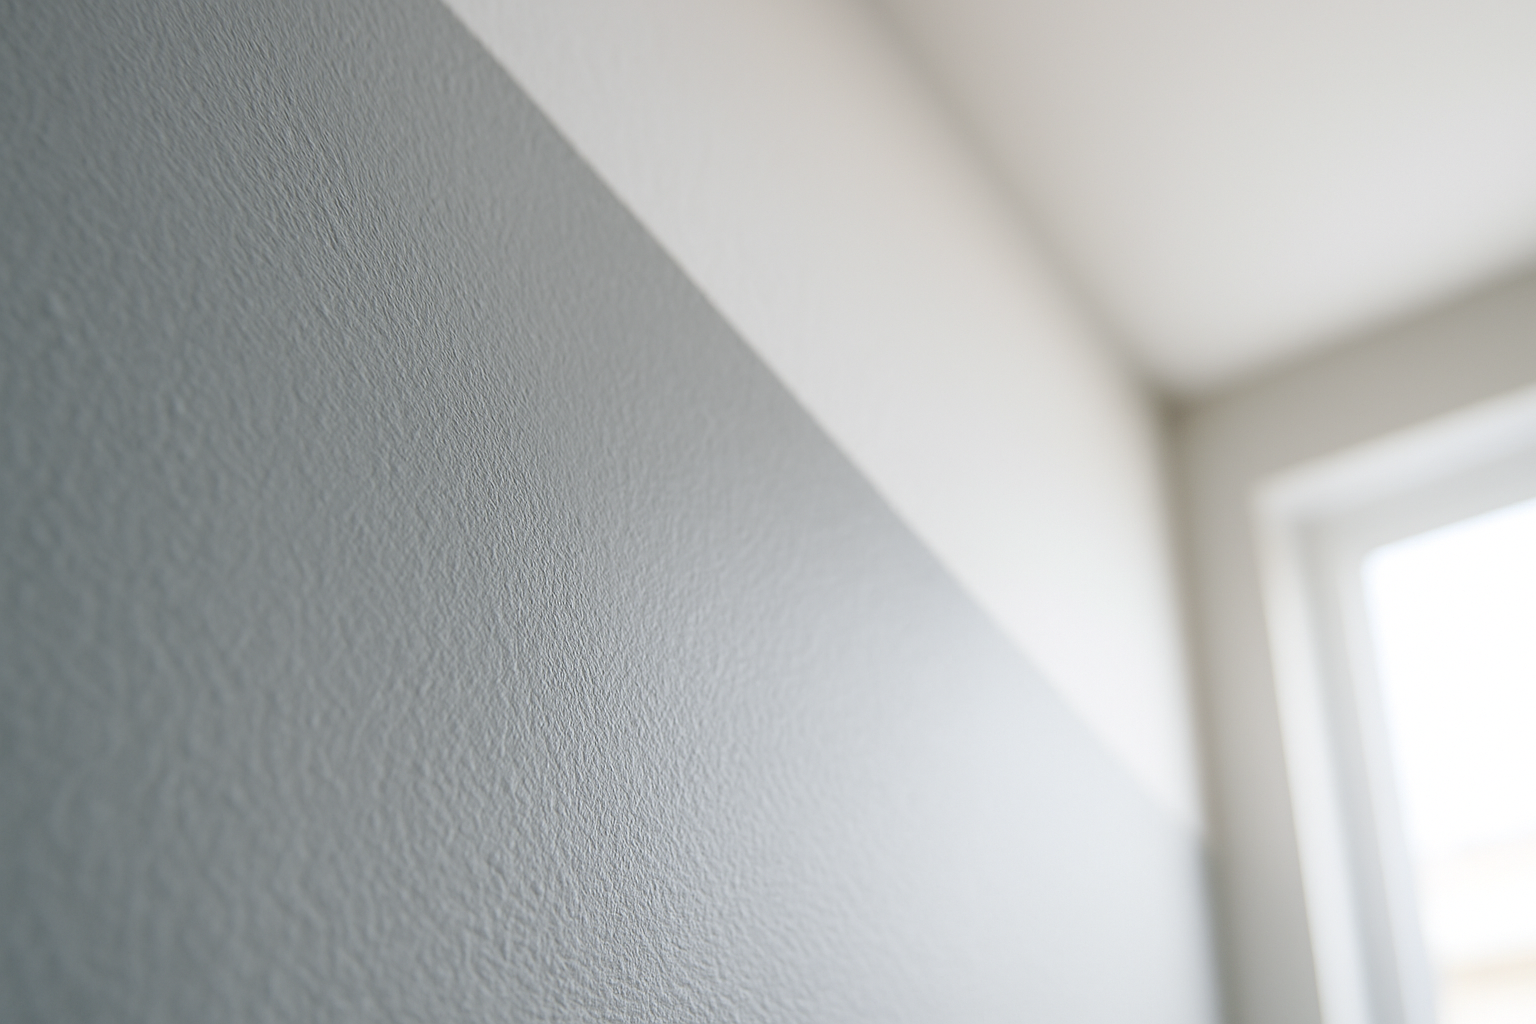
Cut in before you roll. Use your angled brush to paint a 2- to 3-inch band along all edges: where the wall meets the ceiling, corners, around windows, and along baseboards. This cut-in band gives the roller a clean border to work up to. Do this one wall at a time so the cut-in edge is still wet when you roll. As a result, this prevents visible seam lines between brushed and rolled areas.
Load the roller properly. Saturate the roller in the tray, then roll it back and forth on the ridged section to distribute paint evenly and eliminate drips. An overloaded roller creates splatter. In contrast, an underloaded one drags and leaves thin patches.
Use a W or M pattern. Roll an approximate W or M shape onto the wall first, then fill it in with horizontal and vertical strokes without lifting the roller. Keep a wet edge at all times to avoid lap marks. Work in sections of roughly 3 to 4 square feet before moving on.
Apply at least two coats. One coat rarely delivers the depth of color or coverage that two will. Allow the first coat to dry fully according to the manufacturer’s instructions, typically two to four hours for latex paint. Lightly sand between coats with 220-grit sandpaper to knock down any dust nibs. Then wipe with a tack cloth before applying the second coat.
Trim, Edges, and the Finishing Details
The difference between a room that looks professionally done and one that looks like a weekend project usually shows up in the trim and edges. This is where patience pays off.
Paint trim and doors after the walls are complete. This allows you to clean up any overlap from wall paint onto the trim when you apply the trim coat. Use a semi-gloss or gloss finish on all woodwork for durability.
Pull painter’s tape off at a 45-degree angle while the paint is still slightly wet, not fully cured. Waiting too long causes the dried paint to pull away from the wall along with the tape, leaving a ragged edge. However, if the paint has fully dried, score along the tape edge with a utility knife before pulling.
Touch up with a dry brush. After the tape is removed, inspect all edges. Use a barely-loaded brush to feather in any spots where paint bled under the tape or where coverage looks thin.
Common Mistakes That Give Away Amateur Work
Knowing how to paint a room like a professional also means knowing what not to do. These are the most frequent errors that produce visible results.
- Skipping primer on patched spots, which causes those areas to appear duller than the surrounding wall
- Rolling too fast and creating splatter across trim and floors
- Not stirring or boxing paint before use, leading to color inconsistency across the room
- Painting in poor lighting and missing spots, only to see them clearly once natural light hits the wall
- Using the wrong nap roller for the surface texture, resulting in stippling or missed coverage in recesses
According to Workyard (2026), 50% of DIYers who eventually hired a professional cited difficulty with hard-to-reach areas as the primary reason. Ceilings, high walls, and stairwells are where inexperience shows most dramatically. Moreover, these areas are where safety risks increase.
When It Makes Sense to Call a Professional
DIY painting can produce excellent results for straightforward rooms with good existing conditions. However, certain situations genuinely call for professional expertise, not just preference.
If your home was built before 1978, lead paint is a real possibility. The EPA requires certified contractors to follow specific procedures under the Renovation, Repair, and Painting (RRP) Rule when working in pre-1978 homes. Custom Colonial Painting holds EPA Lead-Safe certification and CT HIC #0630904. This means they are legally equipped and trained to handle these situations correctly.
For projects involving significant drywall repair, popcorn ceiling removal, or complex exterior work, the cost of doing it wrong often exceeds the cost of hiring a professional. Furthermore, understanding the cost of painting in new canaan ct helps you evaluate what you are actually getting for that investment.
If you are in Connecticut and evaluating contractors, two helpful resources explain exactly what to look for: how to choose a painter in greenwich ct and resources on selecting painters in surrounding areas both walk through licensing, insurance, and what questions to ask before signing a contract.
According to 26 Painting (2026), about 87% of home sellers repaint at least one room before listing. Fresh paint has been associated with homes selling faster and above asking price. Whether you tackle it yourself or bring in a crew, the investment in quality paint and proper technique pays off in real, measurable ways.
Things to Know
- Primer is not optional on new drywall. Unpainted drywall is extremely porous and will absorb your finish coat unevenly, leaving a patchy, flat appearance called “flashing.” A PVA drywall primer seals the surface and gives you a uniform base.
- Paint color looks different on your wall than on a chip. Lighting conditions, wall size, and adjacent colors all shift perception. Always test a sample patch at least 12 inches square and observe it at different times of day before committing to a full room.
- Latex paint and oil-based paint require different cleanup and compatibility rules. Applying latex paint directly over oil-based paint without proper sanding or a bonding primer can cause peeling within months. When in doubt, do a solvent test on the existing surface before choosing your product.
- Temperature and humidity directly affect drying time and adhesion. Most interior latex paints require temperatures between 50°F and 85°F and relative humidity below 85% for proper curing. Painting in a cold garage or a humid bathroom without ventilation can compromise the final result.
- Two thin coats always outperform one thick coat. A heavy single coat takes longer to dry, is prone to sagging and dripping, and often cures unevenly. Thin coats level better, dry faster, and produce a harder, more durable film.
- The sheen level you choose affects how imperfections read. Higher-gloss finishes reflect more light and make every surface irregularity more visible. If your walls have significant texture or patching, a flatter finish is more forgiving and will deliver a cleaner-looking result.
Let Custom Colonial Painting Handle the Hard Part
A DIY paint job can go well with the right process. However, when the stakes are high—a full interior refresh, lead paint concerns, complex prep work, or simply limited time—the right professional crew makes a measurable difference. Custom Colonial Painting brings an average of 15-plus years of experience per painter, EPA Lead-Safe certification, and exclusive use of Sherwin-Williams and Benjamin Moore products to every project across Connecticut.
Request your free, personalized estimate today and find out exactly what your project will cost, with no pressure and no guesswork. Tell us your room count, your timeline, and your goals. We will put together a detailed quote specific to your home.
Frequently Asked Questions
Q: How many coats of paint does a room actually need?
Most rooms require two coats of finish paint for full, even coverage.
The first coat seals the surface and establishes the base color. Meanwhile, the second coat delivers depth, consistency, and durability. If you are making a dramatic color shift, such as covering a deep red with a pale gray, a tinted primer followed by two finish coats may be necessary. Skipping the second coat almost always results in visible streaking and uneven sheen once the paint dries fully.
Q: Do I need to sand walls before painting if they look smooth?
Yes, light sanding before painting improves adhesion even on walls that appear smooth.
A quick pass with 150-grit sandpaper scuffs the existing surface just enough for the new paint to grip properly. This reduces the risk of peeling over time. This step is especially important if the existing finish is semi-gloss or gloss, since those surfaces are designed to resist absorption. After sanding, wipe the wall down with a tack cloth or damp rag to remove all dust before applying paint.
Q: What is the correct order to paint a room?
Professionals follow a top-to-bottom sequence: ceiling first, then walls, then trim.
Starting with the ceiling prevents drips from landing on freshly painted walls. Once the ceiling is done, cut in the walls along all edges and corners. Then roll the main wall surfaces. Trim, baseboards, and doors are painted last. This lets you clean up any wall color that overlapped onto woodwork when you apply the final trim coat. Following this sequence reduces rework and produces cleaner transitions between surfaces.
Q: How long should I wait between coats of interior paint?
Most latex interior paints require a minimum of two to four hours of dry time between coats, but following the manufacturer’s recoat window on the label is the safest approach.
Recoating too soon traps moisture inside the first coat. As a result, this can cause bubbling, peeling, or a tacky finish that never fully hardens. Humidity and temperature also affect dry time significantly. In cooler or more humid conditions, extending the wait to the full end of the recommended window, rather than the minimum, produces a more stable result.
Q: Is it worth hiring a professional painter, or is DIY always cheaper?
DIY is cheaper upfront, but the total cost depends heavily on the complexity of the project and the quality of the outcome.
For straightforward rooms in good condition, a careful DIYer can achieve solid results with the right materials and technique. However, projects involving drywall repair, lead paint, high ceilings, or intricate trim work carry real risks of costly mistakes. According to Sensible Digs (2026), citing the Bureau of Labor Statistics, professional painters in the U.S. earn a median of $48,660 annually. This reflects the skill level required for consistent, durable finishes. When you factor in the cost of tools, paint, and potential rework, professional services often represent stronger long-term value.