
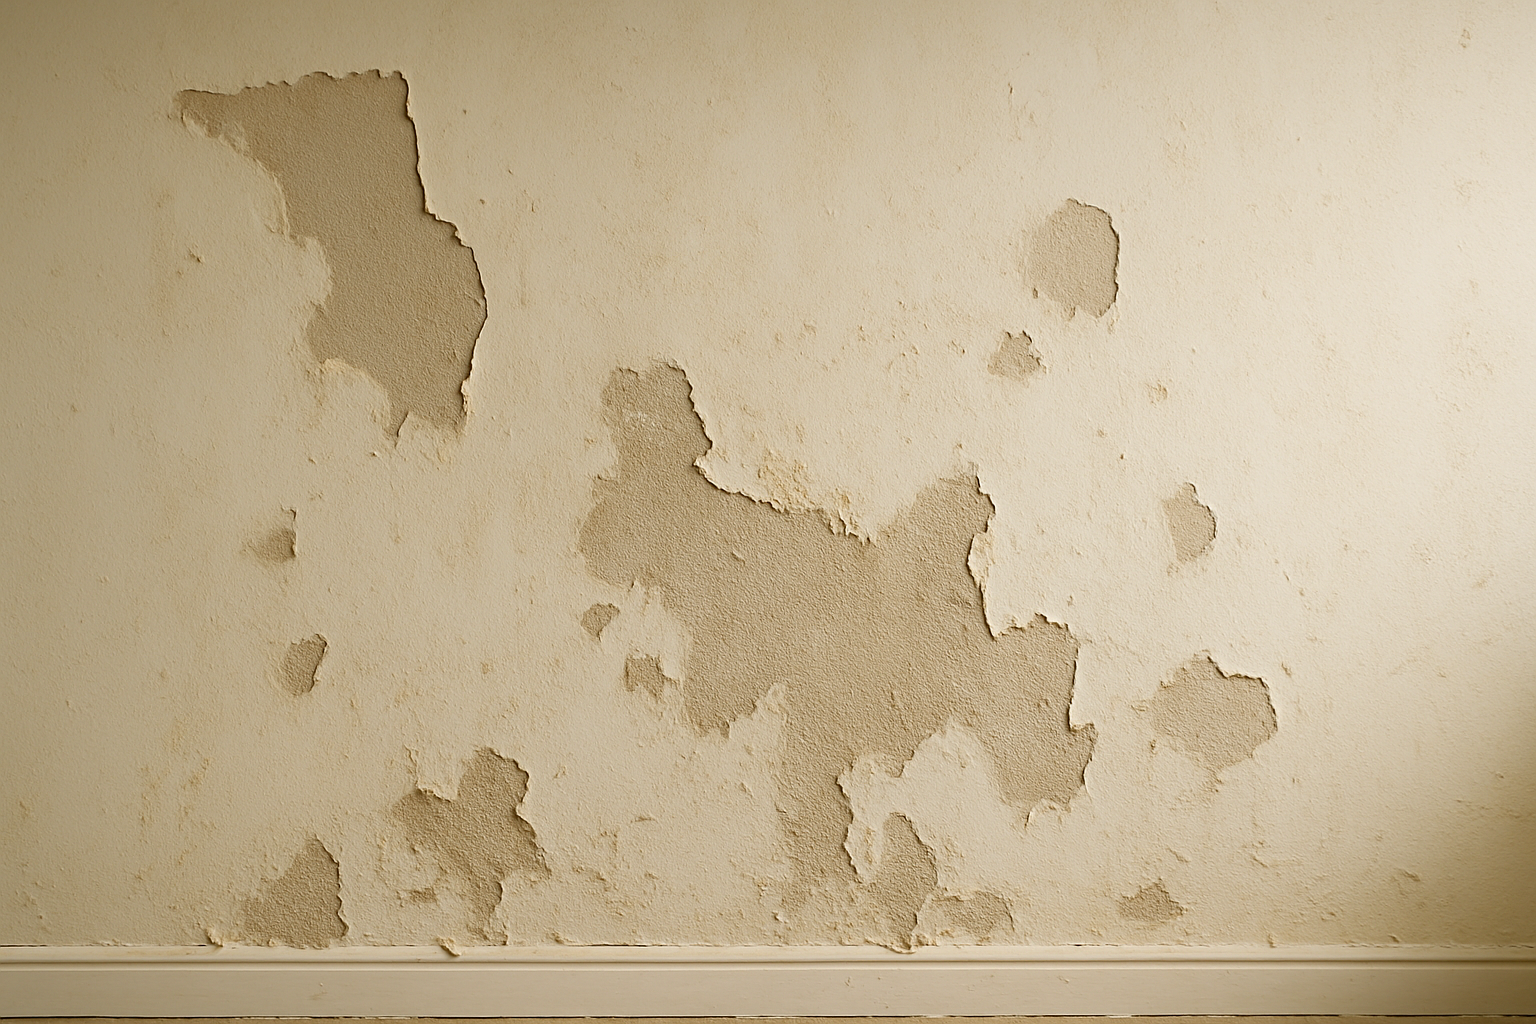
Removing wallpaper properly means understanding how to soften the adhesive with water or a scoring tool. Then you peel the paper away in sections without tearing the underlying drywall or plaster. Done right, the process leaves a smooth, paint-ready surface. Done wrong, it can mean months of repair work before you ever open a can of paint.
Table of Contents
- Why Wallpaper Removal Goes Wrong
- Tools and Materials You Need
- How to Remove Wallpaper Properly: Step-by-Step Process
- Dealing with Old Adhesive and Wall Damage
- When to Call a Professional Painter
- Things to Know
Key Takeaways
- Always test a small section before committing to a removal method.
- Scoring the paper lightly improves water penetration without gouging the wall.
- Never rush the soaking step; adhesive needs time to soften fully.
- Older homes may have plaster walls that tolerate more moisture than drywall.
- Lead paint may be present under wallpaper in homes built before 1978 — test before you score.
- A professional can assess wall condition and handle repairs as part of a repaint project.
Why Wallpaper Removal Goes Wrong
The most common reason wallpaper removal becomes a disaster is simple impatience. Homeowners peel too quickly before the adhesive has fully loosened. As a result, large sections of drywall paper come off with the wallpaper. Once the drywall face is damaged, the wall requires skim-coating before it can hold a clean paint finish.
A secondary problem involves the wall type itself. Drywall — the standard in most homes built after the 1960s — is far more sensitive to moisture than plaster. Over-saturating drywall during removal causes bubbling, softening, and surface failure. Moreover, plaster walls, common in pre-1960s construction throughout Connecticut and the Northeast, are more forgiving but bring their own complications: peeling plaster keys, settled cracks, and the real possibility of lead paint underneath.
According to the U.S. Environmental Protection Agency, any home built before 1978 may contain lead-based paint. Therefore, if your walls have multiple paint layers under the wallpaper, have the surface tested before you start scoring or scraping.
Tools and Materials You Need
Gathering your supplies before you start saves significant time and prevents mid-job improvisation. Here is what you need:
- Scoring tool (a perforating scorer like the Paper Tiger works well): Creates small holes for water penetration without cutting deeply into the wall surface.
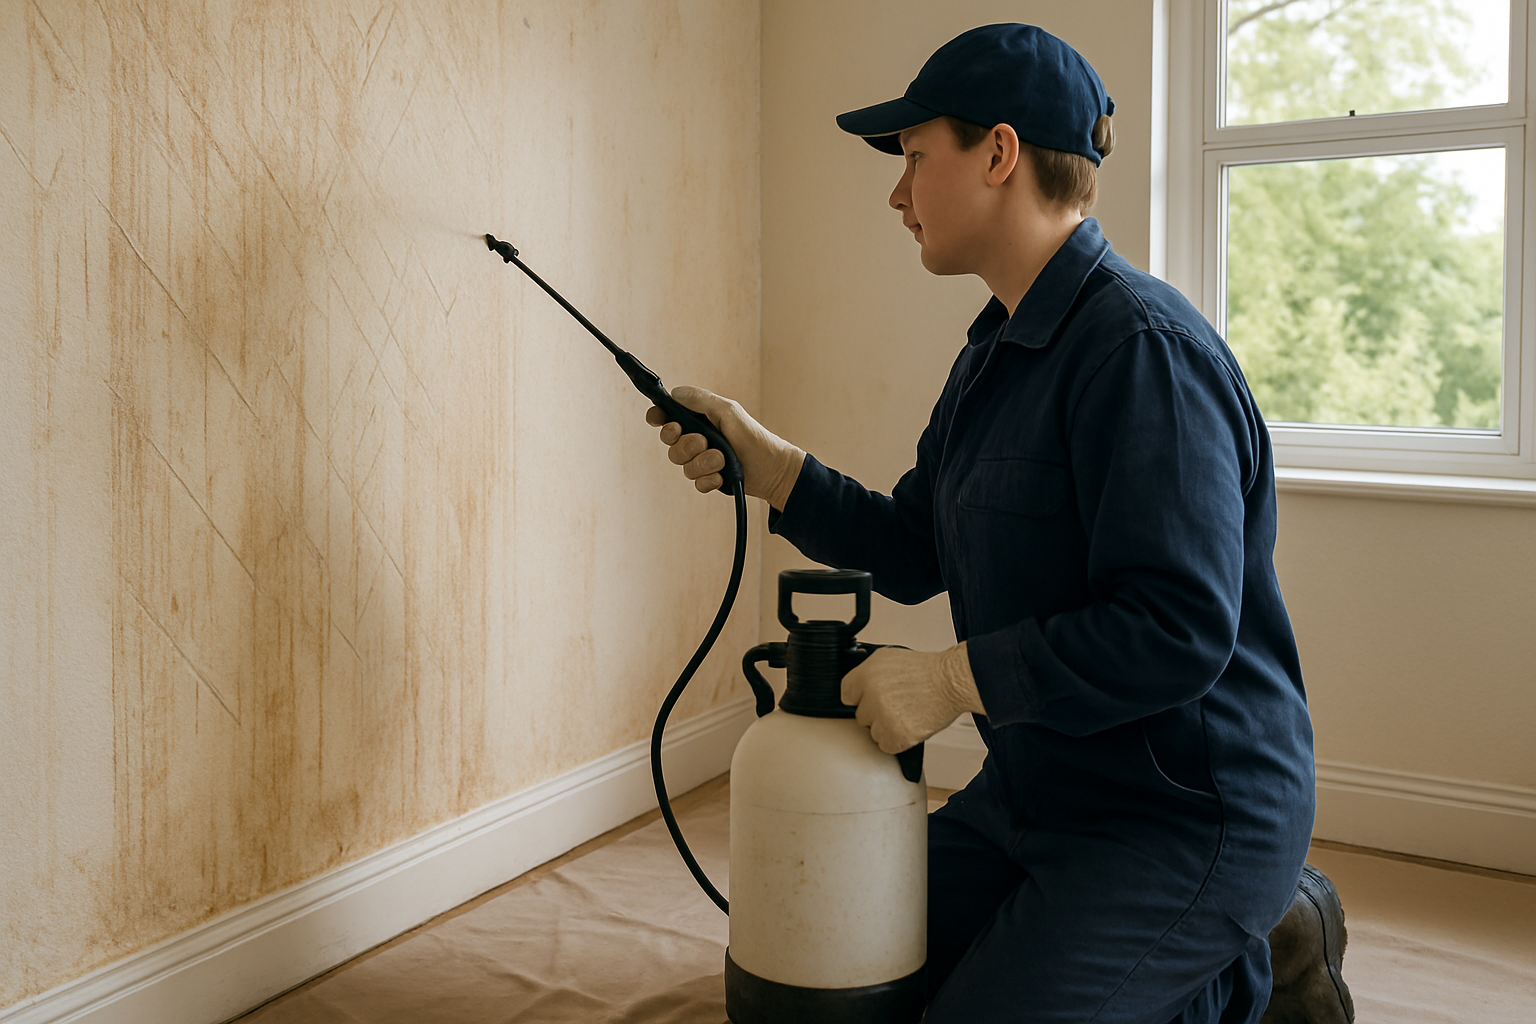
- Pump sprayer or sponge: Applies solution evenly without flooding the wall.
- Fabric softener solution or commercial wallpaper remover: A mixture of equal parts hot water and liquid fabric softener is a widely used DIY option. In contrast, commercial enzyme-based removers are more reliable on stubborn adhesives.
- Plastic sheeting and painter’s tape: Protects floors, outlets, and baseboards from water damage.
- Wide plastic scraper (6 to 8 inches): Safer on drywall than metal; metal scrapers can gouge.
- Bucket and clean rags
- Shop vac for cleanup
| Tool | Best For | Watch Out For |
|---|---|---|
| Scoring tool | Painted-over wallpaper | Pressing too hard gouges drywall |
| Pump sprayer | Even, controlled application | Over-saturating drywall |
| Plastic scraper | Lifting softened paper | Dragging dry sections |
| Metal scraper | Plaster walls | Damaging drywall face paper |
| Steamer | Very stubborn old adhesive | Causes drywall bubbling if held too long |
How to Remove Wallpaper Properly: Step-by-Step Process
1. Prepare the room. Turn off power to outlets and switches on the walls you are working on. Lay plastic sheeting across the floor and tape it at the baseboards. Remove switch plates and outlet covers.
2. Identify your wallpaper type. Newer vinyl-coated wallpapers often peel dry in large sheets. Start at a seam or corner and try pulling at a low angle. If the paper peels cleanly, skip wetting and proceed to adhesive removal. However, older paper and fabric-backed styles will need soaking.
3. Score lightly. Run the scoring tool across the wall in overlapping passes. Apply light, even pressure. The goal is tiny perforations that let water reach the glue layer — not deep gouges.
4. Apply your soaking solution. Working in manageable sections (roughly 4 by 4 feet), apply hot water solution with your sprayer or sponge. Let it soak for 3 to 5 minutes. The paper should feel soft and slightly translucent.
5. Peel and scrape. Starting at a seam or corner, lift the paper with your fingers. Pull at a low angle parallel to the wall. Use the plastic scraper to assist stubborn sections. Re-wet anything that resists rather than forcing it.
6. Remove adhesive residue. Once the paper is off, a sticky film of old adhesive usually remains. Wipe the wall with your solution. Let it sit briefly and scrub with a rough sponge. Rinse with clean water and allow the wall to dry fully, at least 24 hours.
Dealing with Old Adhesive and Wall Damage
Old wheat-paste adhesive, common in pre-1970s homes, can be nearly calcified. Additionally, a commercial enzyme-based remover or a steamer used carefully in short bursts (no more than 15 to 20 seconds per spot on drywall) will break it down. After the adhesive is gone, inspect the wall carefully.
Minor surface tears in drywall paper facing require treatment with a thin layer of joint compound. Sand it smooth after drying. Larger damage may require skim-coating the entire wall. Furthermore, if you plan to repaint, knowing the cost of painting in new canaan ct upfront helps you budget for both the removal work and the finished coat.
If you are repainting in a coastal or seasonal climate, the paint product you select matters considerably. Check what constitutes the best paint new canaan ct weather conditions demand before you prime and topcoat.
When to Call a Professional Painter
Learning how to remove wallpaper properly at a DIY level is realistic for a single room with modern drywall and vinyl-coated paper. However, several scenarios make professional help the smarter call:
- Multiple layers of old wallpaper, especially if any are fabric-backed
- Plaster walls with existing cracks or instability
- Walls that tested positive for lead paint
- Whole-house projects where damage risk and time cost exceed DIY savings
The wallpaper removal device and removers market is estimated at $500 million in 2025 (Data Insights Market, 2025). This figure reflects how common this task is for both homeowners and contractors. In addition, professionals bring commercial-grade steamers, wall assessment experience, and the ability to repair and repaint in one coordinated project.
If you are vetting contractors, reading about how to choose a painter in new canaan ct will help you evaluate credentials, insurance, and experience. Similarly, if you are located further south in Fairfield County, guidance on how to choose a painter in greenwich ct covers what to look for in that market specifically.
Things to Know
- Old wallpaper may hide water damage. Removing it sometimes reveals staining, mold, or structural issues that need addressing before any new finish goes on.
- Sizing the wall matters. Many older walls were never sized before wallpaper was hung. Therefore, they were not primed correctly and drywall is extra vulnerable to moisture damage during removal.
- Multiple layers compound difficulty exponentially. Each additional layer of paper traps moisture differently and often requires a separate soaking cycle.
- Not all removal sprays are equal. Enzyme-based formulas work on biological adhesives like wheat paste. In contrast, synthetic adhesives may need a different solvent or a steamer.
- Dry time is non-negotiable. Priming or painting over a wall that still holds residual moisture leads to bubbling, peeling, and adhesion failure. Wait at least 24 to 48 hours after the final rinse.
Schedule Your Wallpaper Removal and Repaint Today
If your project is bigger than a single accent wall, working with an experienced painting contractor protects your walls. This approach saves you from costly repair surprises. Contact Custom Colonial Painting for a free, personalized estimate on wallpaper removal, wall repair, and interior painting throughout Connecticut. Tell them your room count, wall type, and timeline, and they will give you a clear scope and price before any work begins.
Frequently Asked Questions
Q: Can I paint directly over wallpaper instead of removing it?
Painting over wallpaper is not recommended as a permanent solution.
The seams, texture, and edges of the paper will telegraph through even multiple coats of paint. Moreover, moisture in the paint can loosen the existing adhesive. This causes the paper to bubble or separate from the wall over time.
Q: How long does wallpaper removal take for a standard bedroom?
A single bedroom typically takes one to two full days when done properly.
This includes scoring, soaking, peeling, adhesive removal, and drying time before any repairs or priming. Larger rooms, multiple layers, or significant wall damage can extend that timeline considerably.
Q: What is the best homemade solution for removing wallpaper?
A 50/50 mixture of hot water and liquid fabric softener is a widely used and effective DIY option.
Apply it warm with a pump sprayer and let it soak for at least five minutes. Re-wet any sections that resist. Furthermore, commercial enzyme removers tend to outperform homemade solutions on older wheat-paste adhesives.
Q: Will a steamer damage my drywall?
Yes, a steamer can damage drywall if held in one spot too long.
Limit steam application to 15 to 20 seconds per section and keep the plate moving. Steamers are better suited to plaster walls, which tolerate sustained heat and moisture more reliably than paper-faced drywall.
Q: Do I need to prime before repainting after wallpaper removal?
Priming after wallpaper removal is not optional; it is essential.
Use an oil-based or shellac primer on any areas where drywall paper was damaged. Water-based primers can raise and soften the torn surface further. After spot-priming repairs, apply a full coat of high-quality primer across the entire wall before your topcoat.