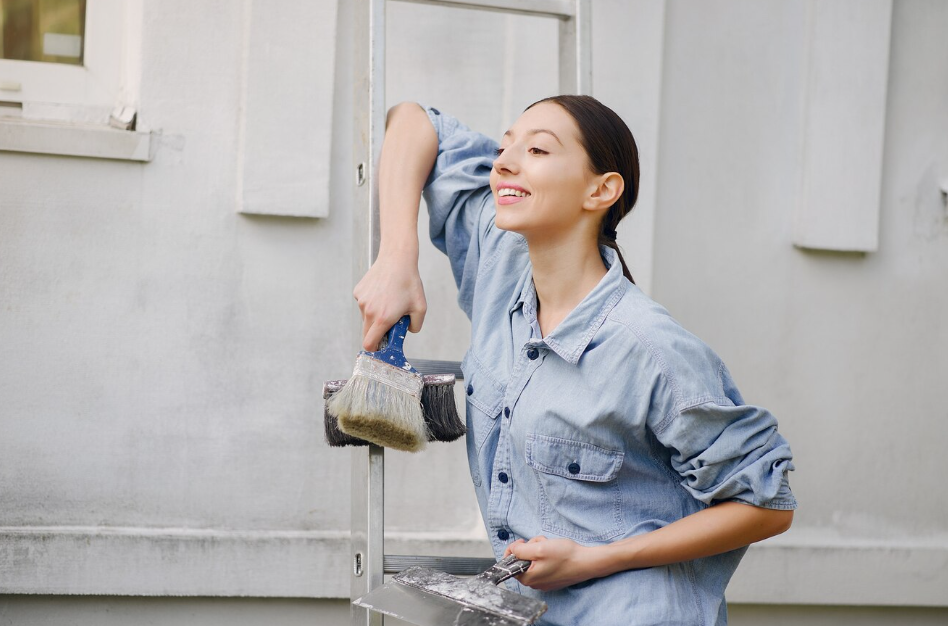
A fresh coat of paint can enhance your home’s curb appeal. Whether you plan to sell your house or simply want to give it a facelift, a professional exterior painting project can make a significant difference. However, before the painters arrive, you should take several crucial steps to ensure a successful and long-lasting paint job. Follow these eight tips to prepare your home for a professional exterior painting project and ensure it looks its best.
Table of Contents
Why Invest in a Professional Exterior Painting Project?
8 Steps to Ready Your Home for a Successful Exterior Painting Project
How to Choose the Right Professional House Painter?
FAQs
Key Takeaways
- Cleaning and repairing your home’s exterior is crucial for a successful exterior painting project.
- Removing loose paint ensures strong adhesion and a smooth finish, enhancing the durability and aesthetics of the exterior paint job.
- Trimming landscaping and covering fixtures prevent damage and ensure a clean, professional painting process.
- Consulting with professional painters, like Custom Colonial Painting, guarantees expert advice and a high-quality finish.
- Choosing the right weather conditions is essential for the paint to adhere properly and achieve the best results.
- Securing pets and clearing pathways ensures safety and efficiency, allowing painters to work without obstacles.
- Regular maintenance extends the life and beauty of your home’s exterior paint.
Why Invest in a Professional Exterior Painting Project?
Investing in a professional exterior painting project offers multifaceted benefits for your home. From elevating curb appeal and increasing property value to providing robust protection and ensuring long-lasting quality, discover why this investment is a smart choice for homeowners.
Enhances Curb Appeal
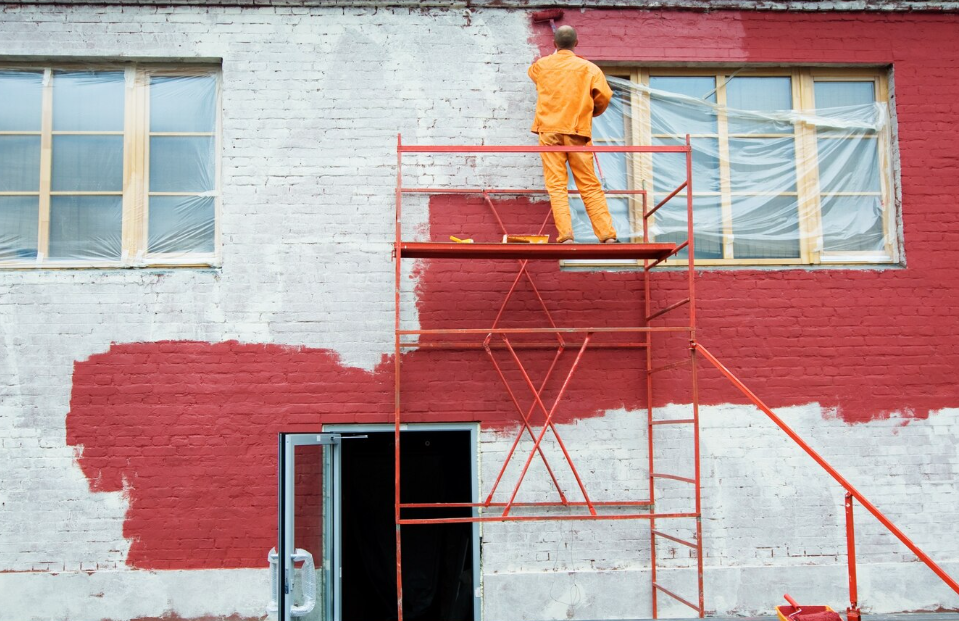
A professional exterior painting job significantly boosts your home’s curb appeal. The right colors and quality finish can transform an outdated or dull exterior into a vibrant, attractive façade. This visual enhancement is especially important if you’re considering selling your property, as it can make a striking first impression on potential buyers.
Increases Property Value
Investing in professional exterior painting is not just about aesthetics; it also has a tangible impact on your home’s market value. A fresh coat of paint is a cost-effective way to increase the property value, offering a high return on investment. Well-maintained exteriors appeal to buyers, reflecting the overall care taken in the home’s upkeep.
Protection Against the Elements
Exterior painting offers more than just a visual upgrade; it serves as a protective barrier against environmental elements. Quality paint shields your home from moisture, UV rays, and pests, preventing wood rot, fading, and other damage. Regular maintenance and repainting are essential in climates with harsh weather conditions.
Longevity and Quality
Professional painters use high-quality materials and techniques that ensure the paint job’s longevity. Their surface preparation, application, and finishing expertise guarantee a quality that is often hard to achieve with DIY projects. Professional work looks better and lasts longer, saving you money in the long run.
8 Steps to Ready Your Home for a Successful Exterior Painting Project
1. Clean the Exterior
Cleaning the exterior of your home is an essential step in preparing for a professional exterior painting project. It’s not just about improving the appearance; thorough cleaning ensures the new paint adheres properly and lasts longer. Dirt, mold, and loose paint can interfere with the paint’s ability to bond to your home’s surface, leading to a subpar finish and reduced durability.
Here’s how you can effectively clean your home’s exterior:
- Examine the Exterior: Start by inspecting your home’s exterior. Look for areas with dirt buildup, mold, mildew, or algae. These spots will require special attention during the cleaning process.
- Choose the Right Cleaning Method: Power washing is effective for most exteriors. It removes dirt, grime, and flaking paint, creating a clean surface for painting. However, be cautious with pressure settings to avoid wood, stucco, or older masonry damage.
- Treat Mold and Mildew: In areas affected by mold or mildew, use a water solution, mild bleach, or a commercial mold remover. Apply it gently with a soft brush, then rinse thoroughly. Protect plants and landscaping from any chemical runoff.
- Hand Wash Delicate Surfaces: For homes with lead paint or sensitive surfaces, hand washing with a soft brush and mild detergent is safer. This method is more labor-intensive but prevents damage to fragile areas.
- Allow Adequate Drying Time: After cleaning, it’s crucial to let your home’s exterior dry completely. Painting over damp surfaces can cause issues like paint blistering or peeling. Drying time may vary based on weather conditions and the type of exterior material.
2. Repair Damages
Addressing any structural damage or signs of wear and tear before exterior painting ensures a smoother finish and prevents future damage.
Here are the steps to effectively repair your home’s exterior:
- Inspect for Damages: Carefully examine your home’s exterior for any signs of damage. Look for cracks, holes, or rot in the siding, trim, or fascia boards. Pay special attention to areas around windows, doors, and corners where damage is more likely to occur.
- Choose Appropriate Materials: Select the right materials for repairs. Use a wood filler or epoxy to fill holes or cracks in wood surfaces. A masonry patching compound is ideal for masonry. Ensure the materials are compatible with your home’s exterior and the paint you plan to use.
- Prepare the Surface: Before applying any filler, clean the damaged area to remove dirt or loose material. If dealing with rot, remove all the rotted wood until you reach sound material. This step is vital to ensure a lasting repair.
- Apply the Filler: Use a putty knife or appropriate tool to apply the filler or patching compound to the damaged areas. Smooth it out so that it’s flush with the surrounding surface. For larger repairs, you may need to use a patch or reinforcing mesh.
- Sand and Smooth: Once the repair material is dry, sand the area until it’s smooth and blends seamlessly with the rest of the exterior. This step is crucial for a uniform paint application.
- Prime Repaired Areas: Apply a primer to the repaired spots before painting. Primer helps seal the repair and ensure the paint adheres evenly. It also prevents the repaired spots from showing through the final coat of paint.
3. Remove Loose Paint
Removing loose paint effectively is crucial for a successful exterior painting project, especially when dealing with older paints that may contain harmful substances like lead or high levels of VOCs (Volatile Organic Compounds). This essential step ensures strong adhesion of the new paint, creating a smooth, even surface for the application. It prevents future peeling and cracking and significantly enhances the paint job’s overall durability. Additionally, removing old paint, particularly those that might be hazardous, reduces health risks, making it a critical aspect of preparing your home for a new coat of paint.
Here’s a guide to doing it right:
- Assess and Identify Areas: Carefully inspect your home’s exterior for peeling, blistering, or flaking paint, mainly focusing on areas exposed to extreme weather conditions.
- Choose Appropriate Tools: For effective removal, use a paint scraper, wire brush, or heat gun. Be mindful of the surface material to avoid unnecessary damage.
- Safety First with Lead Paint and VOCs: If your home was constructed before 1978, it’s essential to be aware that it might contain lead-based paint. Use appropriate safety gear like masks and gloves to protect against lead dust and VOCs, and consider professional assistance for safe removal.
- Scraping and Sanding: Use the tools gently to remove loose paint. Follow up with sanding for a smooth finish, ensuring you don’t damage the underlying surface.
- Clean and Dispose Safely: After scraping and sanding, thoroughly clean the area to remove dust and debris. To prevent environmental contamination, dispose of any lead-based paint waste safely according to local regulations.
4. Trim Landscaping
Trimming landscaping before a professional exterior painting project is more than just a cosmetic preparation; it serves several practical purposes. This step ensures unobstructed access to the walls, reducing the risk of plant damage and providing a clear workspace for painters. It also prevents foliage from coming into contact with wet paint, which can spoil the finish and harm the plants. Proper trimming can also expose previously hidden exterior areas, allowing for more thorough painting and inspection.
Here are five tips for effective landscaping trimming:
- Trim bushes and shrubs away from the house walls to allow easy access.
- Cut back any overhanging branches that might interfere with painters or equipment.
- Protect smaller plants or flower beds close to the house with temporary coverings.
- Use this opportunity to clear away any dead or unwanted vegetation.
- After trimming, clean up any debris to provide a clean working area.
5. Cover Fixtures and Landscaping
Covering fixtures and landscaping is crucial in preparing for an exterior painting project, as it protects your property and ensures a clean, professional result. By safeguarding fixtures such as lights, windows, and doors, you prevent paint splatters and drips that can be difficult to clean and may cause damage. Similarly, covering landscaping like bushes, flower beds, and grass areas protects them from paint and debris, preserving the beauty of your garden. This preparatory step also helps speed up the cleanup process post-painting. It minimizes the risk of accidental paint spills on valuable exterior elements.
For effective protection during the painting process, consider these five covering strategies:
- Use drop cloths or plastic sheeting to cover plants and grass near the house.
- Wrap light fixtures and door handles with plastic and secure them with painter’s tape.
- Cover windows with masking paper or plastic to prevent paint splatters.
- Shield decks, patios, and driveways with drop cloths or old sheets.
- Ensure all coverings are secured to withstand wind and movement during the exterior painting.
6. Weather Considerations
The right weather conditions ensure the paint adheres properly and affect the drying time and overall quality of the finish. Painting in optimal weather conditions can prevent issues like paint not setting correctly or attracting dirt and debris. It’s crucial to avoid extreme temperatures, direct sunlight, or inclement weather, as these can adversely affect the paint application and longevity.
Here’s how to do proper weather planning:
- Check the weather forecast for dry, mild conditions.
- Avoid painting in direct sunlight to prevent the paint from drying too quickly.
- Ensure the temperatures are within the recommended range for the paint you are using.
- Plan your painting project during good weather to allow enough drying time.
- Be prepared to reschedule if unexpected weather changes occur.
7. Secure Pets and Clear Pathways
Securing pets and clearing pathways is vital in preparing for an exterior painting project. This ensures the safety of your pets and provides painters with unobstructed access to your home’s exterior. By keeping pets away from the work area, you minimize distractions and risks of accidents, ensuring a smoother workflow for the painters. Clear pathways also reduce the risk of tripping hazards and allow for the efficient transportation of equipment and materials, contributing to a more organized and effective painting process.
Key actions to take include:
- Relocating pets to a safe and comfortable area away from the painting zone.
- Clearing walkways, driveways, and access points of obstacles and debris.
- Informing the painting crew about any specific areas to avoid for pet safety.
- Check that gates and fences are secure to prevent pets from wandering into work areas.
- Ensuring clear and safe access for painters to move their equipment and supplies.
8. Consult with Professional House Painters
Consulting with professional painters like Custom Colonial Painting is key in preparing for an exterior painting project. These experts can provide valuable insights and advice to help you make the best choices for your home. They have a wealth of knowledge on the latest color trends, the most durable paints for different surfaces, and how to best protect your home against local weather conditions.
Here’s how to make the most of your consultation with professional painters:
- Discuss Color Choices: Have an open conversation about colors. Professional painters can help you understand which shades work best for your home’s style and location.
- Choose the Right Paint: Talk about the types of paint that will be best for your home’s exterior. Different surfaces need different paint for the best look and longest life.
- Learn About Techniques: Ask about the painting techniques they’ll use. This helps you understand how the project will go and what the final result might look like.
- Ask Questions: Don’t hesitate to ask any questions you have. It’s important to clear up any doubts about the project’s duration, what needs to be done beforehand, and how to take care of the paint afterward.
By engaging with professional painters, you can ensure that your exterior painting project is well-planned and executed, resulting in a beautiful and durable finish.
Like a vibrant bolt of lightning, electric blue is a striking and attention-grabbing color. Homeowners often select it to add a sense of drama and modernity to their living spaces.
FAQs
How often should I paint my home’s exterior?
The frequency of exterior painting depends on various factors, such as climate, the material of your home’s exterior, and the quality of the last paint job. It’s generally recommended to paint every 5-10 years, but homes in harsher climates may require more frequent painting.
What are the best weather conditions for exterior painting?
Ideal conditions for exterior painting are dry weather with humidity between 40-50%. These conditions help the paint adhere properly and dry evenly. Avoid painting in extreme heat, cold, or damp conditions.
How long does exterior painting usually take?
The duration varies depending on your home’s size, the job’s complexity, and weather conditions. A small to medium-sized house may take a few days, while a larger home could take a week or more. The painter should provide an estimated timeline.
Can I stay in my home while it’s being painted?
Yes, you can usually stay in your home during an exterior painting project. However, be prepared for some noise and minor disruptions. Ensure pets and children are kept away from the work areas for safety.
How do I maintain the paint job after completion?
To maintain your exterior painting, regularly clean the walls to remove dirt and debris. Inspect the paint periodically for any signs of wear or damage, and address issues promptly to extend the paint’s life. Avoid direct impact or abrasion on painted surfaces.
Ready to Transform Your Home? Contact Custom Colonial Painting Today!
A professional exterior painting project is a valuable investment for your home. Following these steps will ensure a smooth process and stunning results. Remember, the key is choosing the right professionals, like Custom Colonial Painting, who are known for unparalleled expertise and quality work. With our assistance, your home will look fantastic and be well-protected for years to come.
Our team’s attention to detail and commitment to excellence can make the exterior painting process seamless and stress-free. Contact Custom Colonial Painting for your next project in Durham, CT, to experience the difference professional skill and care can make.