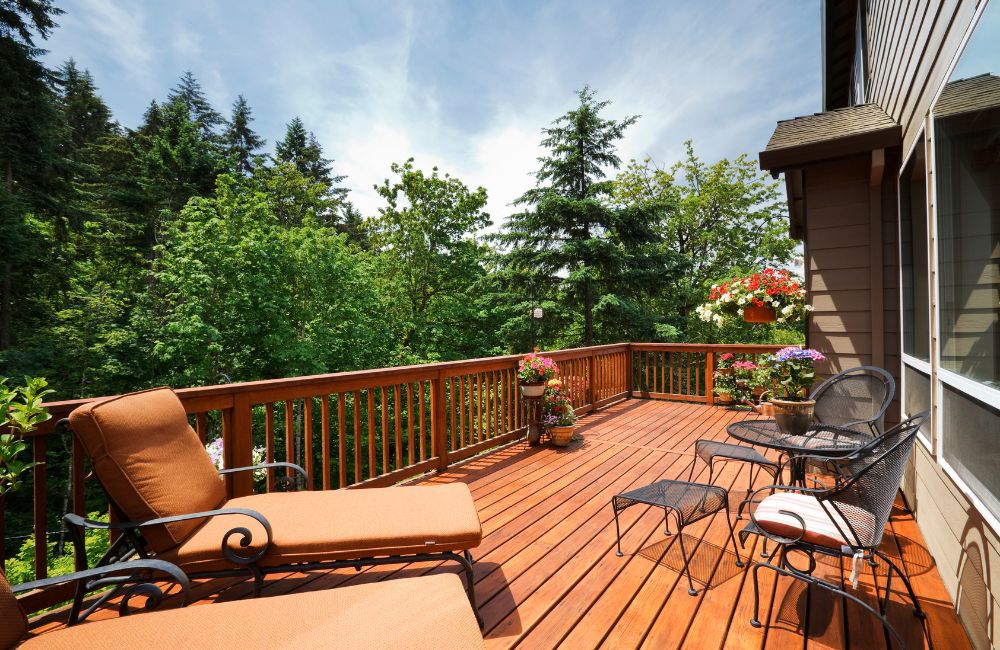
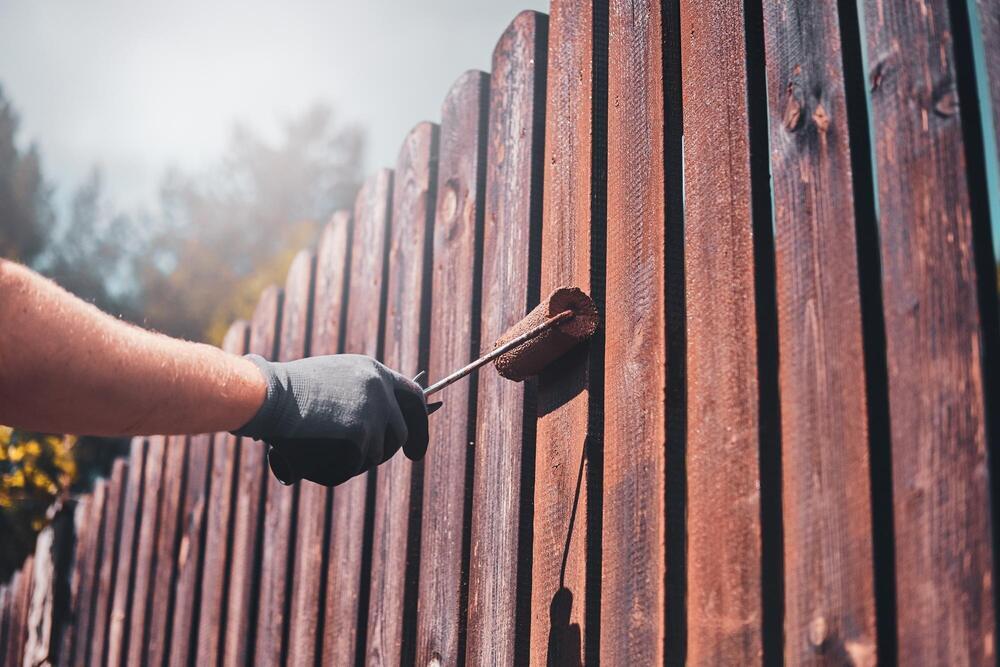
Properly preparing your deck before staining is crucial for achieving a beautiful and durable finish. Without thorough preparation, the stain may not adhere correctly, leading to an uneven appearance and a shorter lifespan for your deck. Ensuring your deck is clean, repaired, and dry allows the stain to penetrate the wood effectively. By following best practices and tips from a professional painting company in Westport, CT, you can extend the life of your deck and maintain its aesthetic appeal for years to come.
7 Tips from a Painting Company for Preparing Your Deck Before Staining
Staining your deck is essential for preserving its beauty and durability, but proper preparation is key to achieving the best results. Here are seven expert tips from a painting company to ensure your deck is ready for staining and will look great for years to come:
1. Inspect the Deck
Proper inspection of your deck is the first crucial step before staining. A thorough check helps identify potential problems that need addressing, ensuring a smooth and long-lasting finish. Here’s how to effectively inspect your deck, with tips from a professional painting company.
- Check for Surface Damage: Look for cracks, splinters, and rough spots on the wood. Use a putty knife to probe for soft spots that may indicate rot.
- Examine Fasteners and Hardware: Inspect nails, screws, and other fasteners for rust or looseness. Tighten any loose hardware and replace rusted or damaged fasteners.
- Assess Structural Integrity: Ensure that joists, beams, and support posts are in good condition. Pay attention to any areas that seem weak or wobbly, as they may need reinforcement.
- Inspect for Mold and Mildew: Painting companies always emphasize the importance of looking for dark spots or patches, which could indicate mold or mildew growth. Clean affected areas with a mildew remover to prevent future issues.
- Evaluate the Condition of the Stain: Check the existing stain for peeling, fading, or unevenness. Identify areas where the stain has worn off, indicating high-traffic zones or weather exposure.

2. Repair and Replace Damaged Boards
Ensuring your deck is in prime condition before staining involves more than just cleaning and sanding. One crucial step is to repair or replace any damaged boards. This ensures a smooth and even surface for the stain to adhere to and enhances the overall safety and appearance of your deck. Here’s how a professional painting company would recommend approaching this task.
Step-by-Step Guide to Replacing Damaged Boards
Follow these steps from a painting company to replace any damaged boards on your deck:
- Remove the Damaged Board: Carefully remove the damaged board using a hammer, pry bar, or drill to unscrew fasteners. If difficult to remove, cut it into smaller sections with a circular saw or jigsaw.
- Measure and Cut the Replacement Board: Measure the space for the new board and cut it to length with a circular saw or jigsaw, ensuring a straight cut for a snug fit.
- Seal the Ends of the Replacement Board: Apply wood sealant to the ends of the new board to protect against moisture and extend its lifespan.
- Install the Replacement Board: Place the new board, align it with the surrounding boards, and secure it with galvanized screws or nails, driving them at an angle to prevent water pooling.
- Check and Secure Loose Fasteners: Check for loose nails or screws in surrounding boards, tightening or replacing them to ensure the entire deck is secure.
- Fill Minor Cracks and Holes: Use wood filler or putty for minor cracks or holes, apply as per instructions, let it dry, and sand smooth before staining.
3. Clean the Deck Thoroughly
Properly cleaning your deck is a critical step in preparing it for staining. Cleaning your deck removes dirt, grime, mold, and mildew, all of which can affect the stain’s ability to penetrate and protect the wood. According to a painting company, thorough cleaning also reveals any hidden damage that may need to be addressed before staining.
Recommended Cleaning Solutions and Tools
To effectively clean your deck, you need the right cleaning solutions and tools. Here are some recommendations from a painting company:
Cleaning Solutions
- Commercial Deck Cleaners: These are specifically formulated for deck cleaning and are available at most hardware stores.
- Homemade Solutions: A mix of water, bleach, and a small amount of dish soap can be effective. Use a ratio of 3:1 water to bleach.
Tools
- Stiff Bristle Brush: For scrubbing the deck surface.
- Pressure Washer: Ideal for deep cleaning but use with caution to avoid damaging the wood.
- Garden Hose: For rinsing off cleaning solutions.
- Bucket and Sponge: For applying and scrubbing homemade cleaning solutions.
Step-by-Step Cleaning Process
Cleaning your deck thoroughly is essential for a successful staining project. By following these detailed steps, you can ensure your deck provides a clean and smooth surface for the stain to adhere to.
- Clear the Deck: Remove all furniture, plants, and other items from the deck. Sweep away loose dirt and debris to create a clean workspace.
- Apply the Cleaning Solution: Mix the cleaning solution as per the instructions on the product or your homemade recipe. Use a garden sprayer or a mop to apply the solution evenly across the deck surface.
- Scrub the Deck: Use a stiff bristle brush to scrub the deck, focusing on areas with heavy dirt or stains. For larger decks, a pressure washer can be used. Keep the pressure below 1500 psi to avoid damaging the wood.
- Rinse Thoroughly: Rinse the deck thoroughly with a garden hose or pressure washer to remove all traces of the cleaning solution. Make sure no residue is left as it can affect the staining process.
- Allow to Dry: Painting companies stress the importance of letting the deck dry completely before moving on to the next step. This may take 24-48 hours depending on the weather conditions.

4. Sand the Deck
As painting companies, sanding your deck before staining is a critical step to ensure a smooth and even finish. It helps to:
- Remove any existing finish or stain that may still be on the wood
- Smooth out rough areas, splinters, and raised grain
- Open up the wood’s pores, allowing the stain to penetrate more effectively
- Provide a clean and level surface for the stain to adhere to
By sanding your deck, you enhance its appearance and prolong the lifespan of the stain. A professional painting company would always recommend sanding for the best results.
Recommended Sanding Tools and Techniques
To achieve the best results when sanding your deck, it’s important to use the right tools and techniques. Here are some recommendations from a painting company:
Sanding Tools
- Orbital Sander: Ideal for large, flat surfaces. It is user-friendly and efficient for removing old finishes and smoothing out the wood.
- Belt Sander: Suitable for very rough or large areas that need significant smoothing.
- Detail Sander: Useful for tight corners and hard-to-reach areas.
- Hand Sanding Blocks: Essential for detailed work and final touches, especially on edges and railings.
- Sandpaper Grits: Painting companies suggest to start with a coarser grit (60-80) to remove old stain and rough spots, then finish with a finer grit (100-120) for a smooth surface.
Sanding Techniques
- Even Pressure: Apply even pressure to avoid gouging or uneven sanding. Let the sander do the work.
- Move with the Grain: Always sand in the direction of the wood grain to prevent scratches and achieve a smoother finish.
- Multiple Passes: Start with a coarse grit and gradually move to finer grits for the best results. Each pass should remove the marks from the previous grit.
- Vacuum Frequently: Regularly vacuum or sweep the surface to remove sanding dust, ensuring a clean working area and preventing dust from affecting the stain application.
5. Choose the Right Stain
Selecting the appropriate stain for your deck is crucial to achieving a durable and aesthetically pleasing finish. Here are key considerations and tips from a painting company to guide you through the process.
Types of Stains
Understanding the different types of deck stains will help you make an informed decision:
| Type of Stain | Description | UV Protection | Best For |
| Transparent Stains | Highlights the natural beauty of the wood grain | Minimal | Newer or high-quality wood |
| Semi-Transparent Stains | Balances showcasing wood grain with adding color | Moderate | Decks with minor imperfections |
| Solid Stains | Offers a paint-like finish that completely covers the wood grain | Maximum | Older decks or those with significant wear and tear |
Factors to Consider When Choosing a Stain
Several factors should influence your choice of stain. Here are the primary considerations recommended by a painting company:
- Wood Type: Different woods react differently to stains. For instance, hardwoods like mahogany require different products than softwoods like pine. Consider the natural color and porosity of the wood.
- Climate: In areas with high humidity or frequent rain, opt for stains with higher water resistance while in sunny climates, choose stains with strong UV protection to prevent fading.
- Deck Usage: For high-traffic areas, consider more durable, solid stains that can withstand wear and tear. Meanwhile, for decorative decks with lighter use, semi-transparent or transparent stains may suffice.

6. Apply a Wood Brightener
A wood brightener, also known as a deck brightener, is a crucial step in preparing your deck before staining. Here’s why it’s vital according to a painting company:
- Restores Natural Color: Revitalizes the wood’s appearance by removing tannin stains and discoloration.
- Improves Stain Absorption: Ensures the wood fibers are open and ready to absorb the stain uniformly.
- Neutralizes pH Levels: Cleaning solutions, especially those containing bleach, can alter the wood’s pH level, causing it to appear dull and lifeless. A wood brightener balances the pH levels affected by cleaning solutions, preventing any adverse reactions with the stain.
How to Apply Wood Brightener Effectively
Applying a wood brightener is a straightforward process, but it’s essential to do it correctly to achieve the best results. Here are the steps to follow:
- Prepare the Area: Painting companies always suggest wearing protective gear, including gloves and safety glasses. Ensure the deck surface is clean and dry before application. Protect surrounding plants and surfaces by covering them with plastic sheets.
- Mix the Brightener: Follow the manufacturer’s instructions to mix the brightener solution. Use a garden sprayer or watering can for even application.
- Apply the Brightener: Spray or pour the brightener evenly across the deck surface. Use a brush or broom to spread the solution and ensure it penetrates the wood. Let the brightener sit for the recommended time (usually 10-15 minutes).
- Rinse Thoroughly: After the waiting period, rinse the deck thoroughly with a garden hose or pressure washer. Ensure all traces of the brightener are removed to prevent any residue from affecting the stain.
- Allow the Deck to Dry: Let the deck dry completely before applying the stain. This can take 24-48 hours, depending on weather conditions.
7. Ensure the Deck is Completely Dry
When preparing your deck for staining, ensuring it is completely dry is a critical step that cannot be overlooked. A dry deck allows the stain to penetrate the wood effectively, providing a long-lasting and even finish. Here’s why it’s essential and how you can make sure your deck is thoroughly dry, recommended by painting companies:
- Optimal Stain Absorption: Dry wood absorbs stain more efficiently, ensuring a deeper and more even penetration.
- Prevents Mold and Mildew: Staining a damp deck can trap moisture, leading to mold and mildew growth. High levels of relative humidity (RH), typically above 70–80%, create conditions that are favorable for mold, which can damage the wood and ruin the finish.
- Longevity of the Stain: Properly dried wood ensures that the stain adheres better, prolonging the life of your deck’s finish and maintaining its aesthetic appeal.
- Professional Finish: According to painting companies, dry deck allows for a smoother application of stain, resulting in a professional-looking finish that enhances the beauty of your outdoor space.
Recommended Drying Times Depending on Weather Conditions
The drying time of your deck will vary based on the weather conditions and the type of wood. Here are some general guidelines to follow:
Sunny and Warm Weather
- Recommended Drying Time: 24 to 48 hours
- Ideal Conditions: Temperatures between 50°F and 90°F with low humidity.
Cloudy or Humid Weather
- Recommended Drying Time: 48 to 72 hours
- Challenges: High humidity can slow down the drying process, requiring more time.
Cool or Rainy Weather
- Recommended Drying Time: 72 hours or more
- Precautions: Avoid staining if rain is expected within 24 to 48 hours.
Tips for Ensuring the Deck is Dry
To guarantee your deck is completely dry before staining, consider these practical tips:
- Use a Moisture Meter: A moisture meter is a handy tool that measures the moisture content in wood. Aim for a moisture level below 15% before applying stain.
- Conduct a Water Test: Sprinkle a few drops of water on the deck surface. If the water beads up, the deck is not dry enough. If it absorbs quickly, the deck is ready for staining.
- Allow Extra Time After Cleaning: After washing or using a wood brightener, give your deck ample time to dry completely. Ensure there are no wet or damp spots visible on the surface.
- Check Weather Conditions: Regularly check the weather forecast to plan for a stretch of dry weather. Aim to stain during a period of warm, sunny days with low humidity.
- Consult a Professional Painting Company: For precise advice and assistance, consider consulting a professional painting company. They can provide insights based on their experience and ensure your deck is prepared correctly.
Frequently Asked Questions
How often should I stain my deck?
The frequency of deck staining depends on factors like the type of wood, climate, and quality of the stain used. Generally, decks should be stained every two to three years to maintain their appearance and protection. High-traffic areas or those exposed to harsh weather may need more frequent staining.
What is the best time of year to stain a deck?
The best time to stain a deck is during late spring or early fall when temperatures are mild and humidity is moderate. Ideal conditions include temperatures between 50°F and 90°F and overcast skies to prevent the stain from drying too quickly. Avoid staining during periods of high humidity, as this can affect the stain’s ability to penetrate and dry properly.
Can I stain a weathered or previously stained deck?
You can stain a weathered or previously stained deck, but it requires proper preparation to ensure the new stain adheres well. Start by cleaning the deck thoroughly to remove dirt, mold, and old stain residues. Sand the surface to remove any remaining old stain and to smooth out rough areas.
What are the common mistakes to avoid when staining a deck?
Common mistakes when staining a deck include not preparing the surface properly, applying the stain in direct sunlight or on hot days, and not allowing enough drying time between coats. Skipping the cleaning and sanding steps can lead to poor stain adhesion and an uneven finish. Over-applying stains or not wiping off excess can result in a sticky surface that takes longer to cure.
How do I maintain my deck after staining?
Maintaining your deck after staining involves regular cleaning, inspecting for damage, and reapplying stain as needed. Sweep the deck regularly to remove dirt, leaves, and debris that can cause mold and mildew growth. Clean the deck with a mild detergent and water periodically to keep it looking fresh and prevent buildup.
Achieve the Perfect Deck Stain with Custom Colonial Painting!
Ensure your deck looks its best with the expert services of Custom Colonial Painting in Westport, CT. Our experienced team specializes in deck staining and preparation, ensuring every step is executed to perfection. With our knowledge and commitment to quality, we guarantee a stunning, long-lasting finish that will enhance your outdoor space.
Contact Custom Colonial Painting today to schedule your deck staining project in Westport, CT, and let us help you achieve the beautiful deck you’ve always wanted.


