Table of Contents
Key Takeaways
7 Exterior Painting Techniques for Weatherproofing Your Home
1. Choose the Right Paint
2. Do Surface Preparation
3. Prime for Adhesion
4. Choose the Right Techniques for Applying Paint
5. Layer and Coat Appropriately
6. Opt for an Ideal Weather Condition
Avoiding Extreme Temperatures and Humidity
7. Ensure Maintenance for Longevity
Frequently Asked Questions
Transform Your Home with Expert Exterior Painting in Westport, CT!
| Key Takeaways ✔ Select high-quality exterior paints for durability and weather resistance. ✔ Thoroughly clean and repair surfaces to ensure smooth and long-lasting paint adhesion. ✔ Apply a suitable primer to enhance paint adhesion and durability. ✔ Choose the appropriate application technique (brushing, rolling, or spraying) for a flawless finish. ✔ Apply multiple coats of paint with adequate drying times between layers for optimal coverage and durability. ✔ Paint during ideal weather conditions to ensure proper drying and adhesion. ✔ Conduct regular inspections and touch-ups to maintain the integrity and longevity of your exterior paint job. |
Your home’s exterior painting is the frontline. Ensuring that it remains resilient and aesthetically pleasing requires more than just a coat of paint—it’s about selecting the right materials, applying them with precision, and understanding the nuances of weatherproofing. To give you through this process, we’ll walk through tips and insights on how to weatherproof your home through exterior painting in Westport, CT.
7 Exterior Painting Techniques for Weatherproofing Your Home
To help you shield your home from the elements and enhance its curb appeal, here are seven essential exterior painting techniques. These tips will ensure your home remains protected and beautiful, no matter the weather.
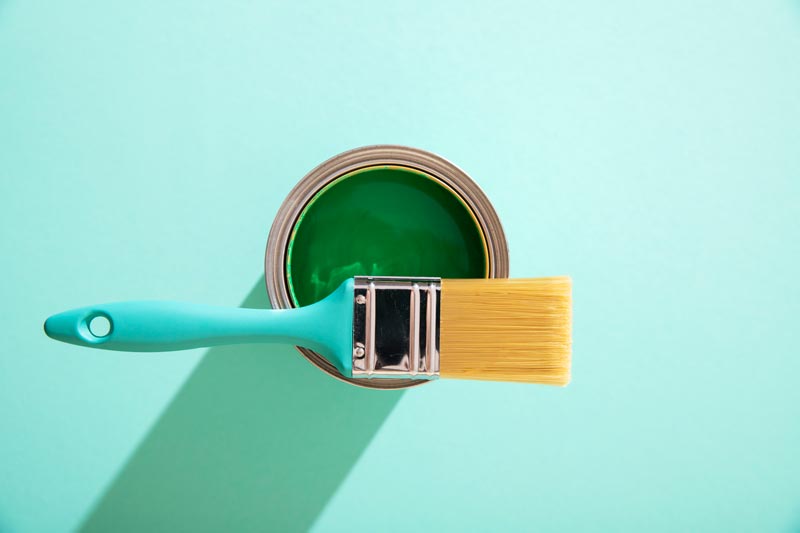
1. Choose the Right Paint
When embarking on an exterior painting project, selecting the appropriate paint is crucial for achieving long-lasting results that withstand the elements. Here are some factors to consider:
Durability
- Type of Resin: Opt for paints with acrylic or 100% acrylic resins, known for their superior durability and flexibility, which helps the paint withstand cracking and peeling.
- Resistance to Fading: Look for paints with UV-resistant pigments to maintain color vibrancy over time, crucial for exterior surfaces exposed to sunlight.
- Mildew Resistance: Choose paints with additives that inhibit mildew growth, especially in humid climates.
Weather Resistance
- Water Resistance: Ensure the paint has excellent water resistance properties to protect against rain and moisture, preventing premature deterioration.
- Temperature Tolerance: Select paints formulated to expand and contract with temperature changes, reducing the risk of cracking during seasonal fluctuations.
- Adhesion: Opt for paints that offer strong adhesion to various surfaces, enhancing longevity and minimizing the need for frequent touch-ups.
Types of Exterior Paint Finishes
Choosing the right sheen or finish for your exterior painting project is as important as selecting the paint itself. Here are common options to consider:
- Flat or Matte Finishes: Offers a smooth, non-reflective finish ideal for concealing imperfections. Suitable for siding and other large exterior surfaces.
- Satin Finishes: Provides a subtle sheen that is easy to clean and offers moderate resistance to moisture. Ideal for trim work, doors, and shutters.
- Semi-Gloss Finishes: Offers a noticeable sheen and high durability. Resistant to moisture and easy to clean, making it suitable for areas prone to dirt buildup, such as window sills and doors.
- Gloss Finishes: Provides a shiny, reflective finish that is highly durable and easy to clean. Ideal for surfaces that require maximum protection, such as railings and trim details.
Additional Considerations
Consider these additional considerations to complement your exterior painting project, ensuring quality, environmental responsibility, and optimal application for lasting results:
- Brand Reputation: Choose paints from reputable brands known for their quality and reliability in exterior painting projects. Research customer reviews and professional recommendations to gauge performance and satisfaction.
- Environmental Impact: Consider paints labeled as low-VOC (Volatile Organic Compounds) or zero-VOC, which are less harmful to the environment and occupants during application and drying.
- Application and Coverage: Ensure the paint is easy to apply using your preferred method (brushing, rolling, or spraying) and provides adequate coverage per gallon.Follow manufacturer guidelines regarding application temperature and drying times to achieve optimal results.
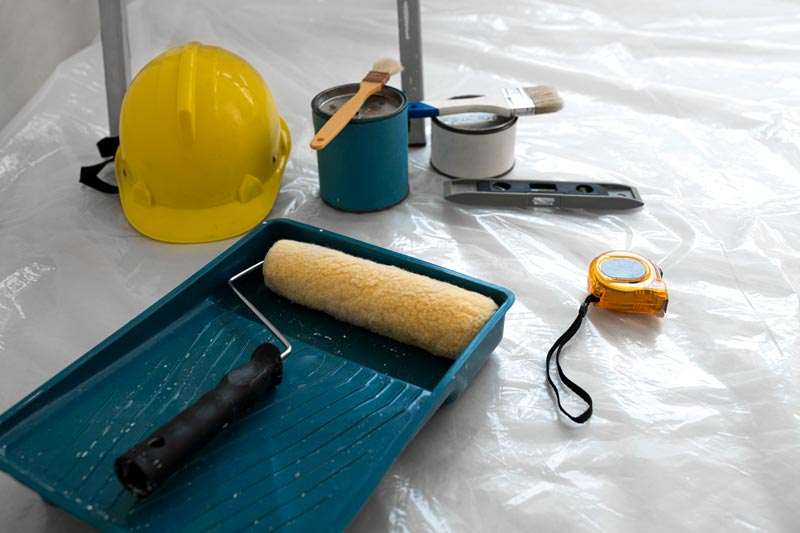
2. Do Surface Preparation
Proper surface preparation is crucial for achieving a durable and weather-resistant exterior paint job. This process involves several key steps to ensure the paint adheres well and provides lasting protection against the elements.
Cleaning the Surface Thoroughly
Before starting any exterior painting project, thorough cleaning of the surfaces is essential to remove dirt, grime, mildew, and other contaminants. This ensures that the paint can adhere properly and prevents premature peeling or cracking.
- Pressure Washing: Using a pressure washer with a suitable nozzle and detergent can effectively remove dirt and debris from exterior surfaces such as siding, trim, and walls.
- Scrubbing: For areas where pressure washing may not be suitable or accessible, scrubbing with a stiff brush and a cleaning solution can achieve similar results.
Dealing with Cracks, Holes, and Imperfections
Addressing any surface defects is critical to prevent water infiltration and maintain the integrity of the exterior paint job.
- Filling Holes and Gaps: Use a high-quality exterior filler or caulk to fill small holes, gaps around windows, and seams where different materials meet.
- Repairing Cracks: Cracks in wood, stucco, or concrete should be repaired using appropriate patching compounds or sealants designed for exterior use.
- Replacing Damaged Wood: Any severely damaged or rotten wood should be replaced before painting to ensure a solid foundation for the new paint.
Sanding and Smoothing Surfaces
Smooth surfaces promote better adhesion and a more even finish for exterior painting.
- Sandpaper Selection: Choose the appropriate grit sandpaper (typically 120-220 grit) based on the surface material and condition.
- Sanding Techniques: Sand in the direction of the wood grain or surface texture to avoid creating visible scratches.
- Removing Dust: After sanding, remove dust and debris using a vacuum or a tack cloth to ensure a clean surface ready for priming.
3. Prime for Adhesion

Priming plays a crucial role in the success and longevity of exterior painting projects. Here are reasons why priming is essential:
- Enhanced Adhesion: Proper adhesion prevents premature peeling and ensures the paint adheres firmly to the surface. Primers create a uniform surface that seals porous areas, such as wood or concrete, preventing the paint from soaking in unevenly.
- Improved Durability: Primers provide an additional layer of protection against weather elements, such as UV rays, moisture, and temperature fluctuations. They help in resisting cracking, blistering, and fading over time.
Types of Primers for Exterior Painting
Choosing the right primer depends on the surface material and the type of paint you plan to use. Here are the main types of primers:
- Oil-Based Primers: Known for their excellent adhesion and versatility. They’re iIdeal for wood, metal, and surfaces prone to stains or tannin bleed-through. Additionally, it takes longer drying time compared to latex primers.
- Latex Primers: Known for quick drying and easy cleanup with water. They’re best for drywall, masonry, and previously painted surfaces. Also, latex primers are flexible and less prone to cracking.
Choosing the Right Primer
When selecting a primer for exterior painting, consider the following factors:
- Surface Type: Assess whether the surface is porous, slick, or requires special attention.
- Paint Compatibility: Ensure compatibility with the type of paint you intend to use (e.g., latex primer with latex paint).
- Environmental Conditions: Consider the climate and weather conditions in your area to ensure the primer provides adequate protection.
4. Choose the Right Techniques for Applying Paint
When it comes to exterior painting, choosing the right application technique can significantly impact the finish quality and longevity of your paint job. Here’s a detailed look at brushing, rolling, and spraying, along with best practices for each:
Brushing
Brushing remains a classic and versatile method for exterior painting, offering precise control and the ability to reach intricate areas that rollers or sprayers may miss. Here are some best practices:
- Choose the Right Brush: Use a high-quality brush designed for exterior use with bristles suited to the type of paint (latex or oil-based).
- Technique: Start with a loaded brush and apply paint in smooth, even strokes, working in manageable sections. Feather out brush marks for a seamless finish.
- Trim and Detail Work: Ideal for painting trim, windowsills, and other detailed areas where precision is crucial.
Rolling
Rolling is efficient for covering large, flat surfaces quickly, making it a popular choice for exterior painting projects. Here’s how to make the most of rolling:
- Selecting a Roller: Use a roller cover appropriate for the surface texture (smooth or textured) and the type of paint being applied.
- Application Technique: Start by dipping the roller in paint and then rolling it on the tray to distribute evenly. Apply paint in a “W” or “M” pattern to ensure even coverage.
- Coverage and Finish: Roll vertically from top to bottom for a consistent finish. Overlap each pass slightly to avoid lap marks.
Spraying
Spraying offers speed and uniform coverage, making it ideal for large areas and achieving a smooth finish. However, it requires careful preparation and control. Here’s how to handle spraying for exterior painting:
- Preparation: Mask off areas not to be painted and protect nearby surfaces from overspray. Ensure proper ventilation and safety measures.
- Sprayer Selection: Choose an airless sprayer for exterior painting projects, which can handle thick paints and provide even distribution.
- Application Technique: Hold the sprayer perpendicular to the surface about 12-18 inches away. Apply paint in smooth, overlapping passes, moving consistently to avoid buildup.
5. Layer and Coat Appropriately
Proper layering and coating are crucial for achieving a durable and weather-resistant exterior paint job. Here’s how to effectively apply multiple coats and choose appropriate drying times between coats:
Applying Multiple Coats for Durability
When it comes to exterior painting, applying multiple coats ensures a more resilient finish that can withstand varying weather conditions over time. Here’s a structured approach:
- First Coat (Primer): Use a high-quality exterior primer suited to your surface type (e.g., wood, stucco, metal). Apply evenly using a brush, roller, or sprayer, ensuring complete coverage. Allow it to dry thoroughly as per manufacturer’s instructions.
- Second Coat (Base Coat): Choose a premium exterior paint formulated for your climate and surface material. Apply uniformly over the primed surface, focusing on achieving smoothness and comprehensive coverage.
- Third Coat (Top Coat): The final coat provides the ultimate protection and aesthetic appeal. Use a high-quality exterior paint with UV protection and mold resistance, if applicable. Ensure a flawless finish by addressing any imperfections from previous coats.
Choosing Appropriate Drying Times Between Coats
Proper drying times between coats are essential for achieving a professional exterior painting job that lasts. Consider the following guidelines:
- Between Primer and Base Coat: Ensure the primer is completely dry, typically within 4 to 24 hours depending on conditions and product instructions, before applying the base coat.
- Between Base Coat and Top Coat: Once the base coat is dry to the touch, usually within 2 to 4 hours, apply the top coat. Allow each coat to fully cure before proceeding to the next to avoid damage.
- Final Cure Time: Allow 24 to 48 hours after the final coat for the paint to fully cure before exposing it to rain, dew, or heavy traffic.
6. Opt for an Ideal Weather Condition
When considering exterior painting, choosing the right weather conditions is crucial to ensure a successful and long-lasting paint job. Here are the key factors to keep in mind:
- Temperature Range: Aim to paint when temperatures are moderate, typically between 50°F to 85°F (10°C to 30°C). Temperatures outside this range can affect paint adhesion and drying times. Cooler temperatures may slow down drying, while extreme heat can cause rapid drying and affect the finish.
- Avoiding Direct Sunlight: Opt for painting in the morning or late afternoon when the sun is not directly overhead. Direct sunlight can cause paint to dry too quickly, leading to uneven application and potential blistering or cracking.
Avoiding Extreme Temperatures and Humidity
Extremes in temperature and humidity can negatively impact the outcome of your exterior painting project. Here’s how to navigate these conditions:
- High and Low Humidity: Most paints are designed to perform best below 70% humidity. Above 80-85% humidity, paints may not cure properly, while below 40% humidity, the paint may not have enough moisture to cure effectively.
- Cold Weather: Cold temperatures slow drying and affect paint adhesion. Avoid painting below 50°F (10°C). Use paints for cold weather and ensure sufficient drying time.
- Hot Weather: High temperatures accelerate drying, leading to potential brush and lap marks. Avoid painting during peak heat; choose mornings or evenings. Use paints designed for high temperatures and work in smaller sections for better control.
7. Ensure Maintenance for Longevity
Proper maintenance and regular inspections are crucial to ensure the longevity and aesthetic appeal of your exterior painting. Here are some essential tips and practices:
Regular Inspections
Regular inspections allow you to catch any issues early before they escalate, saving you time and money in the long run. Conduct inspections at least once a year, ideally in the spring or fall when weather conditions are mild.
- Peeling and Cracking: Look for areas where the paint may be peeling or cracking. These are vulnerable spots where moisture can penetrate, leading to further damage.
- Color Fading: Check for any signs of color fading, especially on surfaces that are exposed to direct sunlight. UV rays contribute significantly to fading by breaking down chemical bonds and diminishing colors over time..
- Water Damage: Inspect around windows, doors, and other openings for signs of water damage. Water stains or discoloration may indicate leaks that need to be addressed promptly.
Tips for Touch-Ups
Regular touch-ups help maintain the integrity of your exterior painting. Here’s how to approach them effectively:
- Addressing Peeling Paint: Scrape off any loose paint and sand the area smooth before applying a primer and matching exterior paint. Feather the edges to blend with the surrounding paint.
- Small Cracks and Holes: Fill small cracks and holes with an exterior-grade caulk or patching compound. Sand the area once dry and paint over it to ensure a seamless finish.
- Choosing the Right Paint: Use the same type and color of exterior paint originally applied to ensure consistency and durability.
Tips for Extending the Life of Exterior Painting
Taking proactive measures can significantly extend the life of your exterior painting:
- Clean Regularly: Wash your home’s exterior annually using a mild detergent and water to remove dirt, dust, and pollutants that can degrade paint over time.
- Protective Coatings: Consider applying a clear protective coating over the paint to enhance durability and resistance to weather elements.
- Professional Maintenance: Periodically hire a professional exterior painting service to inspect and touch up your home. They can identify issues early and provide expert advice on maintenance.
Frequently Asked Questions
Can I paint my house exterior myself, or should I hire a professional?
Painting the exterior of a house can be a large and labor-intensive task, requiring proper equipment, skills, and knowledge of techniques like surface preparation and paint application. Hiring a professional painter ensures the job is done efficiently and to a high standard, with access to quality materials and expertise in dealing with potential challenges.
Can exterior paint be applied over existing paint?
Exterior paint can generally be applied over existing paint, provided the surface is clean, dry, and in good condition. Lightly sanding glossy surfaces and repairing any cracks or peeling areas before painting helps ensure a smooth finish. Applying a primer may be necessary to improve adhesion and promote a uniform appearance, especially when changing colors or painting over stained surfaces.
What should I look for when hiring an exterior painting contractor?
When hiring a painting contractor, consider their experience, reputation, and credentials. Ask for references and examples of past work to gauge their quality and reliability. Ensure they are licensed and insured to protect yourself against liabilities. Discuss the scope of work, including preparation, paint quality, and cleanup, and obtain a detailed written estimate outlining costs and timelines before starting the project.
What should I do if I notice bubbles in the exterior paint after application?
Bubbles in exterior paint can be caused by moisture, improper surface preparation, or painting in direct sunlight or high humidity. If bubbles appear shortly after painting, allow the paint to dry completely before gently scraping or sanding the affected area. Repair any underlying issues, such as moisture sources or surface imperfections, before applying a new coat of paint to prevent recurrence.
How can I estimate the cost of painting the exterior of my house?
Estimating the cost of exterior painting involves considering factors such as the size of the house, number of stories, surface condition, type of paint and primer, labor costs, and any additional preparation or repairs needed. Obtain quotes from multiple painting contractors based on these factors, ensuring each quote includes details on materials, labor, preparation, and cleanup. Factor in any permits or additional services required to complete the project accurately.
Transform Your Home with Expert Exterior Painting in Westport, CT!
Trust Custom Colonial Painting for professional exterior painting services in Westport, CT, and surrounding areas. Whether your home needs a fresh coat of paint or meticulous maintenance, our team ensures premium quality and lasting results. Enhance your home’s curb appeal and protection with our expertise—schedule your consultation today to discuss your project needs and get started on refreshing your exterior!