Regardless if you’ve finished an exterior or interior painting project before, you’d know how stressful painting can be. But there’s no disputing how thrilling it is to see the end product, especially if you’re painting wood stains yourself. The entire process can be time-consuming, but if you allow enough time, effort, and patience to the project, the outcome will be well worth the hassle.
Have you finally decided to paint the worn-out stained wood on your house? Did you know that you can avoid losing much of your hard-earned money by hiring a professional and painting the stained wood yourself?
In this article, we’ll talk about painting over stained wood, including what tools and materials to prepare and the steps you need to take to finish the paint job to achieve an impeccable lasting result.
Can You Paint Over a Stained Wood?
There’s no doubt that stained wood has a distinct attractive look that can make cabinets and decks appealing. But can you paint over it?
Yes, you can paint over stained wood.
Painting over stained wood will depend on several factors, such as how much time you can put into the project and how skilled you are. In addition, the process of painting over-stained wood will rely on factors such as the type of stain you use, wood condition, and if you’re painting furniture or a structure.
Tools and Materials You Need
Before you hop into your exterior painting project, you must prepare the necessary tools and materials first. Ensuring that you have all the essential tools and materials at your disposal will help you work more efficiently, thus shortening the time it takes to finish the project.
Here are the things you’ll need:
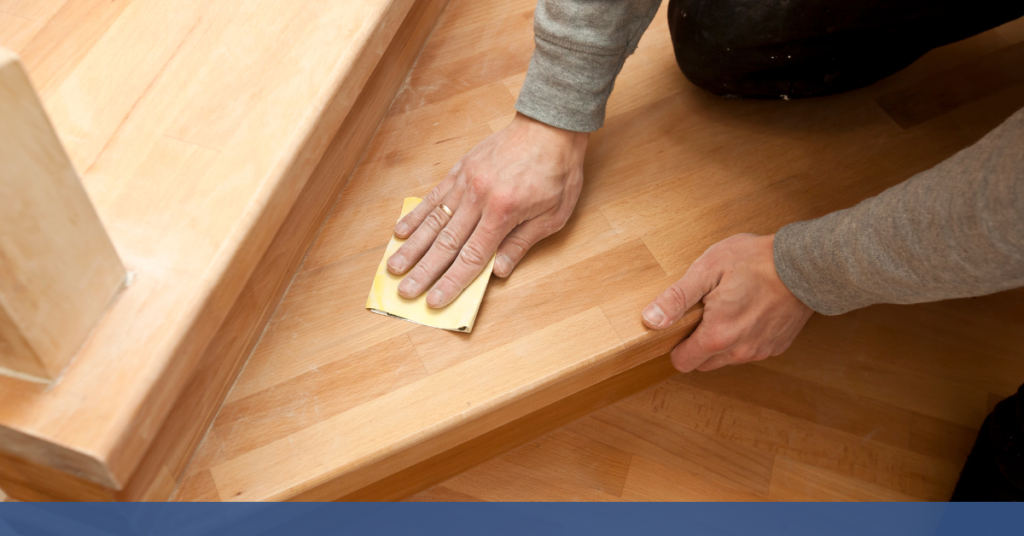
150 Grit Sandpaper. This material will be an essential part of the wood stain painting process. You will use it to prep the wood before painting it. However, sandpaper is abrasive, and it can damage your hands. So to avoid that, use a sponge or a sandpaper brick to make the sanding process more manageable. If you want to accomplish the project faster, we suggest you invest in a sheet sander.
Primer. Aside from sealing the wood, a high-quality primer can help you cover the unsightly blemishes and minimize the number of coatings required.
Tarps. To keep the working area clean, you must have at least one tarp.
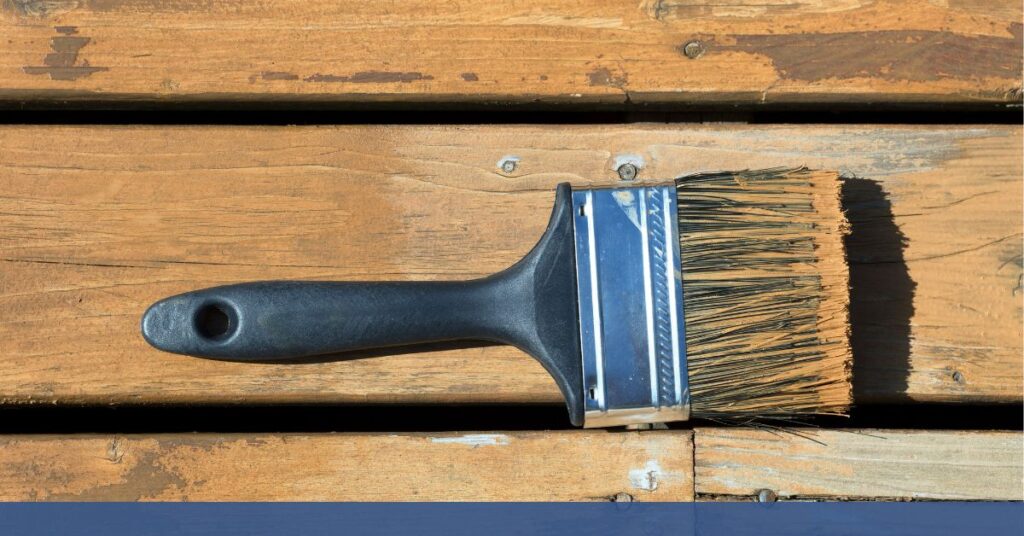
Paint Brushes. You’ll need a fresh batch of foam paint brushes and foam rollers because you’ll be using them for priming and painting.
Tack Cloth. A set of tack cloths will help you clean up all the excess paint and dust from the wood during and after the project.
Polycrylic Protective Finish. Make sure to choose a finish from a well-known brand known for drying fast and longevity.
Steps on How to Paint Over Stained Wood
Once you’ve gathered all the essential tools and materials, it’s time to start your painting projects. Here are the necessary steps you need to follow for you to paint wood stains
Prepare the Wood
Although many manufacturers claim that painting wood stains without sanding is possible, you should still sand if you want the best results. Start by cleaning the wood with soapy water, then proceed with sanding the wood using the 150 grit sandpaper to make the surface rough enough so the paint can properly adhere. But don’t overdo it! You don’t need to strip off the entire wood surface.
Clean the Wood
After preparing the wood, clean it with a tack cloth. Doing so will remove any dust and residue left after sanding the wood. Simply using a paper towel won’t do the trick; you need to use a tack cloth since it has the heavy-duty stickiness necessary to pick up loose debris and sand particles.
Add a Coat of Primer
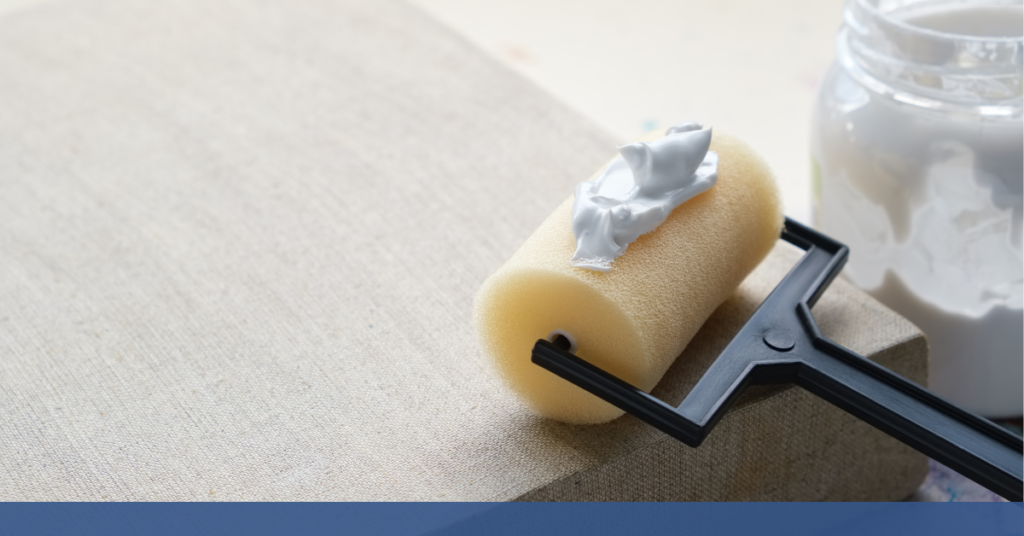
Now that you’ve cleaned the wood, it’s time to apply a coat of primer to the stained wood. Be sure to use shellac or oil-based primer since they can protect the wood’s surface better than water-based primers. You should use a foam brush and roller to get the most remarkable results.
Wipe the Wood
Once the primed wood has dried, get another tack cloth and use it to wipe any remaining wet spots. Again, remember not to use paper towels!
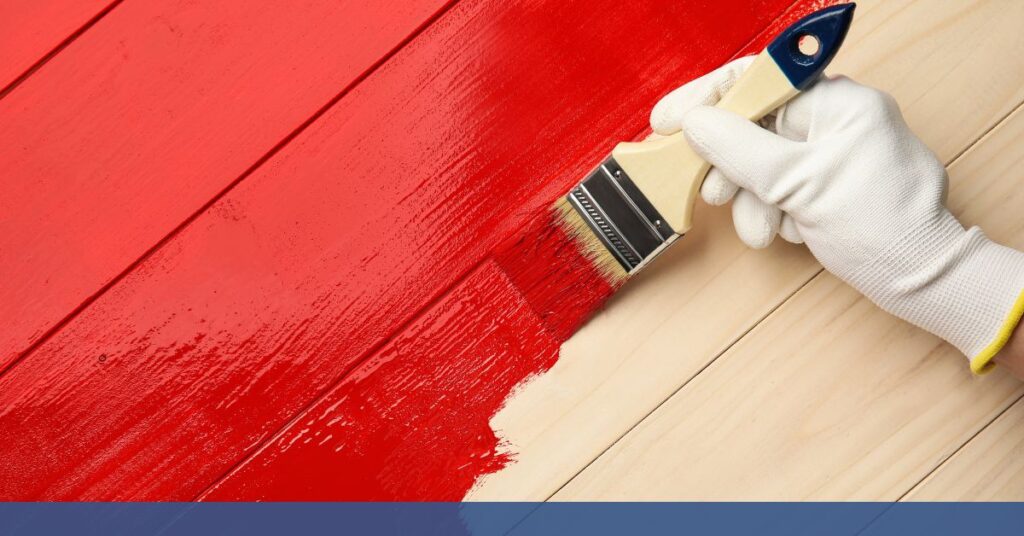
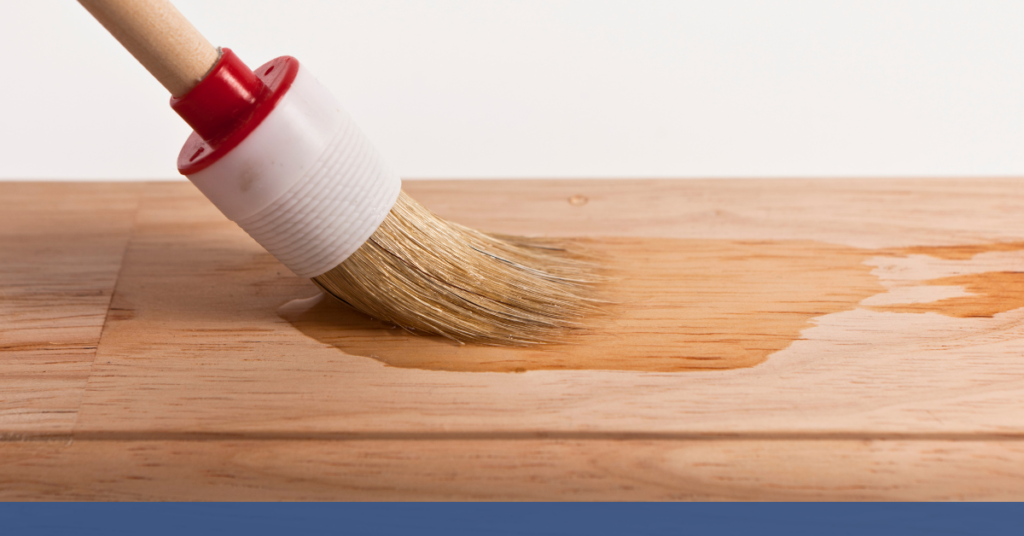
Paint the Wood
The primed wood is now clean, so it’s time to paint it. First, apply at least three coats of paint using a new foam roller. The job can be done with latex or oil-based paint. Latex paints are ideal for cabinets and doors, while oil-based paints are great for areas like decks and porches. The recommended amount of coats for stained wood is six coats.
Check the wood for any clumped remaining paint residue during this period, and if there is any, remove it with a tack cloth.
Apply the Finish
Now that you’ve coated the wood with the paint of your choice, it’s time to apply the finish. A polycrylic protective finish is the best option for the job since you can use it either with a cloth or an aerosol spray (depending on the brand).
Final Thoughts
Patience and attention to detail are essential in any paint job, especially when painting over stained wood. So if you’re planning to DIY the project instead of hiring a painting contractor, follow the abovementioned steps. Those steps will help you achieve the best-looking painted wood stain possible. And don’t forget to gather the right tools and materials for the job!
We recommend you wait for around six hours after each coat of paint. Keep your eyes peeled for defects and paint drops. Take your time with this project since the ideal time to finish it from start to finish is at least two days.
If you still feel like you’re not up for the job, we’re here to help. Call us, and we’ll paint over that stained wood quickly and efficiently.